
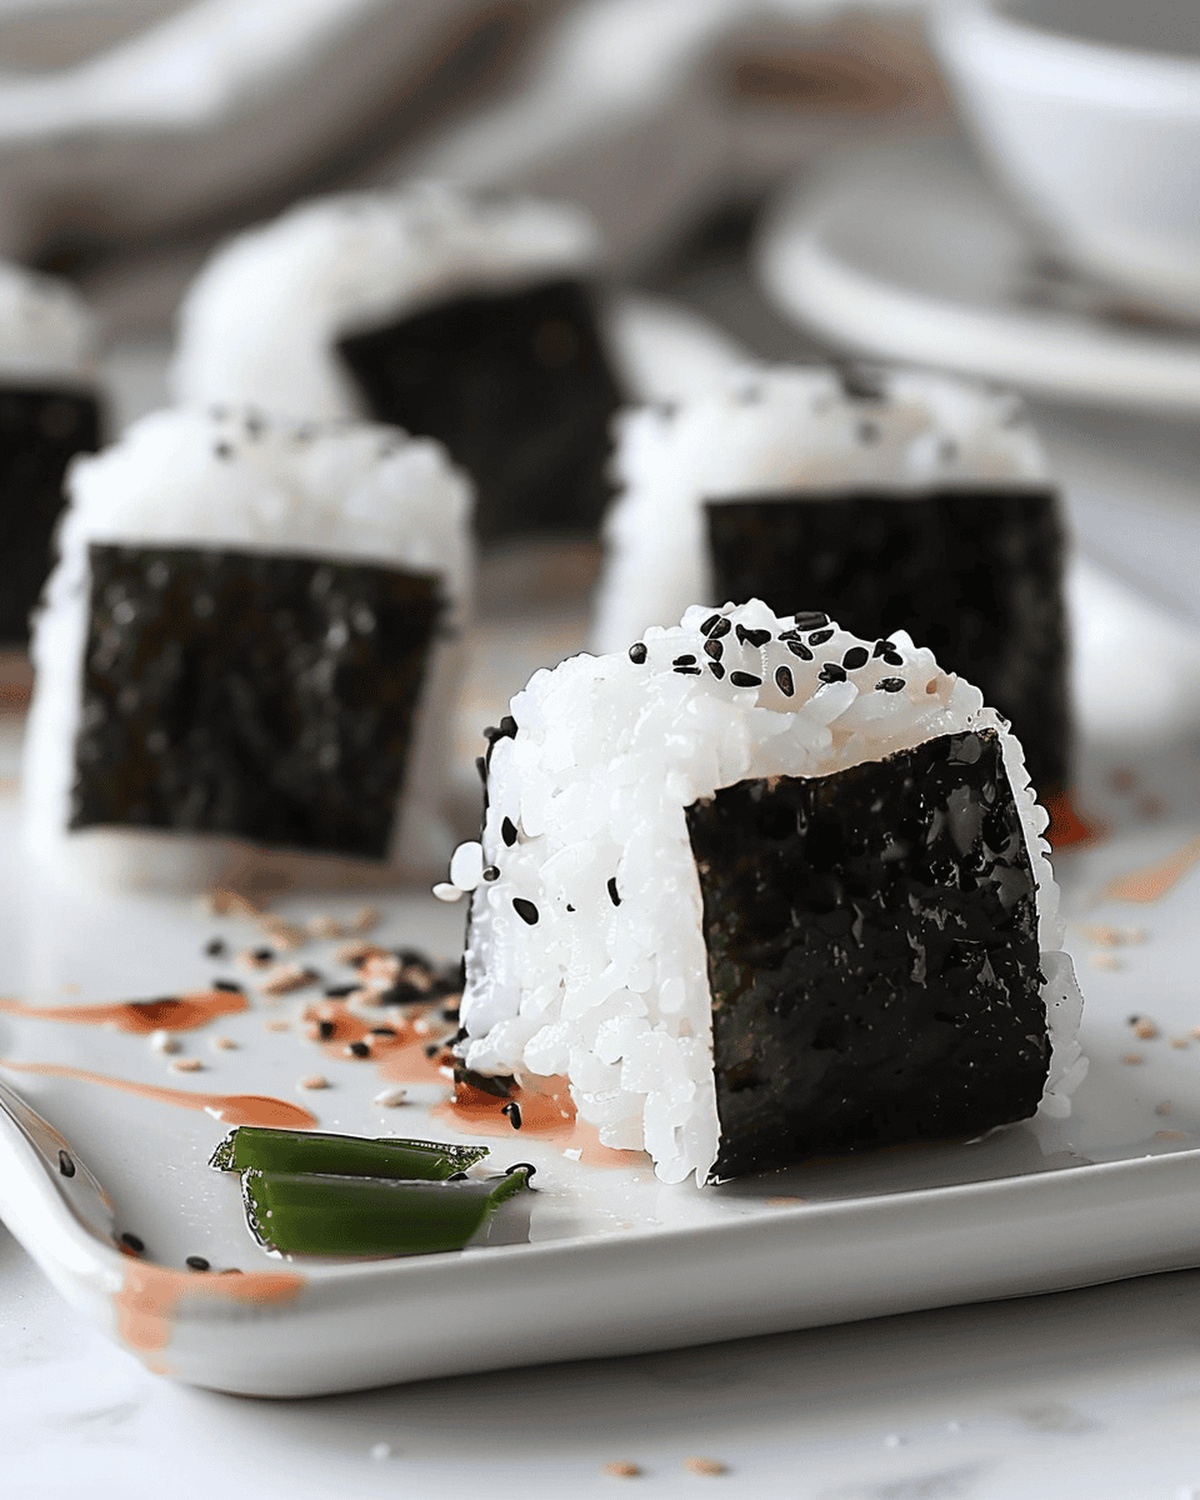
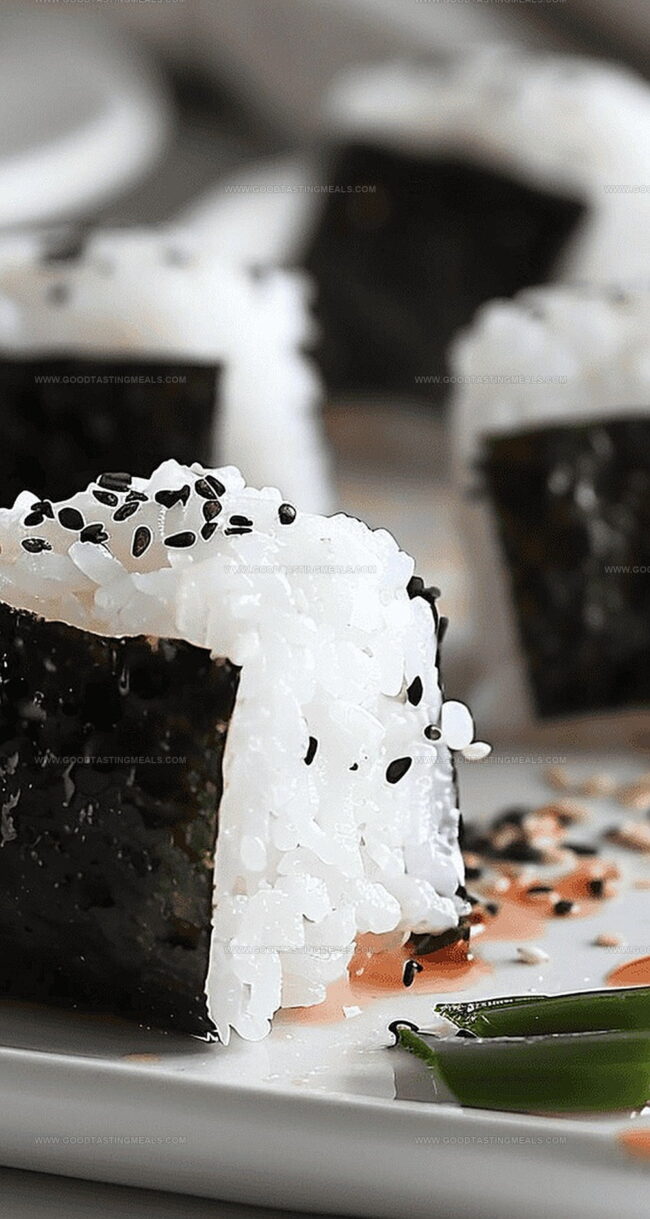
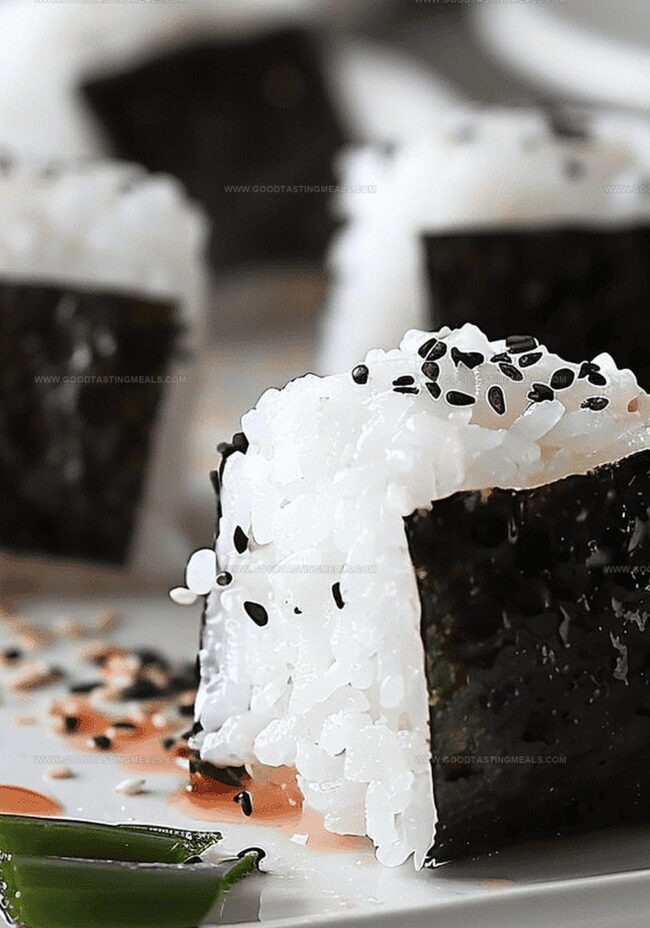
Speedy 15-Minute Japanese Tuna Onigiri Recipe
Japanese cuisine offers delightful tuna onigiri as a quick, satisfying snack that blends simplicity with incredible flavor.
These compact rice balls represent a beloved staple in home cooking across japan.
Soft, steamed rice envelops seasoned tuna in a handheld package that feels both comforting and exciting.
Compact and portable, onigiri elevates ordinary ingredients into something extraordinary through thoughtful preparation and traditional techniques.
Each bite delivers a perfect balance of textures, combining fluffy rice with savory fish filling.
Crisp nori wrapping adds an elegant finishing touch that elevates this humble dish.
Your taste buds will dance with excitement as you experience this authentic Japanese culinary tradition.
Japanese Tuna Onigiri in Just 15 Minutes
Ingredients Checklist for Japanese Tuna Onigiri
Main Ingredients:
Rice and Tuna Filling:Seasoning and Binding Ingredients:Wrapping Ingredient:Instructions to Build Japanese Tuna Onigiri
Step 1: Prepare Rice Base
Combine warm cooked rice with sesame oil and salt. Mix thoroughly until ingredients are evenly distributed. Keep rice warm and set aside.
Step 2: Create Tuna Filling
In a separate bowl, mix canned tuna with mayonnaise. Break down ingredients and blend until smooth. Divide mixture into equal portions.
Step 3: Prepare Nori Strips
Select nori sheet and slice into thin strips:Step 4: Set Up Workspace
Gather workspace materials:Step 5: Shape Onigiri
Create rice ball using precise technique:Step 6: Wrap With Nori
Carefully wrap nori strip around onigiri:Step 7: Serve And Enjoy
Place onigiri on serving plate. Serve immediately at room temperature. Optional: Garnish with sesame seeds or additional nori.
Tips That Help Shape Perfect Onigiri
Keeping Japanese Tuna Onigiri Fresh for Later
Dishes to Serve with Japanese Tuna Onigiri
Creative Ways to Switch Up Japanese Tuna Onigiri
Print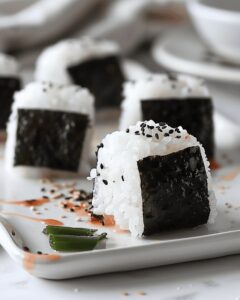
15-min. Easy Japanese Tuna Onigiri Recipe
- Total Time: 15 minutes
- Yield: 2 1x
Description
Japanese tuna onigiri brings oceanic flavors wrapped in perfectly seasoned rice. Compact hand-held parcels deliver quick comfort with minimal preparation, letting home cooks savor authentic Japanese street cuisine in mere moments.
Ingredients
Main Ingredients:
- 2 cups cooked short grain rice
- 5.29 ounces (150 grams) canned tuna, drained
- 0.5 sheet nori, cut into 2 strips
Seasoning Ingredients:
- 0.5 teaspoon salt
- 1 teaspoon sesame oil
Binding Ingredient:
- 2 tablespoons mayonnaise (Kewpie mayo)
Instructions
- Prepare a clean work surface and lay out a sheet of plastic wrap for easy rice shaping and handling.
- Season warm rice with sesame oil and salt, mixing thoroughly to ensure even distribution of flavors.
- Drain canned tuna and combine with mayonnaise, creating a creamy and smooth filling mixture.
- Divide the seasoned rice into equal portions, forming gentle circular shapes approximately half an inch thick on the plastic wrap.
- Place a portion of tuna mixture directly in the center of each rice circle, creating a small indentation.
- Carefully gather the plastic wrap’s edges, gently twisting and molding the rice around the tuna filling to create a compact, triangular or round onigiri shape.
- Slice nori seaweed into thin strips, ensuring each onigiri receives a decorative and flavorful wrap.
- Delicately unwrap the plastic and adjust the onigiri’s shape, smoothing any uneven surfaces for a refined presentation.
- Optional: Lightly toast the nori strip before wrapping around the rice ball to enhance its crisp texture and aromatic profile.
- Serve immediately while the rice remains warm and the texture is at its peak, perfect for a quick and satisfying Japanese-inspired snack.
Notes
- Prep rice while warm for better binding and easier shaping, ensuring a smooth, cohesive texture that holds together perfectly.
- Use fresh canned tuna drained thoroughly to prevent excess moisture from making the onigiri soggy or falling apart.
- Plastic wrap is a game-changer for creating uniform, professional-looking rice balls without sticky hands.
- Sesame oil adds a subtle nutty flavor that elevates the traditional Japanese rice ball from simple to spectacular.
- Nori strips not only provide an authentic touch but also create a convenient handle for eating, keeping hands clean and adding a delightful seaweed crunch.
- Portion control matters – aim for consistent size to ensure even cooking and a beautiful presentation that looks intentional and skillful.
- Prep Time: 10 minutes
- Cook Time: 5 minutes
- Category: Breakfast, Lunch, Snacks
- Method: Blending
- Cuisine: Japanese
Nutrition
- Serving Size: 2
- Calories: 350
- Sugar: 1g
- Sodium: 600mg
- Fat: 15g
- Saturated Fat: 2g
- Unsaturated Fat: 12g
- Trans Fat: 0g
- Carbohydrates: 42g
- Fiber: 1g
- Protein: 13g
- Cholesterol: 30mg
Liam O’Brien
Founder & Recipe Developer
Expertise
Education
Dublin Institute of Technology (now Technological University Dublin)
Ballymaloe Cookery School, County Cork, Ireland
Liam O’Brien is the co-founder and kitchen soul behind Good Tasting Meals, a chef who believes that cooking shouldn’t feel stressful or complicated.
He earned his culinary stripes at Technological University Dublin and polished his farm-to-table skills at Ballymaloe Cookery School. With over 15 years flipping pans and stirring up stories, Liam has worked in family cafés, bustling bistros, and everything in between.
At Good Tasting Meals, Liam brings you recipes that feel like home: cozy, simple, and full of flavor.