
Cherished Polish Pierogi Recipe From Grandma’s Kitchen
Pierogi have a special place in my heart, weaving memories of traditional Polish pierogi recipe passed down through generations.
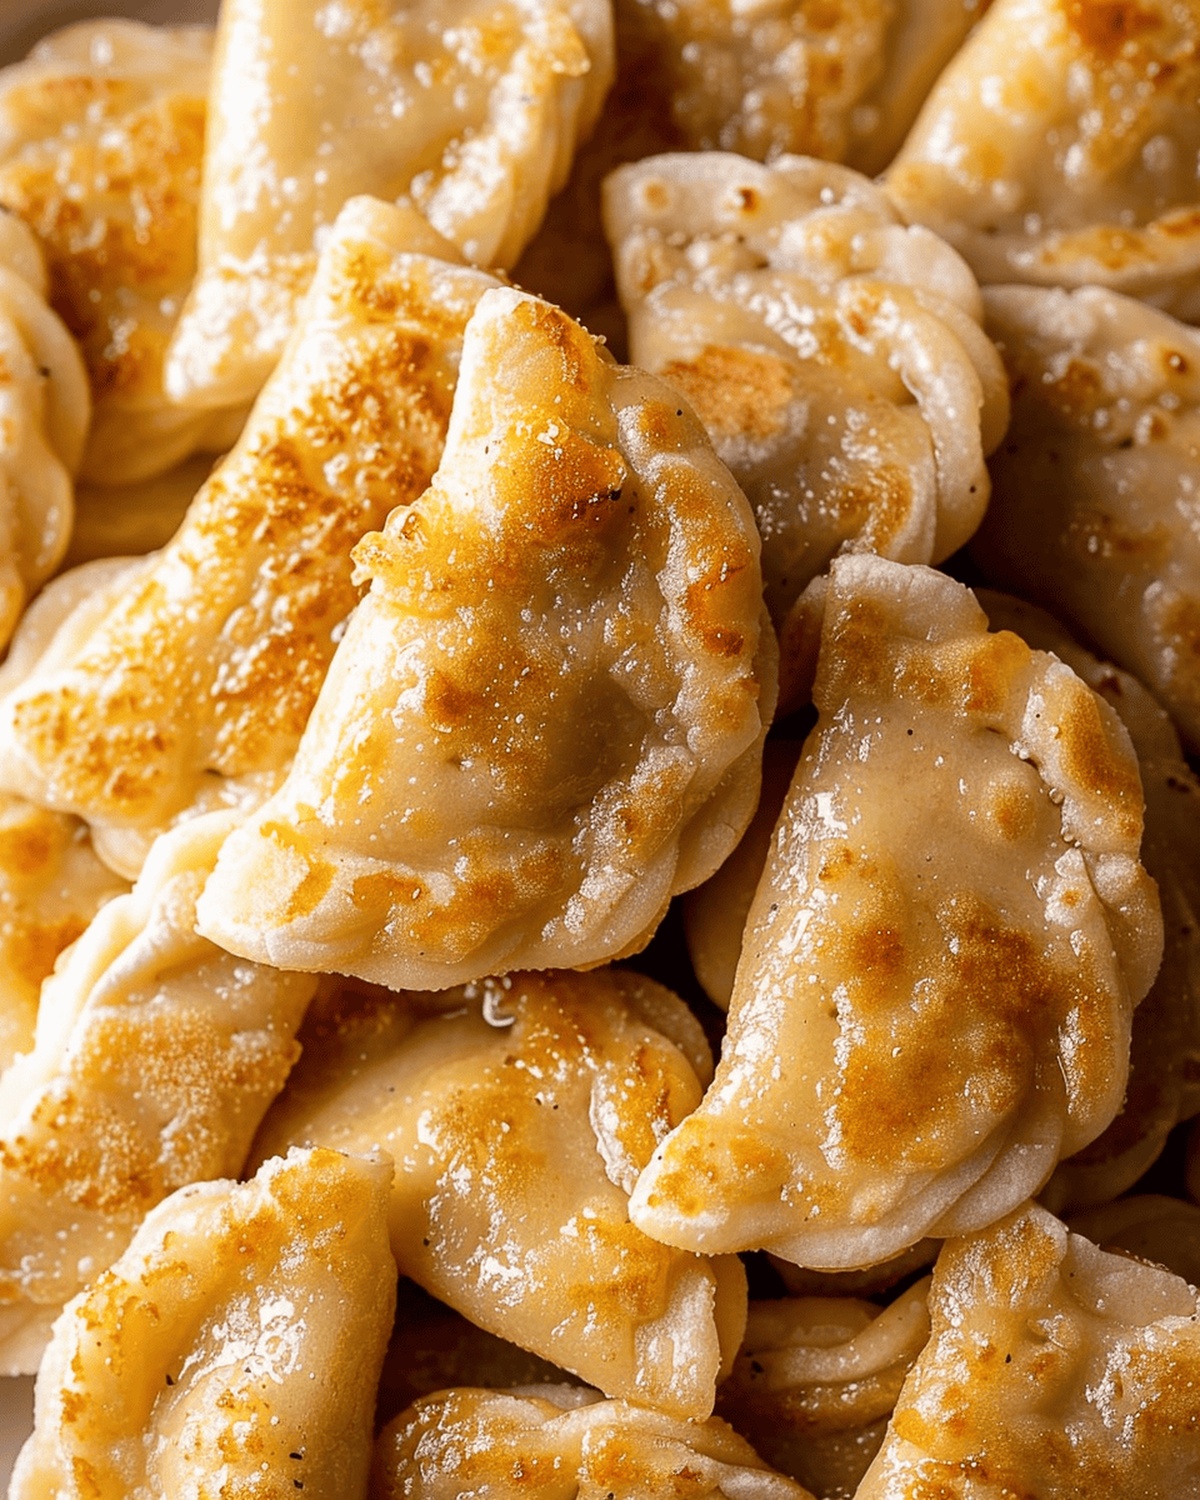
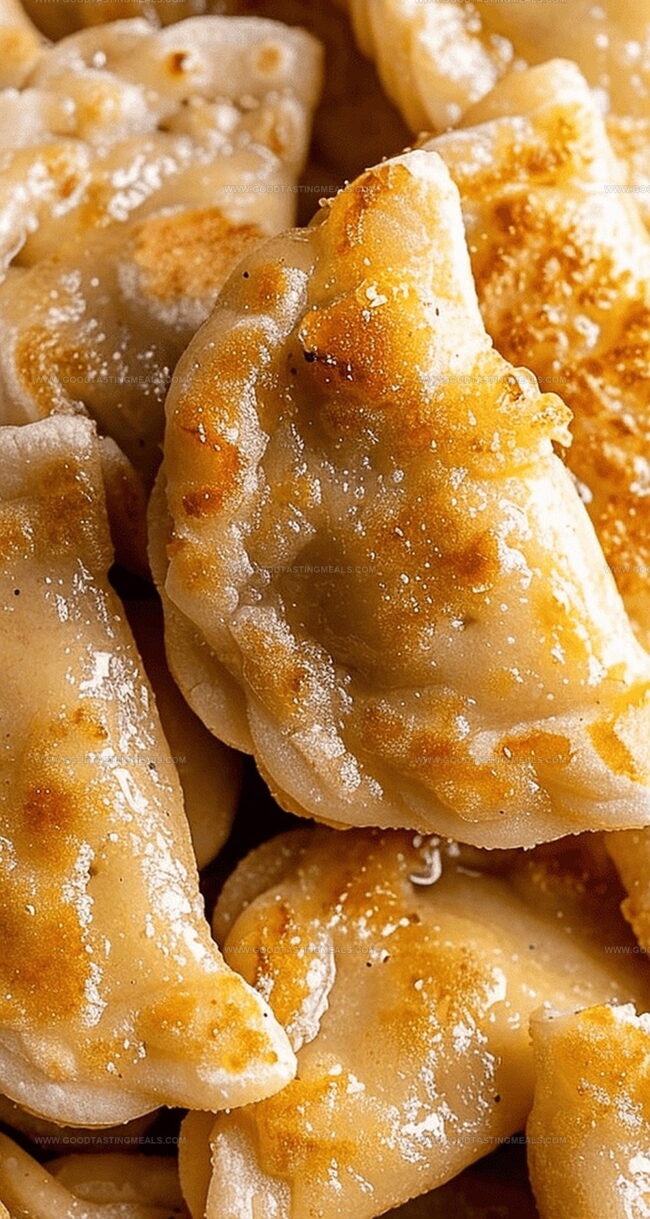
Soft, pillowy dumplings dance with rich fillings that speak of comfort and love.
Every fold tells a story of culinary heritage and warmth.
Generations of home cooks have perfected these delicate parcels of pure deliciousness.
The aroma of sautéed onions and tender dough brings memories flooding back with each bite.
Crafted with patience and care, these pierogi promise a taste of authentic Polish cuisine that will transport you straight to a cozy kitchen in Warsaw.
Get ready to roll up your sleeves and create a meal that connects you to generations of culinary tradition.
Quick Recipe Overview
Grandma’s Polish Pierogi: What to Use
For Dough Ingredients:For Filling Ingredients:For Serving and Finishing Ingredients:Equipment for Grandma’s Polish Pierogi
How to Prepare Grandma’s Polish Pierogi
Potato Comfort Pockets
Boil chopped potatoes until soft. Sauté onions in golden butter until they become translucent and fragrant. Combine potatoes, caramelized onions, and sharp cheese. Mash everything into a creamy mixture seasoned with salt and pepper.
Mix flour with basic seasonings. Combine eggs and olive oil, then blend into flour mixture. Knead soft dough until smooth and elastic, adding warm water gradually.
Roll dough thin on floured surface. Cut circular shapes using a glass or cookie cutter. Place potato mixture in center of each circle. Fold dough into half-moon shapes, sealing edges by pressing with fork.
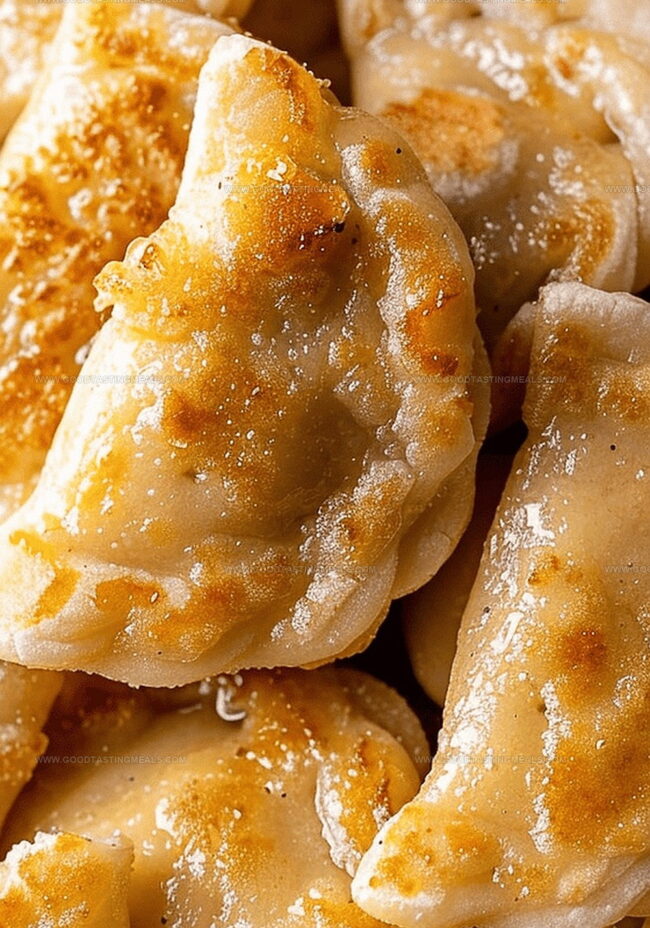
Gently boil pierogi in salted water until they float. Remove with slotted spoon and drain. Pan-fry in butter until edges turn golden and crispy.
Plate warm pierogi. Top with melted butter, dollop of sour cream, and sprinkle of fresh chives. Enjoy this comforting Polish classic that connects generations through delicious tradition.
Grandma’s Polish Pierogi: Extra Tips
How to Serve Grandma’s Polish Pierogi
Store Grandma’s Polish Pierogi the Right Way
Print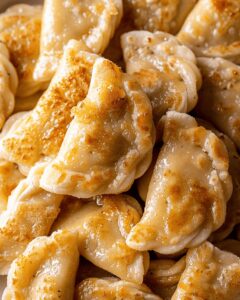
Authentic Polish Pierogi Recipe
- Total Time: 1 hour 20 minutes
- Yield: 7 1x
Description
Grandma’s Polish pierogi showcases hearty Eastern European comfort cuisine with delicate dumplings filled with savory potato and cheese. Generations of Polish families have perfected this beloved recipe, inviting you to savor traditional culinary heritage.
Ingredients
- 2.5 lbs (1.13 kg) russet potatoes, peeled and diced into large chunks
- 8 oz (226 g) shredded sharp cheddar cheese, freshly grated
- 1 small onion, minced
- ½ cup (113 g) butter, plus extra for frying
- 4.5 cups (562.5 g) all-purpose flour
- 1 tsp salt
- ½ tsp baking powder
- 1 egg
- 2 tsps olive oil
- 2 cups (473 ml) warm water
- extra butter for frying
Instructions
- Potato Preparation: Boil diced potatoes until fork-tender, drain completely, and set aside to cool.
- Flavor Base: Sauté minced onions in butter until translucent, developing a rich aromatic foundation.
- Filling Creation: Mash potatoes with sharp cheddar cheese, blending until smooth and creamy. Season with salt and pepper, then allow to rest.
- Dough Assembly: Mix flour, salt, and baking powder in a large bowl. Whisk egg and olive oil, then incorporate into dry ingredients. Gradually add warm water, kneading until the dough becomes smooth and elastic.
- Dough Shaping: Divide dough into two portions. Roll each section on a floured surface to 1/4-inch thickness. Cut uniform circles using a cookie cutter or glass.
- Pierogi Formation: Stretch each dough circle and place a spoonful of potato-cheese filling in the center. Fold into a half-moon shape, crimping edges securely to seal.
- Cooking Process: Boil pierogi in salted water until they float to the surface. Remove with a slotted spoon and drain on a towel-lined surface.
- Final Presentation: Pan-fry pierogi in butter until golden and crisp on both sides. Serve hot, garnished with additional melted butter, a dollop of sour cream, and fresh chives.
Notes
- Master Potato Consistency: Ensure potatoes are completely dry after boiling to prevent soggy, watery filling that compromises texture and taste.
- Dough Elasticity Tip: Knead dough thoroughly until smooth and elastic, allowing gluten development for perfect pierogi structure and preventing tears during cooking.
- Sealing Technique: Pinch pierogi edges firmly and create tight crimped borders to prevent filling from leaking during boiling, maintaining structural integrity.
- Butter Browning Hack: Use medium-high heat when pan-frying pierogi to achieve a crispy, golden-brown exterior without burning the delicate dough.
- Prep Time: 45 minutes
- Cook Time: 45 minutes
- Category: Dinner, Appetizer, Snacks
- Method: Boiling
- Cuisine: Polish
Nutrition
- Serving Size: 7
- Calories: 533
- Sugar: 2 g
- Sodium: 550 mg
- Fat: 24 g
- Saturated Fat: 15 g
- Unsaturated Fat: 7 g
- Trans Fat: 0 g
- Carbohydrates: 66 g
- Fiber: 4 g
- Protein: 14 g
- Cholesterol: 80 mg
Sophie Martin
Co-Founder & Content Creator
Expertise
Education
Stellenbosch University, South Africa
South African Chefs Academy, Cape Town
Sophie Martin is the nutrition brain and feel-good foodie at Good Tasting Meals. With a degree in Human Nutrition from Stellenbosch University and chef training from the South African Chefs Academy, Sophie brings balance to the table, literally. She loves creating meals that are easy to make, great to eat, and good for your body too.
Her recipes are made for everyday living, with a little flair and a lot of heart. Sophie’s not here to count calories, she’s here to show you how fresh, simple food can fit into your life, taste amazing, and still be nourishing.