
Fluffy Homemade Garlic Bread Rolls Recipe – Golden Goodness
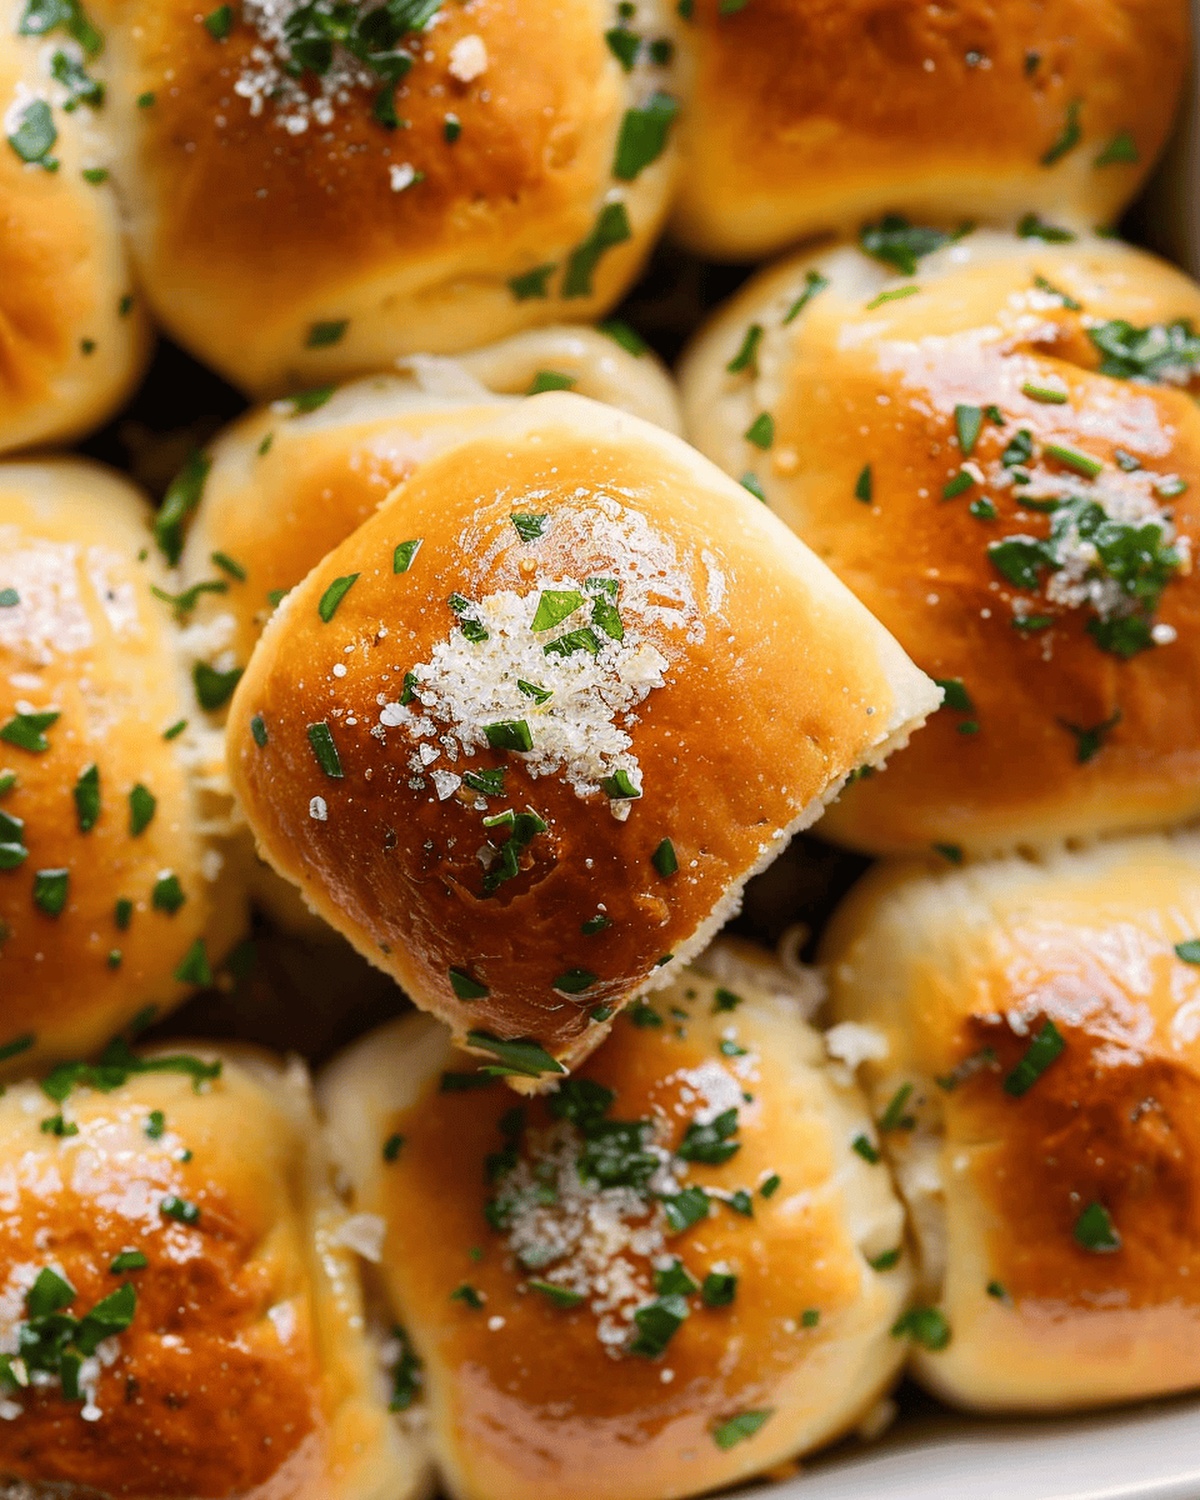
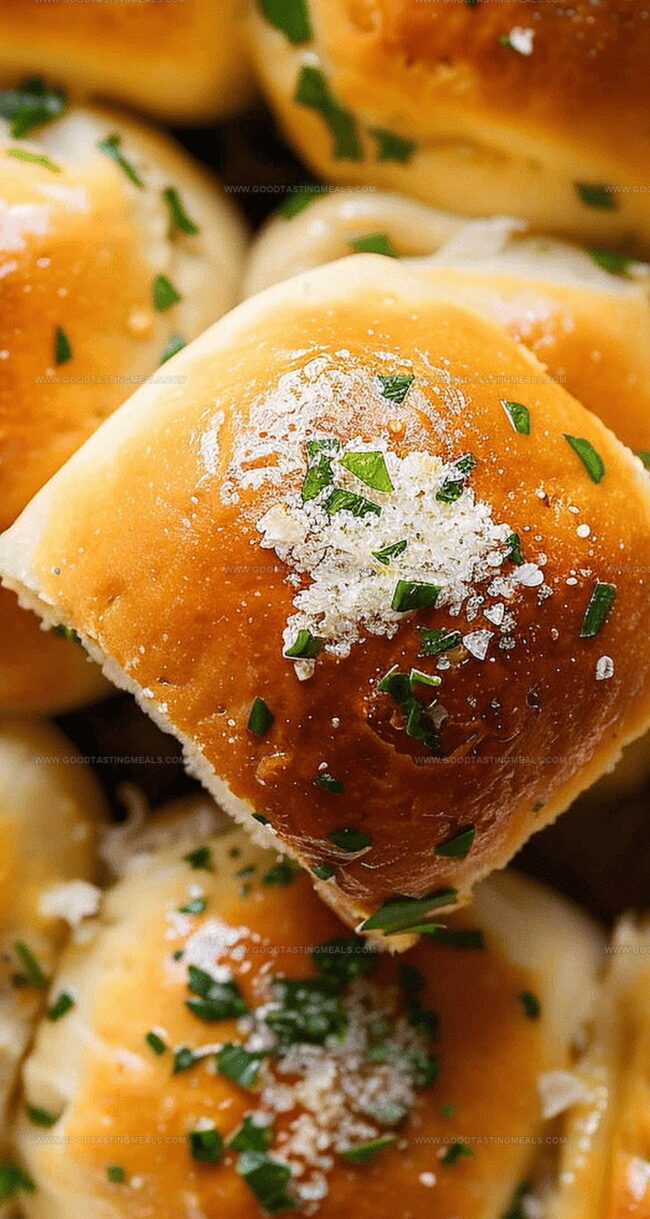
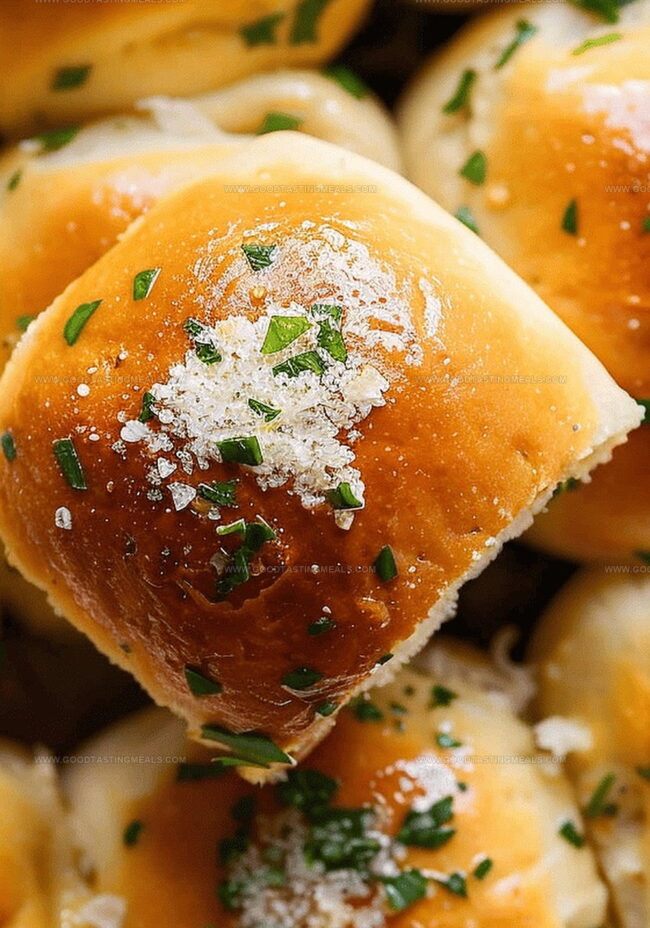
Warm, golden-brown garlic bread rolls emerge as the ultimate companion to any comforting meal, promising a delightful burst of flavor that beckons everyone to the table.
Infused with aromatic garlic and herbs, these soft, pillowy rolls deliver a mouthwatering experience that elevates simple dining to something extraordinary.
Each roll carries a perfect balance of buttery richness and zesty seasoning, making them irresistibly tempting.
The magic happens when fresh dough meets fragrant garlic and melted butter, creating a sensory symphony that tantalizes taste buds.
Crisp on the outside and tender within, these rolls are a testament to the beauty of simple ingredients combined with love.
Bakers of all skill levels can master this recipe, turning an ordinary meal into a memorable feast.
Dive into this delectable journey and watch as these garlic bread rolls become the star of your next gathering.
Quick Recipe Overview
Ingredients List for Garlic Bread Rolls
For Dough Base:For Liquid Ingredients:For Flavor Enhancers:Tools You’ll Need for Garlic Bread Rolls
Step-by-Step Garlic Bread Rolls Guide
Garlic Bread Rolls Adventure
Gather flour, parsley, sugar, yeast, and salt in a mixer bowl. Create a cozy environment for your ingredients to mingle and get friendly. The magic happens when you combine warmed milk, egg, and subtle garlic butter, transforming simple components into a soft, pillowy dough.
Divide your dough into 12 adorable little bundles. Gently roll each piece into perfect spheres, ensuring each one looks like a tiny pillow waiting to be transformed. Nestle these soft treasures into a buttered baking pan, allowing them breathing room to grow and expand.
Cover your dough babies with a soft cloth, inviting them to relax and rise in a warm, peaceful spot. Watch as they slowly double in size, promising delicious potential.
Brush the puffy rounds with a silky egg wash, then slide them into a preheated oven. Their transformation begins as they turn a gorgeous golden brown, filling your kitchen with irresistible aromas.
The moment they emerge, drench these heavenly rolls in a garlic-parsley butter bath. A sprinkle of flaky sea salt provides the perfect crispy flourish, elevating your creation from delicious to extraordinary.
Tips to Boost Garlic Bread Roll Flavor
Serving Garlic Bread Rolls Warm & Fresh
Keeping Garlic Bread Rolls Soft and Tasty
Print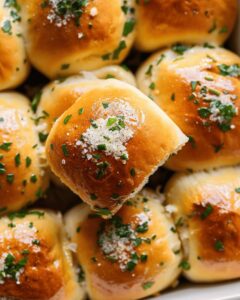
Buttery Garlic Bread Rolls Recipe
- Total Time: 20-30 minutes
- Yield: 13 1x
Description
Succulent garlic bread rolls blend Italian herbs with buttery, aromatic goodness. Crisp exterior and tender center make this recipe a delightful companion for pasta dishes or as a standalone snack you will savor.
Ingredients
- 3.5 cups (438 g) all-purpose flour
- 1 cup (240 ml) whole or 2% milk
- 2.25 tsps instant yeast
- 1 large egg
- 4.5 tbsps (64 g) unsalted butter
- 2 tbsps minced garlic
- 3 tbsps chopped fresh parsley
- 1 tbsp granulated sugar
- 1 tsp fine sea salt
- 2 tbsps unsalted butter
- 1 tbsp minced garlic
- 1 tbsp chopped fresh parsley
- 1 beaten egg (for brushing)
- flaky sea salt (for finishing)
Instructions
- Preparation: Ignite the oven to 350°F (180°C) and thoroughly lubricate a 9×13-inch baking dish with butter, ensuring complete surface coverage.
- Flavor Foundation: Liquefy butter in a small saucepan, infusing with minced garlic and allowing to cool slightly while developing aromatic intensity.
- Dry Ingredient Assembly: In a stand mixer bowl, amalgamate flour, parsley, sugar, yeast, and sea salt, creating a harmonious dry mixture.
- Dough Creation: Merge warmed milk, egg, and garlic-infused butter with dry ingredients. Utilize dough hook for 10-12 minutes of kneading, achieving a silky, slightly tacky consistency. Adjust flour incrementally if needed to perfect texture.
- Shaping Process: Divide dough into 12 uniform portions, carefully crafting each into smooth, taut spheres with sealed bases. Arrange rolls in prepared pan with minimal spacing.
- Rising Stage: Cloak rolls with plastic wrap in a warm sanctuary, allowing 1-2 hours for volume expansion. Just before baking, delicately brush surfaces with egg wash to ensure a lustrous golden exterior.
- Baking Transformation: Slide into preheated oven, baking 20-30 minutes until achieving a rich, amber-brown complexion. Concurrently, prepare garlic butter topping by melting butter and sautéing garlic with fresh parsley.
- Final Flourish: Immediately after extraction, lavish rolls with fragrant garlic butter, optional flaky sea salt sprinkle elevating the sensory experience. Serve piping hot, inviting immediate indulgence.
Notes
- Master Dough Consistency: Adjust flour carefully to prevent dry or overly sticky dough, ensuring a silky, elastic texture that’s perfect for soft rolls.
- Activate Yeast Properly: Ensure milk is warm (not hot) to prevent killing yeast, which is crucial for achieving light, fluffy bread rolls.
- Rise Time Matters: Allow dough to double in size in a warm, draft-free area for optimal texture and flavor development.
- Brush for Shine: Apply egg wash just before baking to create a beautiful golden-brown, glossy exterior that looks professionally baked.
- Prep Time: 20 minutes
- Cook Time: 20-30 minutes
- Category: Appetizer, Snacks
- Method: Baking
- Cuisine: Italian
Nutrition
- Serving Size: 13
- Calories: 188
- Sugar: 1.3 g
- Sodium: 180 mg
- Fat: 7.2 g
- Saturated Fat: 4.5 g
- Unsaturated Fat: 2.7 g
- Trans Fat: 0 g
- Carbohydrates: 25.8 g
- Fiber: 1 g
- Protein: 5.1 g
- Cholesterol: 34 mg
Sophie Martin
Co-Founder & Content Creator
Expertise
Education
Stellenbosch University, South Africa
South African Chefs Academy, Cape Town
Sophie Martin is the nutrition brain and feel-good foodie at Good Tasting Meals. With a degree in Human Nutrition from Stellenbosch University and chef training from the South African Chefs Academy, Sophie brings balance to the table, literally. She loves creating meals that are easy to make, great to eat, and good for your body too.
Her recipes are made for everyday living, with a little flair and a lot of heart. Sophie’s not here to count calories, she’s here to show you how fresh, simple food can fit into your life, taste amazing, and still be nourishing.