

Airy Garlic Butter Breadsticks Recipe: Soft Cloud Bites
Warm, golden breadsticks dripping with garlic butter recipe are the ultimate comfort food that beckons everyone to the table.
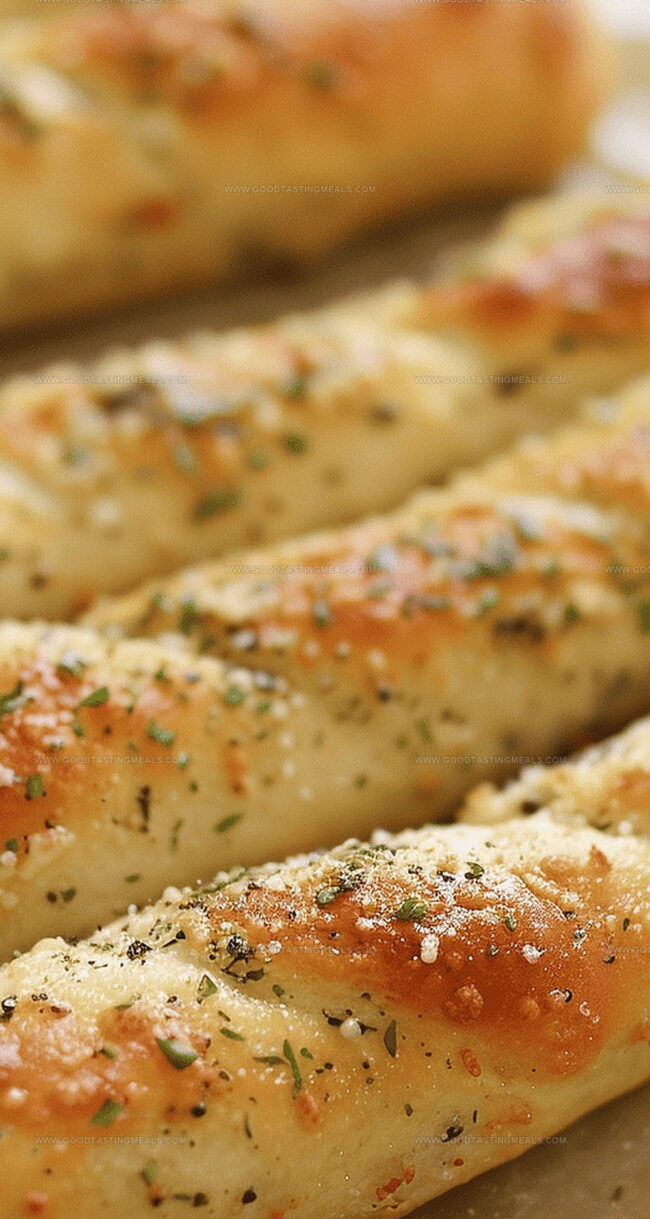
Soft and pillowy, these delectable treats emerge from the oven with a tantalizing aroma that fills the kitchen.
Each stick boasts a crisp exterior giving way to a tender, cloud-like interior.
Melted butter cascades over the surface, leaving a glossy sheen that promises pure deliciousness.
Herbs sprinkled on top add a burst of freshness and color to these irresistible bread companions.
The simplicity of this recipe means you can whip up restaurant-quality breadsticks in no time.
Dive into this mouthwatering recipe and watch as these garlic butter breadsticks become the star of your next meal.
Quick Recipe Overview
Everything You Need for Fluffy Garlic Butter Breadsticks
For Dough Base:For Dry Ingredients:For Finishing Butter Topping:Equipment for Baking Fluffy Garlic Butter Breadsticks
Rolling Out Fluffy Garlic Butter Breadsticks Easily
Mix ingredients for dough base in electric mixer, excluding flour. Gradually incorporate flour while mixing, kneading until smooth and elastic for about 7 minutes.
Transfer dough to lightly oiled container, cover, and let rest in warm space until volume doubles, approximately 90 minutes.
Divide dough into 12 equal portions. Roll each segment into slender 7-inch logs. Arrange on baking sheet, keeping slight distance between pieces.
Allow shaped logs to expand again, roughly 60 minutes, until they look puffy and increased in size.
Heat oven to 400°F. Bake logs until golden brown edges appear, around 12 minutes.
Create zesty butter blend combining melted butter with seasonings. Generously brush warm breadsticks immediately after removing from oven. Serve hot for maximum flavor and texture.
Breadstick Baking Tips You’ll Love
How to Serve Fluffy Garlic Butter Breadsticks Warm
Storing Your Garlic Butter Breadsticks Properly
Print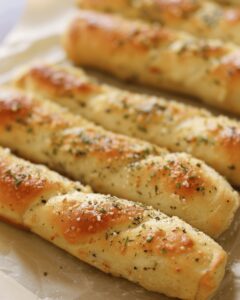
Buttery Garlic Breadsticks
- Total Time: 2 hours 45 minutes
- Yield: 13 1x
Description
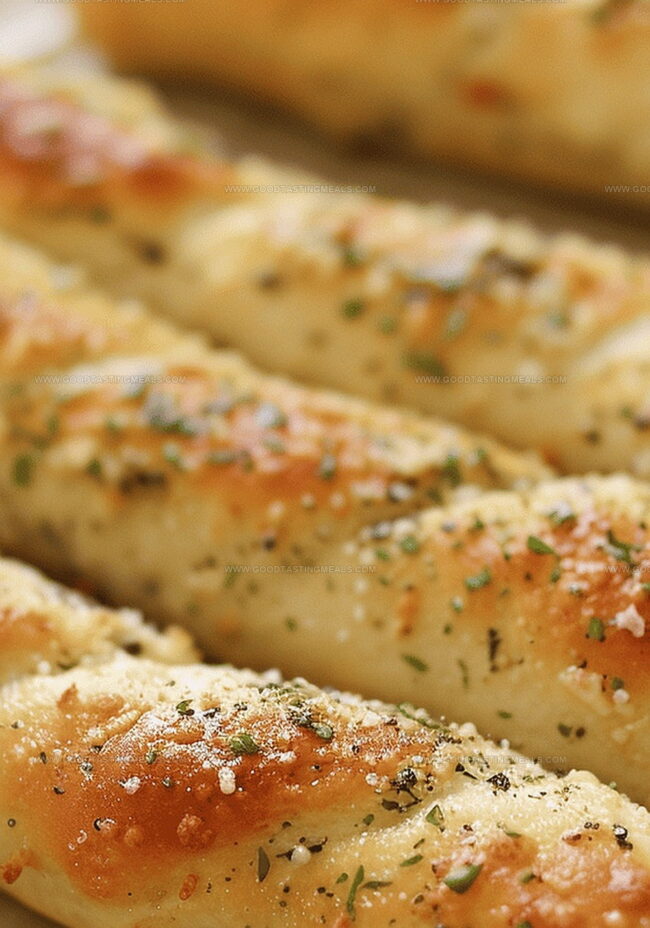
Homemade garlic butter breadsticks deliver pure comfort with their golden, herb-flecked exterior and pillowy interior. Guests will savor each aromatic bite, discovering delicious layers of flavor that complement any meal perfectly.
Ingredients
- 3 cups (720 ml) bread flour or all-purpose flour
- 1 cup + 2 tablespoons (270 ml) warm water
- 3 tablespoons (45 ml) unsalted butter, melted
- 1 ½ teaspoons (7.5 ml) instant yeast
- 2 tablespoons (30 ml) granulated sugar
- 1 ¾ teaspoons (8.75 ml) kosher salt
- 3 tablespoons (45 ml) unsalted butter, melted
- ½ teaspoon (2.5 ml) kosher salt
- ¼ teaspoon (1.25 ml) garlic powder
- ¼ teaspoon (1.25 ml) Italian seasoning
Instructions
- Yeast Activation: Blend liquid ingredients in an electric stand mixer, creating a smooth foundational mixture for dough development.
- Dough Formation: Gradually integrate flour using the dough hook, mixing until a cohesive, uniform texture develops, then knead on medium speed to achieve a silky, elastic consistency.
- First Fermentation: Transfer dough to an oiled container, cover with a cloth, and allow to rise in a warm, draft-free space until volume doubles, signaling proper fermentation and flavor enhancement.
- Shaping Preparation: Divide the risen dough into uniform segments, carefully rolling each into elongated 7-inch cylindrical logs on a lightly floured surface.
- Secondary Proofing: Arrange dough logs on prepared baking sheets, spacing them adequately, and let rise again until visibly expanded and aerated.
- Baking Process: Preheat oven to the specified temperature, then bake breadsticks until they transform into a rich, golden-brown color, indicating complete cooking.
- Finishing Touch: While breadsticks are still piping hot, generously brush with a luxurious garlic-infused butter mixture, ensuring complete and even coverage to maximize flavor and sheen.
- Serving: Present the warm, aromatic breadsticks immediately, showcasing their herbal and garlic-infused glory as a delectable accompaniment or standalone treat.
Notes
- Yeast Activation Essential: Warm liquid temperatures between 100-110°F guarantee proper yeast activation without killing the delicate microorganisms.
- Gluten Development Critical: Consistent medium-speed kneading for 8-10 minutes creates the perfect elastic texture that ensures light, airy breadsticks.
- Rising Environment Matters: Maintain a draft-free, warm space around 80-85°F to help dough rise efficiently and develop rich, complex flavors.
- Butter Brushing Technique: Apply seasoned butter immediately after baking while breadsticks are piping hot to maximize flavor absorption and achieve a glossy, irresistible finish.
- Prep Time: 15 minutes (plus rising time)
- Cook Time: 12 minutes
- Category: Snacks, Appetizer, Dinner
- Method: Baking
- Cuisine: Italian
Nutrition
- Serving Size: 13
- Calories: 180
- Sugar: 2g
- Sodium: 140mg
- Fat: 6g
- Saturated Fat: 4g
- Unsaturated Fat: 2g
- Trans Fat: 0g
- Carbohydrates: 28g
- Fiber: 1g
- Protein: 4g
- Cholesterol: 15mg
Sophie Martin
Co-Founder & Content Creator
Expertise
Education
Stellenbosch University, South Africa
South African Chefs Academy, Cape Town
Sophie Martin is the nutrition brain and feel-good foodie at Good Tasting Meals. With a degree in Human Nutrition from Stellenbosch University and chef training from the South African Chefs Academy, Sophie brings balance to the table, literally. She loves creating meals that are easy to make, great to eat, and good for your body too.
Her recipes are made for everyday living, with a little flair and a lot of heart. Sophie’s not here to count calories, she’s here to show you how fresh, simple food can fit into your life, taste amazing, and still be nourishing.