
Quick & Zesty Chilaquiles (Breakfast Nachos) Recipe for Mornings
Mexican chilaquiles revolutionize ordinary tortilla chips into a breakfast sensation that awakens every taste bud with vibrant flavors and textures.
Bold and unapologetic, this morning dish combines crispy corn triangles soaked in rich, spicy sauce that softens them just enough to create a perfect balance.
Home cooks love how quickly these nachos come together, making them ideal for lazy weekend mornings or spontaneous gatherings.
The magic happens when crunchy chips meet a luscious sauce, creating a harmonious blend of comfort and excitement.
Layers of complex seasonings dance across your palate, promising a culinary experience that feels both familiar and thrilling.
Authentic ingredients elevate this simple concept into a truly memorable meal that speaks directly to your hunger and heart.
Hungry diners will find themselves captivated by the irresistible combination of crisp, sauce-drenched chips topped with fresh garnishes.
Why Chilaquiles Are the Best Kind of Messy
What You’ll Need for the Perfect Nacho Breakfast
Sauce Ingredients:Chip and Cheese Base:Egg and Topping Ingredients:How to Assemble Chilaquiles Without the Sog
Step 1: Roast Vegetable Base
Activate broiler. Cover baking sheet with aluminum foil and lightly coat with oil. Arrange:Broil 5-10 minutes until vegetables soften and develop slight char.
Step 2: Create Spicy Tomato Sauce
Transfer roasted vegetables to blender with canned tomatoes. For chunkier texture, add half tomatoes initially. Blend until smooth. Pour into saucepan and simmer on medium heat for 10 minutes. Season with salt and pepper.
Step 3: Build Cheesy Tortilla Layer
Preheat oven to 400°F. Grease cast-iron skillet. Layer:Repeat layering process once more.
Step 4: Bake Nacho Base
Bake 5-10 minutes until cheese melts completely and becomes bubbly.
Step 5: Prepare Scrambled Eggs
Heat nonstick skillet over medium. Whisk eggs until uniform. Add butter to pan, then pour eggs. Gently scrape and flip eggs for 1-2 minutes until just cooked.
Step 6: Garnish and Serve
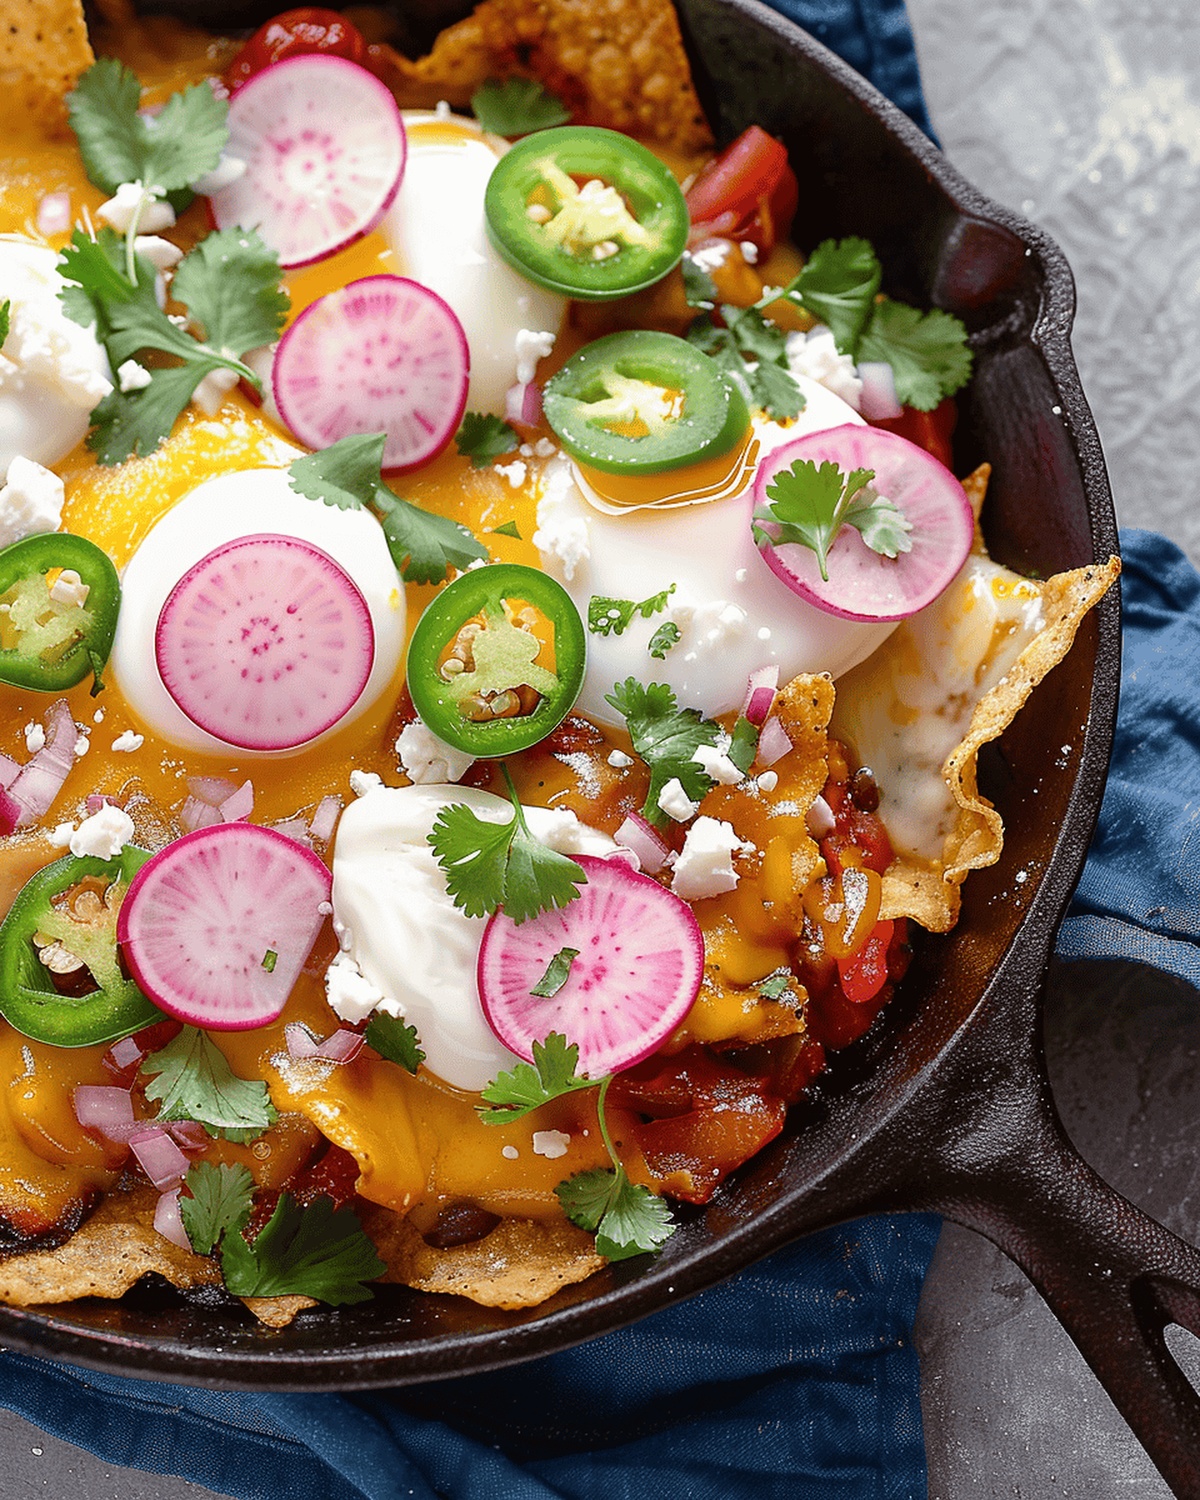
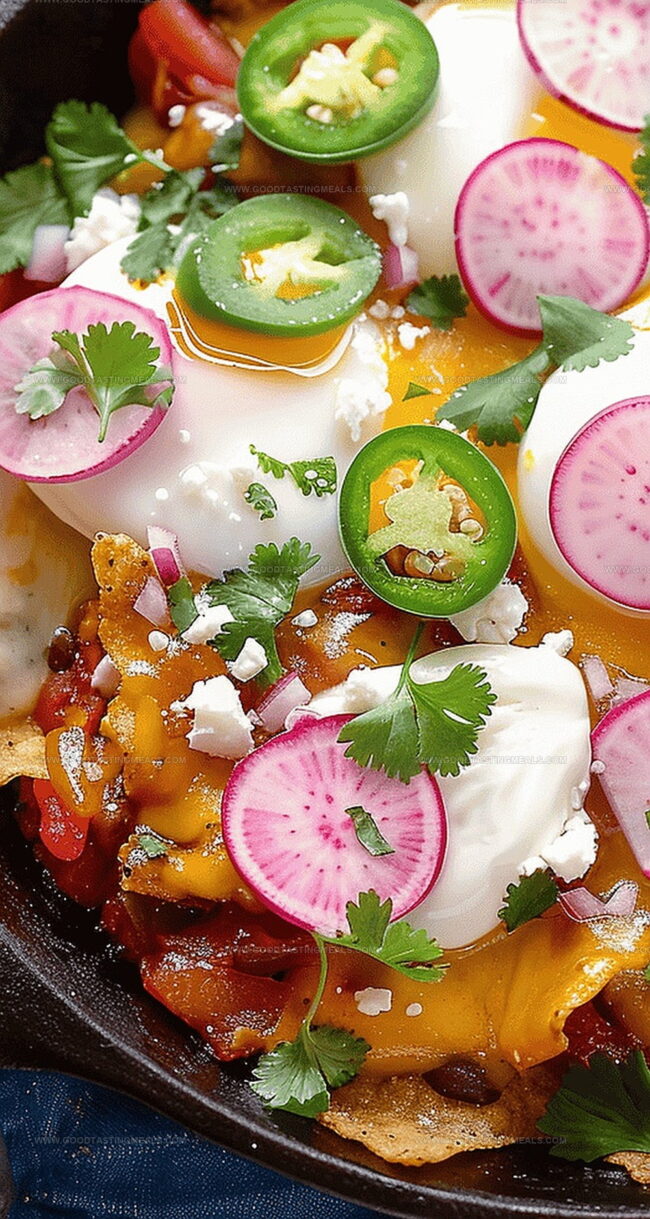
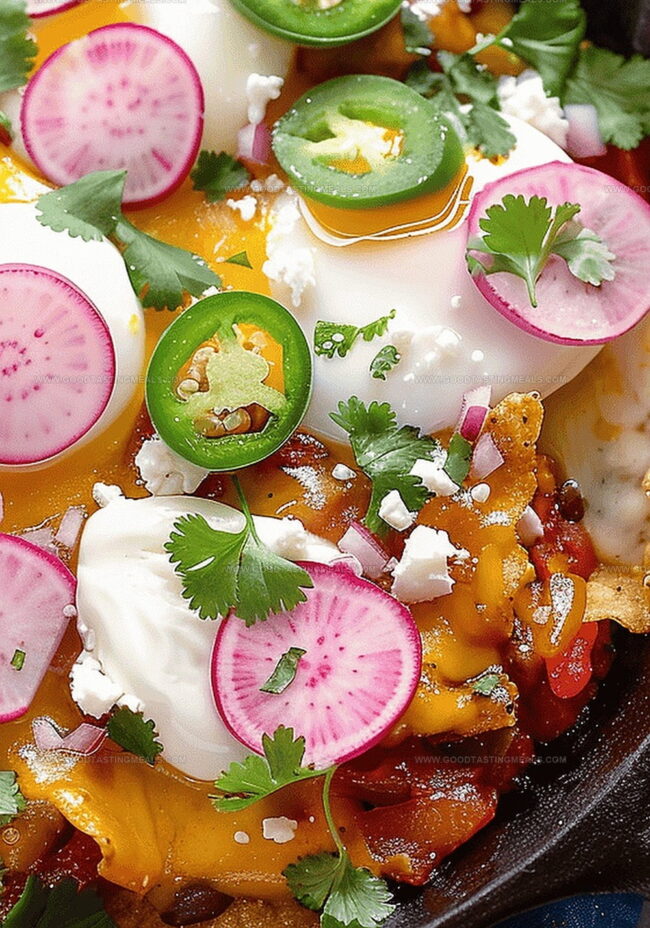
Top nacho base with scrambled eggs. Sprinkle:Add dollop of sour cream in center. Serve immediately while hot.
Tips for a Crispy, Cheesy Chilaquiles Finish
Keeping Your Nacho Brunch Fresh for Later
Breakfast Pairings for Crunchy, Saucy Chilaquiles
New Takes on Chilaquiles That Bring the Heat
Print
Chilaquiles (Breakfast Nachos) Recipe
- Total Time: 45 minutes
- Yield: 2 1x
Description
Savory Mexican chilaquiles bring together crispy tortilla chips smothered in zesty salsa with creamy eggs and fresh toppings. Hearty breakfast nachos deliver comfort and bold flavors that will transport you straight to the heart of traditional Mexican cuisine.
Ingredients
Main Proteins:
- 4 large eggs
- 1 tablespoon butter
Cheeses:
- ½ cup shredded Mexican blend cheese
- 2 tablespoons crumbled cotija or queso fresco cheese
Base and Toppings:
- ½ bag tortilla chips
- 12–16 pickled jalapeño slices
- 1 watermelon radish, thinly sliced
- fresh cilantro leaves, for garnish
- sour cream
Instructions
- Char vegetables under the broiler, positioning onions, peppers, and garlic on a foil-lined baking sheet, roasting until edges blister and vegetables soften, approximately 5-7 minutes.
- Transfer roasted vegetables to a blender, adding canned tomatoes. Pulse until creating a smooth, vibrant sauce, adjusting texture by including reserved tomato portions for extra chunkiness.
- Simmer sauce in a saucepan over medium heat, stirring periodically to prevent splattering, allowing flavors to meld and sauce to thicken for about 10 minutes. Season with salt and pepper.
- Prepare an oven-safe skillet by lightly oiling the surface, then construct layered nachos by arranging tortilla chips as the foundation, generously coating with sauce and alternating cheese varieties between chip layers.
- Bake the nachos in a preheated 400°F oven until cheese melts completely and develops a golden, bubbly texture, roughly 6-8 minutes.
- Simultaneously, create scrambled eggs in a nonstick skillet, whisking until color becomes uniform, then cooking with butter, continuously scraping and folding to achieve soft, fluffy texture.
- Remove nachos from oven, topping with freshly scrambled eggs, then garnish with sliced jalapeños, radish slivers, chopped cilantro, and a substantial dollop of sour cream.
- Serve immediately while ingredients remain warm and cheese stays melted, ensuring maximum flavor and textural enjoyment.
Notes
- Customize the heat level by adjusting the amount of jalapeños or removing seeds for milder flavor.
- Broiling vegetables intensifies their natural sweetness and creates a smoky depth in the sauce.
- Layer tortilla chips strategically to ensure every bite gets plenty of melted cheese and sauce coverage.
- Use freshly shredded cheese for better melting and richer flavor compared to pre-packaged options.
- Scramble eggs gently to maintain a soft, creamy texture that complements the crispy tortilla chips.
- Serve immediately to enjoy the perfect contrast between hot, crispy chips and melted cheese.
- Prep Time: 15 minutes
- Cook Time: 30 minutes
- Category: Breakfast, Snacks
- Method: Broiling
- Cuisine: Mexican
Nutrition
- Serving Size: 2
- Calories: 550
- Sugar: 2g
- Sodium: 800mg
- Fat: 35g
- Saturated Fat: 15g
- Unsaturated Fat: 20g
- Trans Fat: 0g
- Carbohydrates: 40g
- Fiber: 3g
- Protein: 22g
- Cholesterol: 370mg
Liam O’Brien
Founder & Recipe Developer
Expertise
Education
Dublin Institute of Technology (now Technological University Dublin)
Ballymaloe Cookery School, County Cork, Ireland
Liam O’Brien is the co-founder and kitchen soul behind Good Tasting Meals, a chef who believes that cooking shouldn’t feel stressful or complicated.
He earned his culinary stripes at Technological University Dublin and polished his farm-to-table skills at Ballymaloe Cookery School. With over 15 years flipping pans and stirring up stories, Liam has worked in family cafés, bustling bistros, and everything in between.
At Good Tasting Meals, Liam brings you recipes that feel like home: cozy, simple, and full of flavor.