
Easy Chocolate Thumbprint Cookies Recipe: Sweet Little Treats
These delectable chocolate thumbprint cookies revolutionize ordinary baking into a sweet, delightful adventure that captures the essence of comfort and indulgence.
Rich, buttery dough becomes the perfect canvas for creating irresistible treats that melt in your mouth.
Soft centers and crumbly edges create a textural symphony that beckons dessert lovers everywhere.
Warm kitchen aromas will instantly transport you to childhood memories of grandma’s special baking moments.
The delicate technique involves pressing a gentle indentation into each cookie, which becomes a perfect vessel for decadent filling.
Small yet magnificent, these cookies represent more than just a simple dessert—they embody pure culinary joy.
You’ll find yourself falling in love with every crumbly, chocolatey bite.
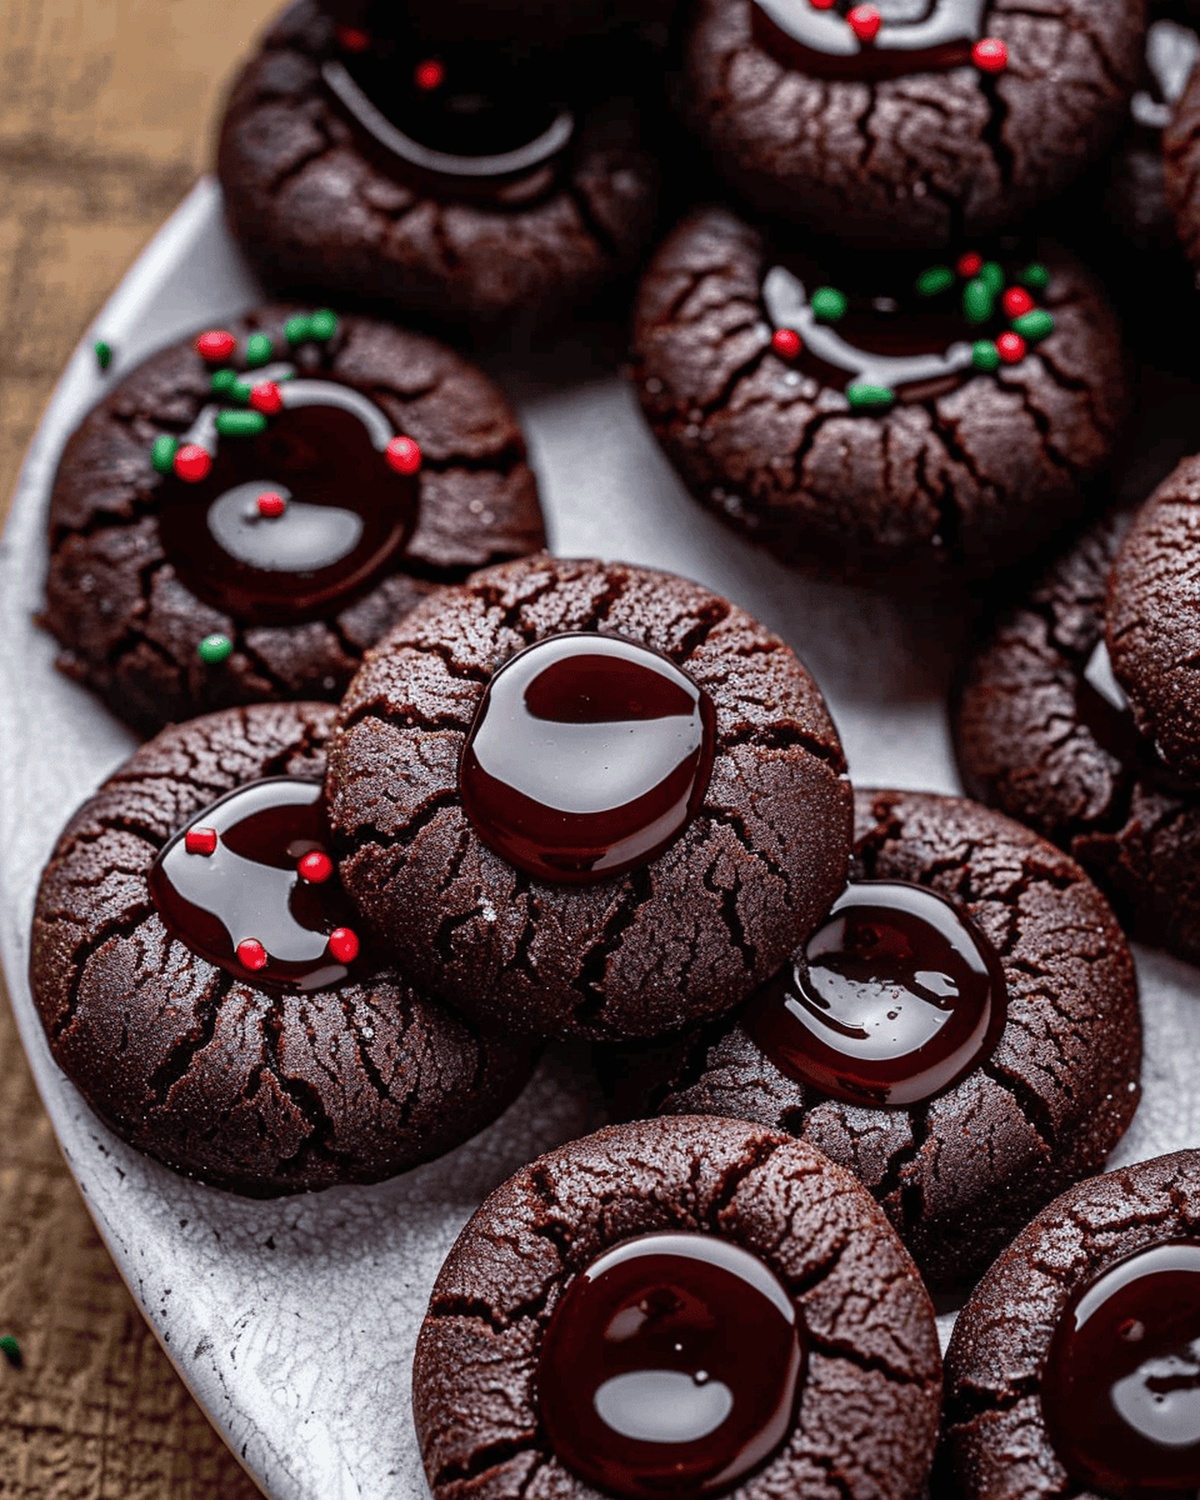
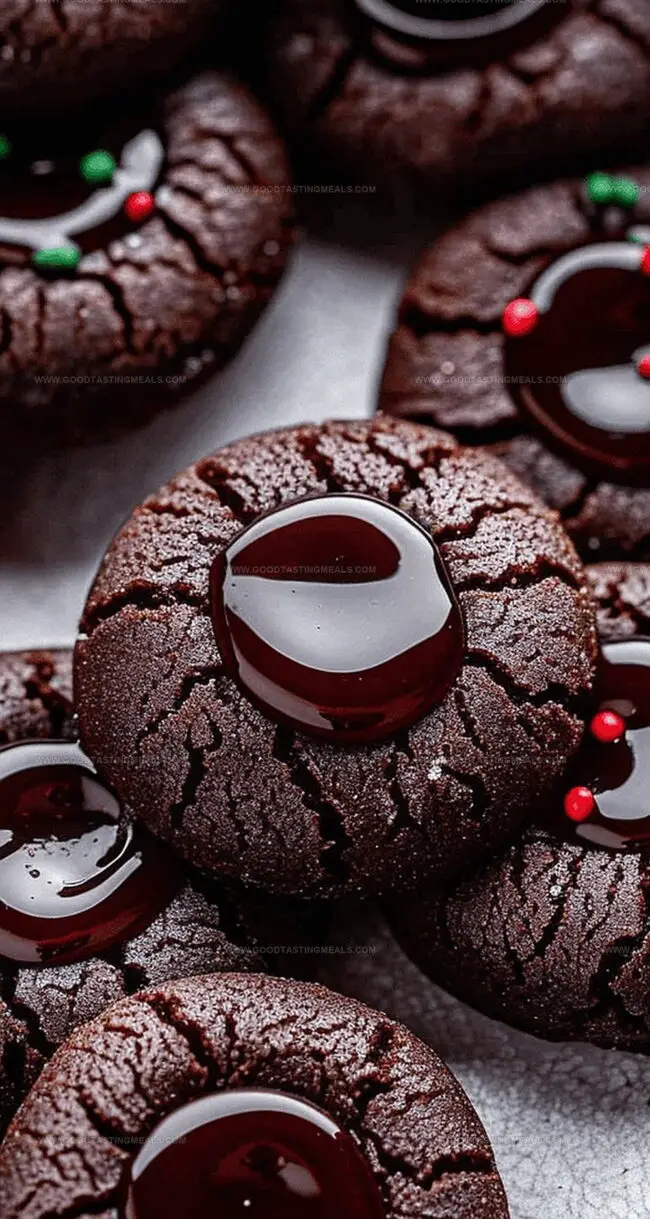
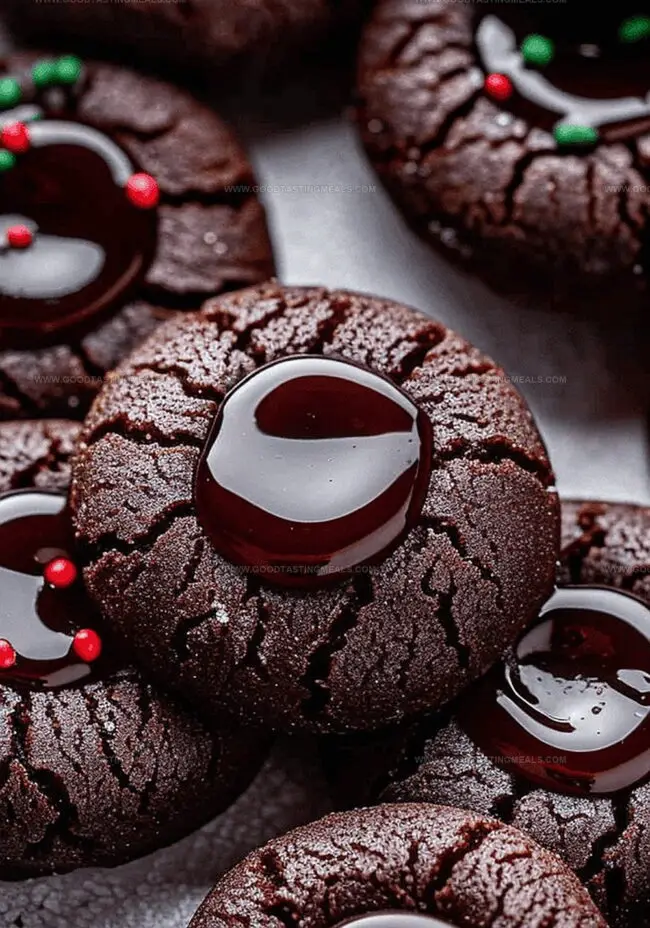
Chocolate Thumbprint Cookies With Rich Centers
All the Ingredients for Classic Thumbprint Cookies
Cookie Base Ingredients:Sweeteners and Binding Ingredients:Ganache Filling Ingredients:Optional Decoration:Instructions to Bake With That Signature Center
Step 1: Prepare Baking Workspace
Line two baking sheets with parchment paper. Set aside a clean workspace for cookie preparation.
Step 2: Mix Dry Ingredients
In a medium bowl, combine:Whisk ingredients until well blended.
Step 3: Create Butter Mixture
In a large mixing bowl, cream together:Use an electric mixer, beating for two minutes until light and fluffy.
Step 4: Add Wet Ingredients
Mix in egg yolks and vanilla extract. Beat until mixture becomes pale and creamy, about 1-2 minutes.
Step 5: Combine Dough
Gradually add dry ingredients to wet mixture. Mix gently until just combined, avoiding overmixing.
Step 6: Shape Cookie Dough
Scoop dough into small portions (about 1 tablespoon each). Roll into smooth balls.
Step 7: Create Cookie Indentations
Place dough balls on prepared baking sheets. Use a ¼ teaspoon to press gentle indentations in the center of each ball.
Step 8: Chill Dough
Refrigerate cookie dough for at least one hour. This helps develop richer flavors and prevents spreading.
Step 9: Preheat Oven
Set oven temperature to 350°F (175°C).
Step 10: Bake Cookies
Arrange chilled dough balls 1½ inches apart on baking sheets. Bake for 9-11 minutes.
Step 11: Perfect Cookie Shape
Immediately after baking, gently press centers again if needed. Use a circular cookie cutter to restore perfect round shape.
Step 12: Cool Cookies
Let cookies rest on baking sheet for 5 minutes. Transfer to cooling rack to cool completely.
Step 13: Prepare Chocolate Ganache
In a small bowl, place chocolate chips. Heat heavy cream until nearly boiling. Pour hot cream over chips. Let sit for one minute, then stir until smooth.
Step 14: Fill Cookie Centers
Carefully fill each cookie indent with ganache. Use approximately one teaspoon per cookie.
Step 15: Optional Decoration
Sprinkle nonpareils over ganache for extra charm.
Step 16: Set Ganache
Refrigerate cookies for 10-15 minutes to help ganache set firmly.
Step 17: Store Cookies
Keep cookies in airtight container. They will stay fresh for up to three days.
Enjoy your delightful homemade chocolate thumbprint cookies!
Tips to Prevent Cracking and Overbaking
How to Store These Chocolate Cookies Right
Great Pairings for Chocolate Thumbprint Cookies
Versions That Add Spice, Nuts, or Fruity Fillings
Print
Chocolate Thumbprint Cookies Recipe
- Total Time: 1 hour 30 minutes
- Yield: 24 1x
Description
Chocolate thumbprint cookies bring classic holiday comfort with rich cocoa-infused dough and silky ganache centers. Delicate chocolate rounds nestled with creamy chocolate filling create irresistible sweet treats you’ll crave during festive moments.
Ingredients
Dry Ingredients:
- 1 ½ cups (188 g) all-purpose flour
- ½ cup (40 g) Dutch process cocoa powder
- ½ teaspoon salt
- ½ teaspoon baking powder
Sweet Ingredients:
- ¾ cup (168 g) unsalted butter, softened
- ¾ cup (165 g) light brown sugar, packed
- ¼ cup (50 g) granulated white sugar
- 2 egg yolks, at room temperature
- 1 ½ teaspoons vanilla bean paste or extract
Chocolate Ganache:
- 1 cup (200 g) semi-sweet chocolate chips
- ½ cup (120 ml) heavy whipping cream
- Nonpareils for sprinkling on top (optional)
Instructions
- Prepare two baking sheets by lining them with parchment paper, creating a non-stick surface for the cookies.
- Combine flour, cocoa powder, salt, and baking powder in a medium bowl, whisking thoroughly to ensure even distribution of dry ingredients.
- In a separate large mixing bowl, use an electric mixer to cream butter with brown and white sugars until the mixture becomes light and fluffy.
- Incorporate egg yolks and vanilla extract into the butter-sugar mixture, blending until the color transforms to a pale, creamy consistency.
- Gradually fold the dry ingredient mixture into the wet ingredients, stirring gently until just combined to prevent overmixing.
- Portion the dough into 34 equal-sized balls, each approximately one tablespoon in volume, rolling them between your palms for smooth, uniform shape.
- Gently press a small indent into the center of each dough ball using a ¼ teaspoon measuring spoon, creating a well for the ganache.
- Refrigerate the prepared dough balls for a minimum of one hour to enhance flavor and prevent spreading during baking.
- Preheat the oven to 350°F, ensuring a consistent temperature for even baking.
- Arrange the chilled dough balls on baking sheets, spacing them approximately 1½ inches apart to allow proper expansion.
- Bake the cookies for 9-11 minutes, watching carefully to achieve a perfect texture without overcooking.
- Immediately after removing from the oven, use a circular cookie cutter to reshape the cookies while they’re still warm and malleable.
- Allow cookies to rest on the baking sheet for five minutes before transferring to a wire rack for complete cooling.
- For the ganache, place chocolate chips in a small bowl and pour hot cream over them, letting the mixture sit briefly before stirring until smooth.
- Fill each cookie’s indentation with ganache, using approximately one teaspoon per cookie.
- Optional: Sprinkle nonpareils over the ganache for added texture and visual appeal.
- Refrigerate the completed cookies for 10-15 minutes to set the ganache.
- Store the finished chocolate thumbprint cookies in an airtight container, where they will remain fresh for up to three days.
Notes
- Chilling the dough is crucial for preventing spreading and maintaining the cookie’s shape during baking.
- Create perfect indents by using a ¼ teaspoon or the back of a small measuring spoon while the cookies are still warm.
- Ensure ganache is smooth by letting hot cream sit on chocolate chips for exactly one minute before stirring.
- Use room temperature ingredients, especially butter and eggs, for better cookie texture and consistent mixing.
- Nonpareils are optional but add a delightful decorative touch and subtle crunch to the finished cookies.
- Refrigerating cookies after filling helps ganache set quickly and enhances the overall flavor and texture.
- Prep Time: 20 minutes(plus 1 hour chilling time)
- Cook Time: 10 minutes
- Category: Desserts, Snacks
- Method: Baking
- Cuisine: American
Nutrition
- Serving Size: 24
- Calories: 155
- Sugar: 9 g
- Sodium: 50 mg
- Fat: 10 g
- Saturated Fat: 6 g
- Unsaturated Fat: 4 g
- Trans Fat: 0 g
- Carbohydrates: 15 g
- Fiber: 1 g
- Protein: 2 g
- Cholesterol: 37 mg
Liam O’Brien
Founder & Recipe Developer
Expertise
Education
Dublin Institute of Technology (now Technological University Dublin)
Ballymaloe Cookery School, County Cork, Ireland
Liam O’Brien is the co-founder and kitchen soul behind Good Tasting Meals, a chef who believes that cooking shouldn’t feel stressful or complicated.
He earned his culinary stripes at Technological University Dublin and polished his farm-to-table skills at Ballymaloe Cookery School. With over 15 years flipping pans and stirring up stories, Liam has worked in family cafés, bustling bistros, and everything in between.
At Good Tasting Meals, Liam brings you recipes that feel like home: cozy, simple, and full of flavor.