
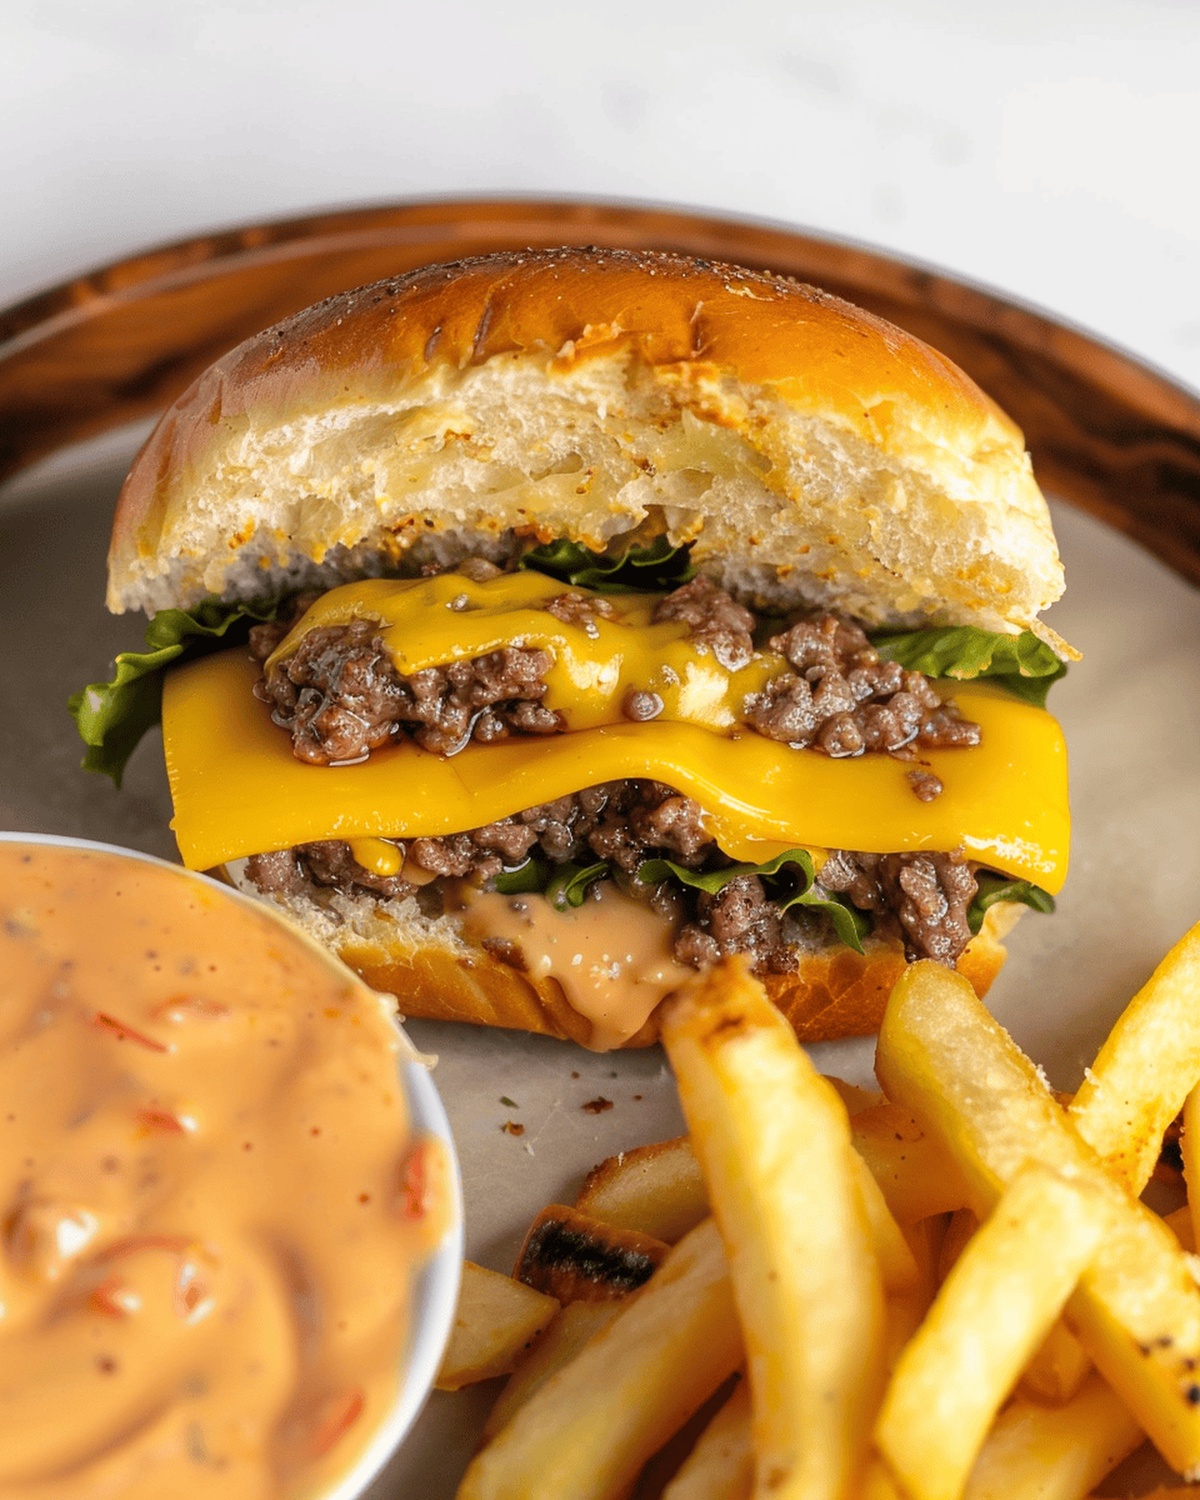
The Juiciest Classic Juicy Lucy Recipe for Cheese Lovers
Lucy burgers craft ordinary ground beef into a mouthwatering marvel of culinary creativity that challenges traditional sandwich expectations.
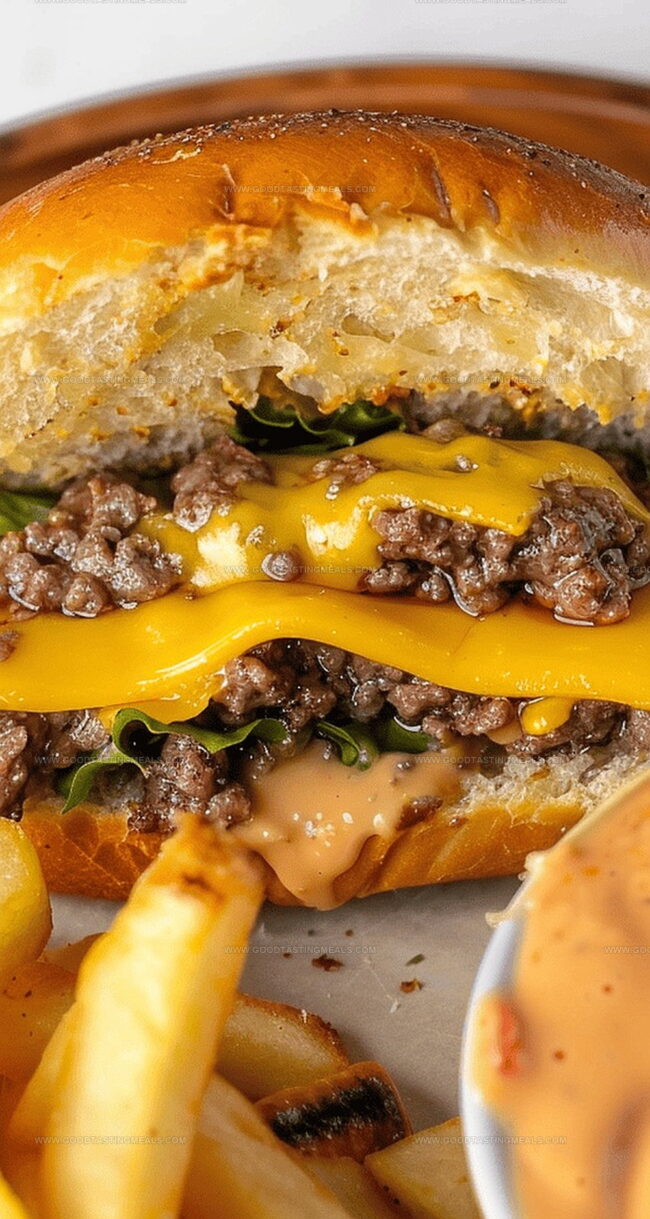
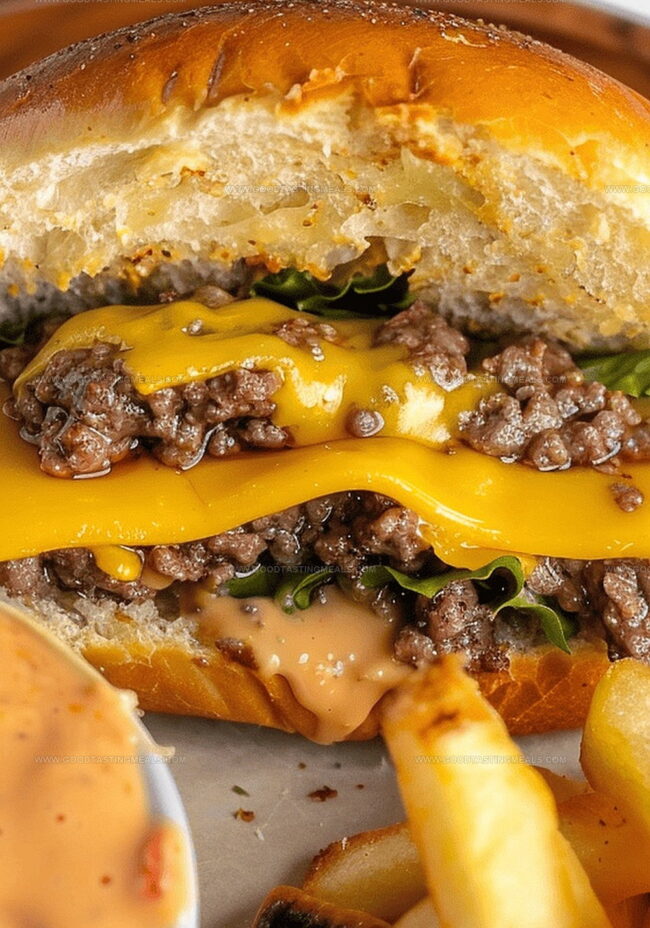
Molten cheese hidden inside a perfectly seasoned patty creates an explosive flavor experience unlike any standard hamburger.
Midwestern cuisine boasts this ingenious burger style that keeps hungry diners guessing about the delectable surprise waiting within each carefully crafted bite.
Skilled home cooks understand the delicate technique required to seal melted cheese inside a compact meat pocket without compromising structural integrity.
Regional pride fuels this burger’s reputation as a decadent twist on familiar grilling traditions that tantalize taste buds and spark conversation.
Meat lovers appreciate the unexpected burst of gooey goodness that emerges with the first enthusiastic cut into the burger’s center.
Crafting the ultimate lucy burger demands precision, patience, and a passion for innovative comfort food.
The Cheese-Stuffed Burger Everyone Talks About
What Goes Into the Classic Juicy Lucy
Meat:Cheese:Seasonings:How to Cook Juicy Lucys Without a Mess
Step 1: Prepare The Grill
Fire up your outdoor cooking surface to a sizzling 350-400 degrees Fahrenheit. Make sure the grates are clean and lightly oiled to prevent sticking.
Step 2: Create Flavor-Packed Meat Mixture
In a spacious mixing bowl, blend ground beef with:Gently combine ingredients without overworking the meat to keep it tender.
Step 3: Shape The Burger Patties
Separate the meat mixture into three even portions. Take one portion and split it into two equal sections.
Step 4: Design The Cheese Center
Fold cheese slices into compact stacks, creating a neat cheese core for each burger.
Step 5: Construct The Cheese-Filled Burger
Place one meat section flat, position the cheese stack in the center. Cover with the second meat section and carefully seal the edges, ensuring no cheese escapes.
Step 6: Form Perfect Burger Shape
Softly press the filled patties, creating a uniform burger shape while keeping the cheese completely enclosed.
Step 7: Grill To Perfection
Cook patties on the grill for approximately 7 minutes per side. Aim for your preferred level of doneness.
Step 8: Serve And Enjoy
Transfer burgers to a serving plate. Add your favorite toppings and get ready for a mouthwatering experience.
Tips for Melty Centers and Crisp Edges
Reheating a Juicy Lucy Without Drying It Out
Favorite Sides and Drinks to Serve With It
Juicy Lucy Variations That Keep It Interesting
Print
Classic Juicy Lucy Recipe
- Total Time: 24 minutes
- Yield: 4 1x
Description
Midwestern classic juicy lucy brings messy cheeseburger magic straight from Minneapolis kitchens. Molten cheese-stuffed patties promise mouthwatering flavor that melts perfectly between toasted buns, making you crave another delicious bite.
Ingredients
Main Protein:
- 1 pound (1 lb) ground beef
Cheese:
- 3 slices cheddar cheese
Seasonings and Flavorings:
- 1 tablespoon (1 Tbsp) Worcestershire sauce
- ½ teaspoon (½ tsp) garlic powder
- ½ teaspoon (½ tsp) onion powder
- 1 teaspoon (1 tsp) salt
- ½ teaspoon (½ tsp) black pepper
Instructions
- Prepare the outdoor grill, heating it to a medium-high temperature zone perfect for meat searing.
- In a mixing vessel, thoroughly blend ground beef with aromatic seasoning elements like Worcestershire sauce, garlic powder, onion powder, salt, and freshly cracked black pepper.
- Carefully separate the seasoned meat mixture into three substantial portions, each representing a robust burger foundation.
- Strategically fold cheese slices into compact quadrants, creating dense central filling for each burger.
- Take a single meat portion and delicately separate it into two symmetrical halves, transforming each into a thin, round patty landscape.
- Position a compacted cheese stack directly in the epicenter of one meat patty, creating a molten core.
- Gently drape the second meat patty over the cheese, meticulously sealing the edges with fingertip precision to prevent cheese escape during cooking.
- Tenderly shape the sealed patty, ensuring a uniform thickness and complete cheese encapsulation.
- Transfer the burger parcels onto the preheated grill grates, allowing approximately 7 minutes of sizzling transformation per side.
- Cook until the meat reaches desired internal temperature, maintaining a juicy interior and crisp exterior.
- Transfer to a serving plate and embellish with preferred burger companions like crisp lettuce, ripe tomatoes, or zesty condiments.
Notes
- Cheese placement matters: Carefully fold and stack cheese to create a perfect molten center without leaking during grilling.
- Sealing technique is crucial: Gently pinch and press burger edges to completely enclose cheese, preventing messy cheese explosions.
- Temperature control ensures juiciness: Maintain grill heat between 350-400°F for perfectly cooked burgers with a crispy exterior and tender interior.
- Seasoning enhances flavor: Worcestershire sauce and spices add depth and richness to the ground beef, elevating the burger’s taste profile.
- Portion consistency matters: Divide beef equally to create uniform burgers that cook evenly and look professionally prepared.
- Resting time improves texture: Allow burgers to rest briefly after grilling to redistribute juices and maintain maximum moisture.
- Prep Time: 10 minutes
- Cook Time: 14 minutes
- Category: Lunch, Dinner
- Method: Grilling
- Cuisine: American
Nutrition
- Serving Size: 4
- Calories: 497
- Sugar: 1 g
- Sodium: 834 mg
- Fat: 36 g
- Saturated Fat: 17 g
- Unsaturated Fat: 16 g
- Trans Fat: 1 g
- Carbohydrates: 2 g
- Fiber: 0 g
- Protein: 38 g
- Cholesterol: 112 mg
Liam O’Brien
Founder & Recipe Developer
Expertise
Education
Dublin Institute of Technology (now Technological University Dublin)
Ballymaloe Cookery School, County Cork, Ireland
Liam O’Brien is the co-founder and kitchen soul behind Good Tasting Meals, a chef who believes that cooking shouldn’t feel stressful or complicated.
He earned his culinary stripes at Technological University Dublin and polished his farm-to-table skills at Ballymaloe Cookery School. With over 15 years flipping pans and stirring up stories, Liam has worked in family cafés, bustling bistros, and everything in between.
At Good Tasting Meals, Liam brings you recipes that feel like home: cozy, simple, and full of flavor.