
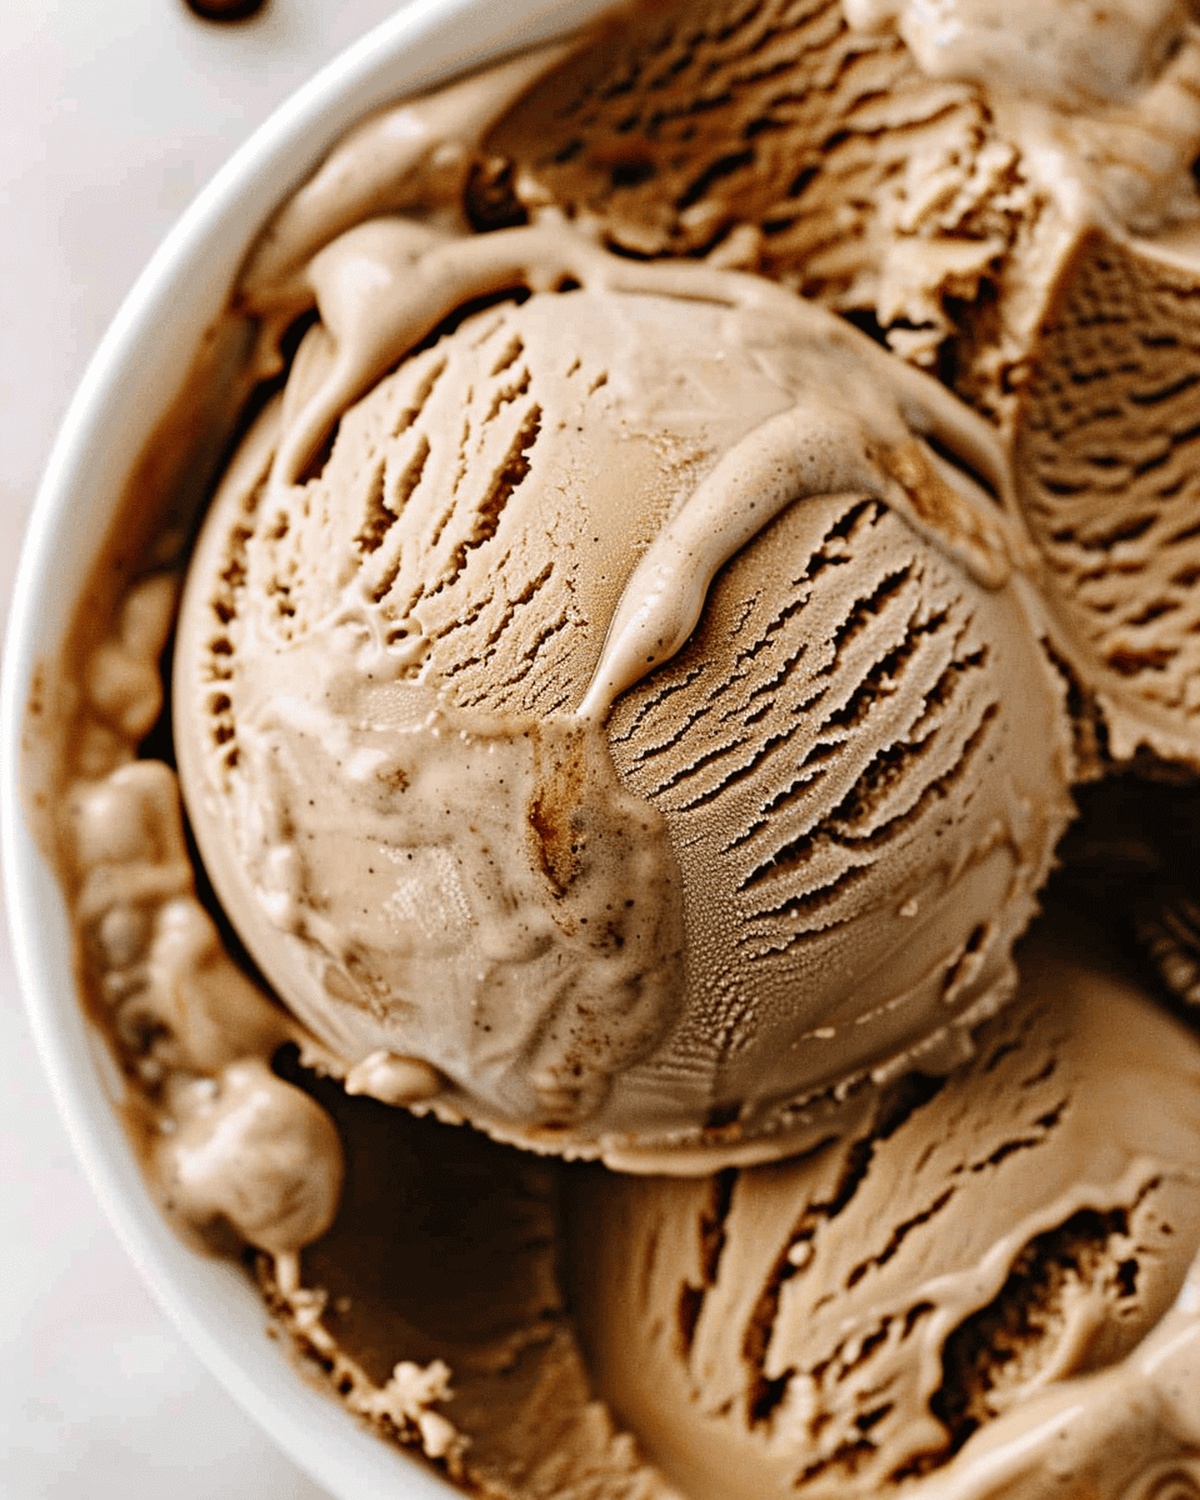
Silky-Smooth Coffee Ice Cream Recipe: Sweet Homemade Bliss
Rich, velvety coffee ice cream revamps ordinary dessert into an extraordinary sensory experience.
Smooth caffeine-infused sweetness whispers promises of indulgence and comfort.
Cold brewing techniques elevate the traditional frozen treat with intense, deep flavor profiles.
Creamy textures blend seamlessly with robust coffee undertones, creating a sophisticated dessert that tantalizes sophisticated palates.
The delicate balance between sweetness and bitter coffee notes promises a complex gustatory journey.
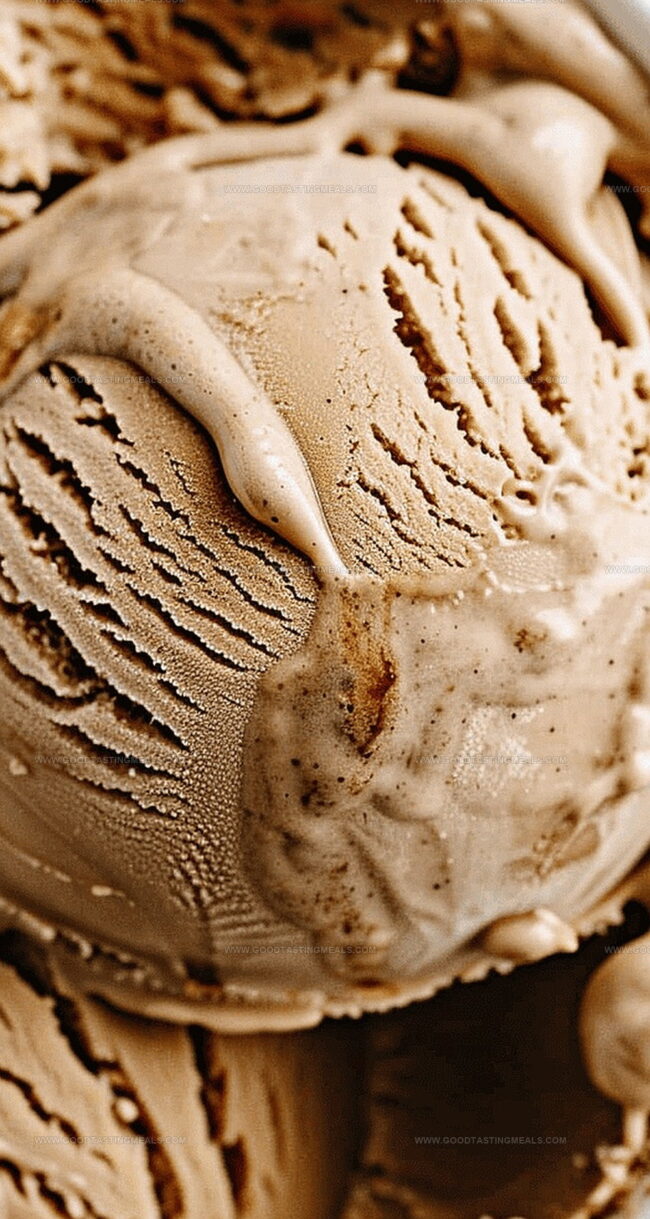
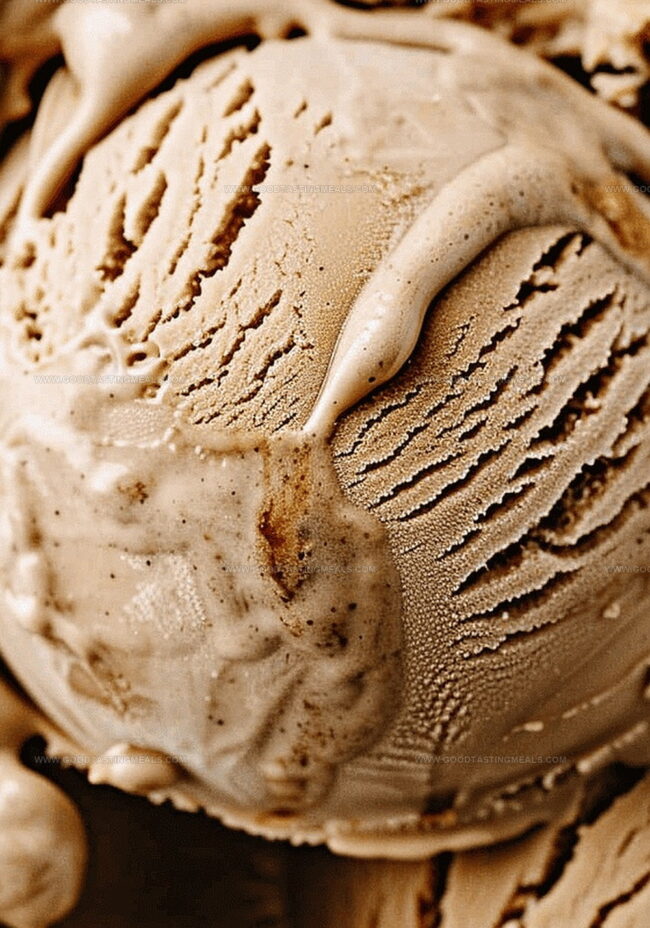
Smooth, silky, and intensely aromatic, this dessert captures the essence of your favorite cafe in a single scoop.
Professional pastry techniques ensure a luxurious, restaurant-quality result that will impress even discerning guests.
Coffee Ice Cream That Satisfies Your Sweet Buzz
What Goes Into Bold and Creamy Coffee Ice Cream
Dairy Base:Sweeteners and Flavor Enhancers:Coffee and Additional Components:Making Coffee Ice Cream in Just a Few Steps
Step 1: Prepare Ice Cream Maker
Ensure your ice cream maker is ready by chilling the churning bowl in the freezer according to the manufacturer’s instructions. This typically requires freezing for 24 hours before use.
Step 2: Create Custard Base
Gather ingredients:Combine all ingredients in a medium saucepan. Warm the mixture over low-medium heat, stirring constantly to prevent scorching. Heat until the mixture is steaming but not boiling.
Step 3: Thicken Custard
Continue cooking and stirring for 8-10 minutes. The custard is ready when it coats the back of a wooden spoon and leaves a clear path when you run your finger through it.
Step 4: Add Flavor
Remove the saucepan from heat. Stir in vanilla extract to enhance the coffee flavor.
Step 5: Cool Custard Quickly
Strain the custard through a fine-mesh sieve into a clean bowl. Place the bowl in a larger container filled with ice water. Stir occasionally to help the custard cool down rapidly.
Step 6: Prevent Skin Formation
Cover the custard directly with plastic wrap, pressing it onto the surface to prevent a skin from forming. Allow the mixture to cool to room temperature.
Step 7: Chill Thoroughly
Refrigerate the custard for 2-3 hours until completely cold. The mixture should have a thick, pudding-like consistency.
Step 8: Churn Ice Cream
Pour the chilled custard into the prepared ice cream maker. Churn according to the manufacturer’s instructions, typically 20-25 minutes, until the mixture reaches a soft-serve consistency.
Step 9: Freeze and Set
Transfer the churned ice cream to a freezer-safe container. Smooth the top with a spatula and cover tightly with a lid or plastic wrap.
Step 10: Final Freezing
Place the container in the freezer for 4-6 hours or overnight until the ice cream is firm and scoopable.
Step 11: Serve and Enjoy
Scoop the coffee ice cream into bowls or cones. Optional: Garnish with chocolate shavings, caramel sauce, or whipped cream.
Expert Tips for Coffee Ice Cream That Hits the Spot
How to Store and Scoop Coffee Ice Cream Later
Flavors and Treats That Go Well with Coffee Ice Cream
Ways to Flavor Coffee Ice Cream Beyond the Basics
Print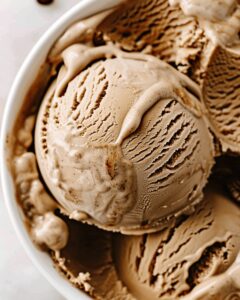
Coffee Ice Cream Recipe
- Total Time: 40 minutes
- Yield: 4 1x
Description
Creamy coffee ice cream showcases rich espresso flavors blended with silky smooth dairy. Cold and luxurious dessert promises a delightful escape that transports you straight to an Italian café with each indulgent spoonful.
Ingredients
Main Ingredients:
- 2 cups (473 ml) heavy cream
- 5 large egg yolks
- 1 cup (237 ml) whole milk
- 1 cup (200 g) granulated sugar
Coffee Ingredients:
- 1 ½ to 3 ounces (44 to 89 ml) cold brew coffee concentrate
Flavor and Seasoning Ingredients:
- ¼ teaspoon salt
- 1 teaspoon pure vanilla extract
Instructions
- Prepare the ice cream maker in advance, following the manufacturer’s specific preparation guidelines to ensure optimal freezing performance.
- In a saucepan, blend heavy cream, milk, egg yolks, sugar, coffee concentrate, and salt, creating a rich base mixture for the ice cream.
- Gently heat the mixture over low-medium temperature, stirring continuously to prevent scorching and promote even heating, allowing the ingredients to meld together without reaching a boiling point.
- Cook the custard mixture for 8-10 minutes, monitoring its consistency until it thickens enough to delicately coat the back of a spoon, indicating proper texture development.
- Remove from heat and incorporate vanilla extract, infusing the custard with an aromatic depth of flavor.
- Strain the custard through a fine-mesh sieve into a clean bowl, eliminating any potential lumps and ensuring a smooth texture.
- Create an ice bath by placing the custard bowl into a larger container filled with ice, accelerating the cooling process for approximately 30-60 minutes.
- Once the custard reaches room temperature, cover the surface directly with plastic wrap to prevent skin formation and minimize oxidation.
- Refrigerate the covered custard for 2 hours, allowing it to develop a delicate, pudding-like consistency and enhance flavor integration.
- Transfer the chilled custard into the pre-frozen ice cream maker, churning according to manufacturer instructions until it reaches a firm soft-serve consistency.
- Carefully transfer the churned ice cream into a freezer-safe container, ensuring smooth movement to maintain texture.
- Freeze the ice cream for 8-10 hours until completely firm, allowing full crystallization and optimal flavor development.
- Serve the coffee ice cream in chilled bowls or crisp waffle cones, garnishing with optional toppings like chocolate shavings or caramel drizzle.
Notes
- Chill your ice cream maker’s freezer bowl at least 24 hours before starting to ensure proper freezing during churning.
- Use high-quality coffee concentrate for the most robust and authentic coffee flavor in your homemade ice cream.
- When cooking the custard base, maintain a gentle heat to prevent egg yolks from scrambling and create a smooth, silky texture.
- Straining the hot custard through a fine-mesh sieve removes any potential egg bits, guaranteeing a creamy, luxurious consistency.
- Cover the custard directly with plastic wrap while cooling to prevent a skin from forming and maintain a perfectly smooth surface.
- For the best texture, allow the ice cream to fully set in the freezer for several hours before serving, which helps develop a rich, creamy scoop.
- Prep Time: 20 minutes
- Cook Time: 20 minutes
- Category: Desserts, Snacks, Drinks
- Method: Simmering
- Cuisine: American
Nutrition
- Serving Size: 4
- Calories: 480
- Sugar: 35g
- Sodium: 50mg
- Fat: 36g
- Saturated Fat: 22g
- Unsaturated Fat: 14g
- Trans Fat: 0g
- Carbohydrates: 43g
- Fiber: 0g
- Protein: 5g
- Cholesterol: 210mg
Liam O’Brien
Founder & Recipe Developer
Expertise
Education
Dublin Institute of Technology (now Technological University Dublin)
Ballymaloe Cookery School, County Cork, Ireland
Liam O’Brien is the co-founder and kitchen soul behind Good Tasting Meals, a chef who believes that cooking shouldn’t feel stressful or complicated.
He earned his culinary stripes at Technological University Dublin and polished his farm-to-table skills at Ballymaloe Cookery School. With over 15 years flipping pans and stirring up stories, Liam has worked in family cafés, bustling bistros, and everything in between.
At Good Tasting Meals, Liam brings you recipes that feel like home: cozy, simple, and full of flavor.