
Simple Apple Slices Recipe: Fresh & Sweet Snack Magic
Baking golden, perfectly spiced apple slices emerges as a delightful autumn tradition that warms every kitchen.
Crisp, sweet apples become the star of this simple yet irresistible treat.
Seasonal spices dance with the natural sugars, creating a mouthwatering aroma that fills your home.
Each slice promises a tender, caramelized experience that connects you to cherished memories.
The recipe balances rustic charm with elegant simplicity, making it perfect for cozy afternoons or weekend gatherings.
Drizzled with a touch of honey or sprinkled with cinnamon, these apple slices offer a comforting embrace of flavor.
Dive into this delectable recipe and let the magic of baked apples transport you to a world of pure culinary bliss.
Quick Recipe Overview
Apple Slices Ingredient List
For Base Ingredients:For Filling Ingredients:For Glaze Ingredients:For Binding Ingredients:Tools You’ll Need for Apple Slices
Instructions for Fresh & Apple Slices
Mix flour blend with butter until crumbly. Create a soft mixture using cold water, egg yolks, and lemon juice. Gently combine ingredients without overmixing.
Spread first dough layer into baking pan, pressing edges slightly upward. Ensure even coverage across entire surface.
Distribute apple mixture smoothly across initial dough layer. Keep filling consistent and well-spread.
Carefully cover apple layer with remaining dough. Seal edges by pinching and create small steam vents using knife.
Cook in preheated oven until golden brown. Allow pastry to develop rich color and crispy texture.
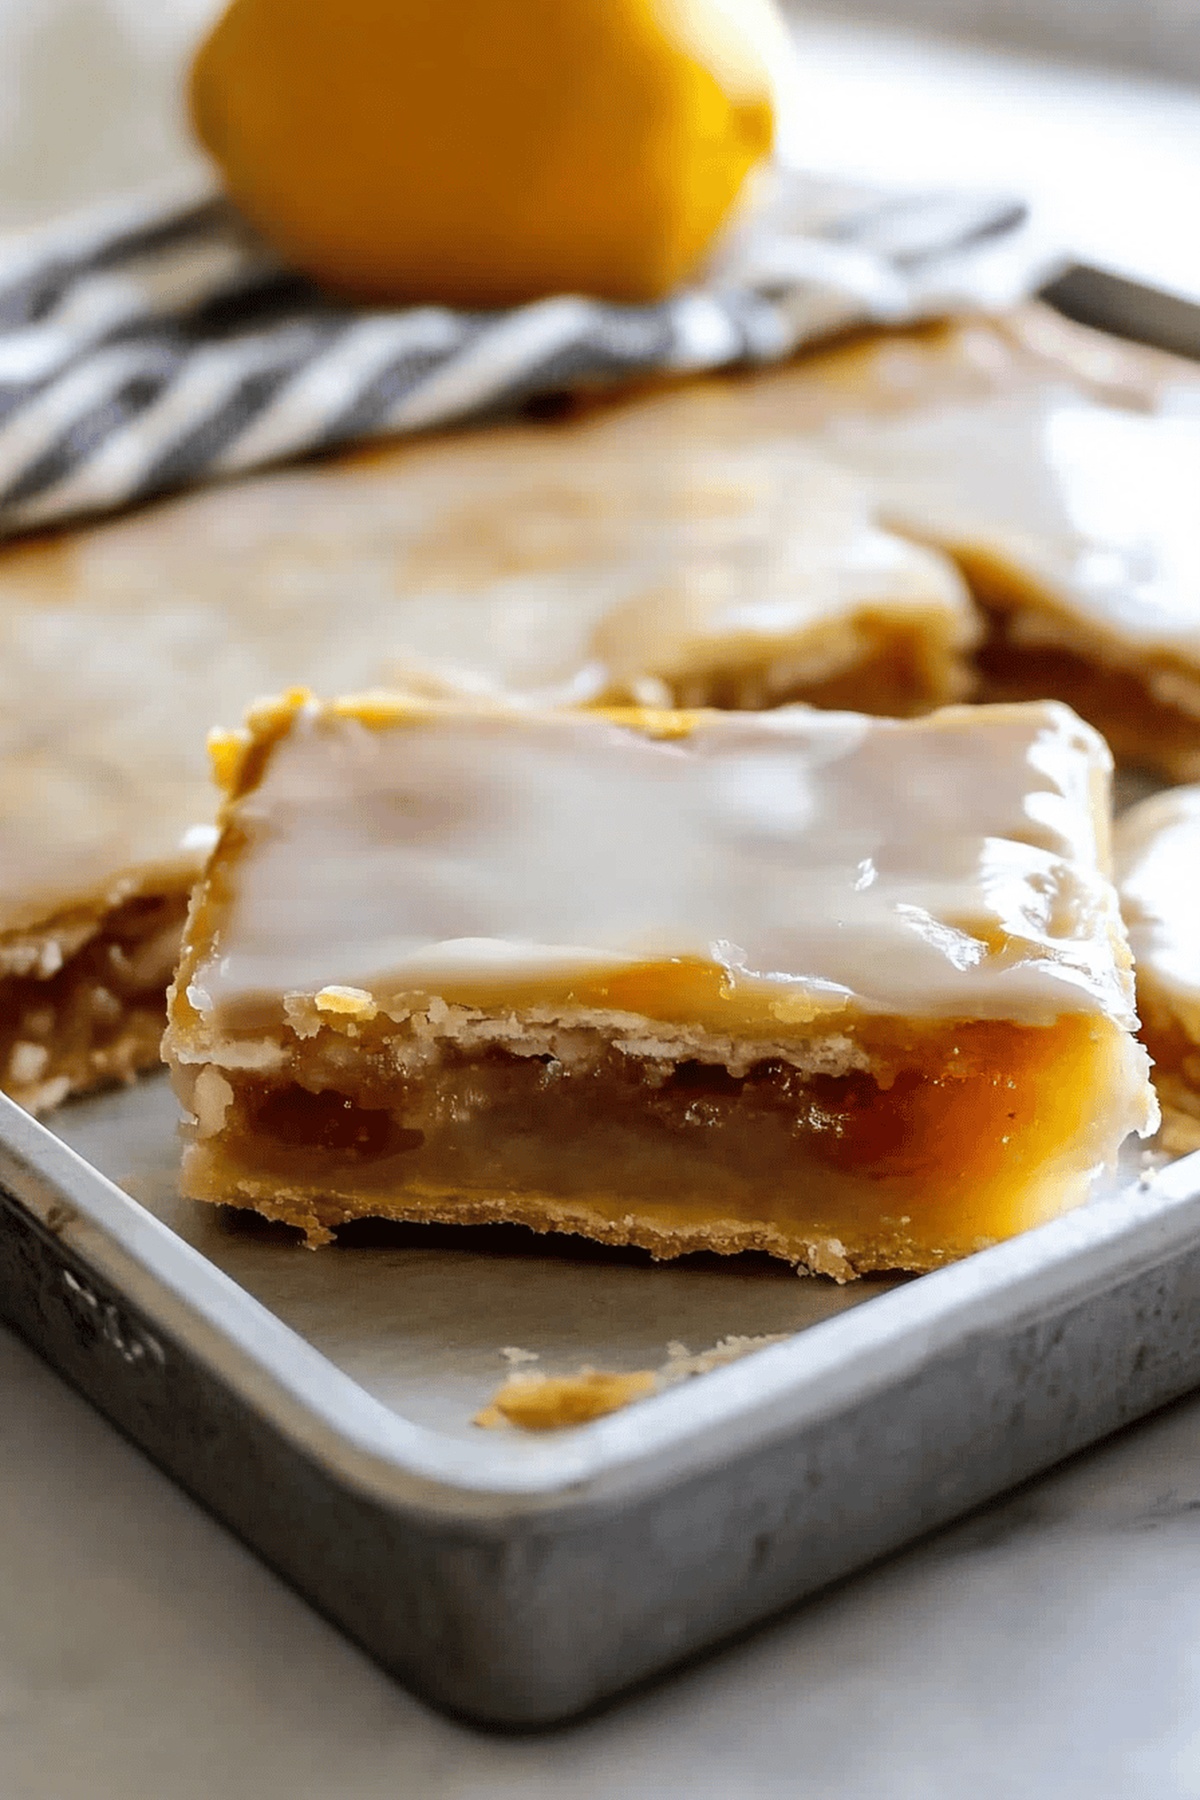
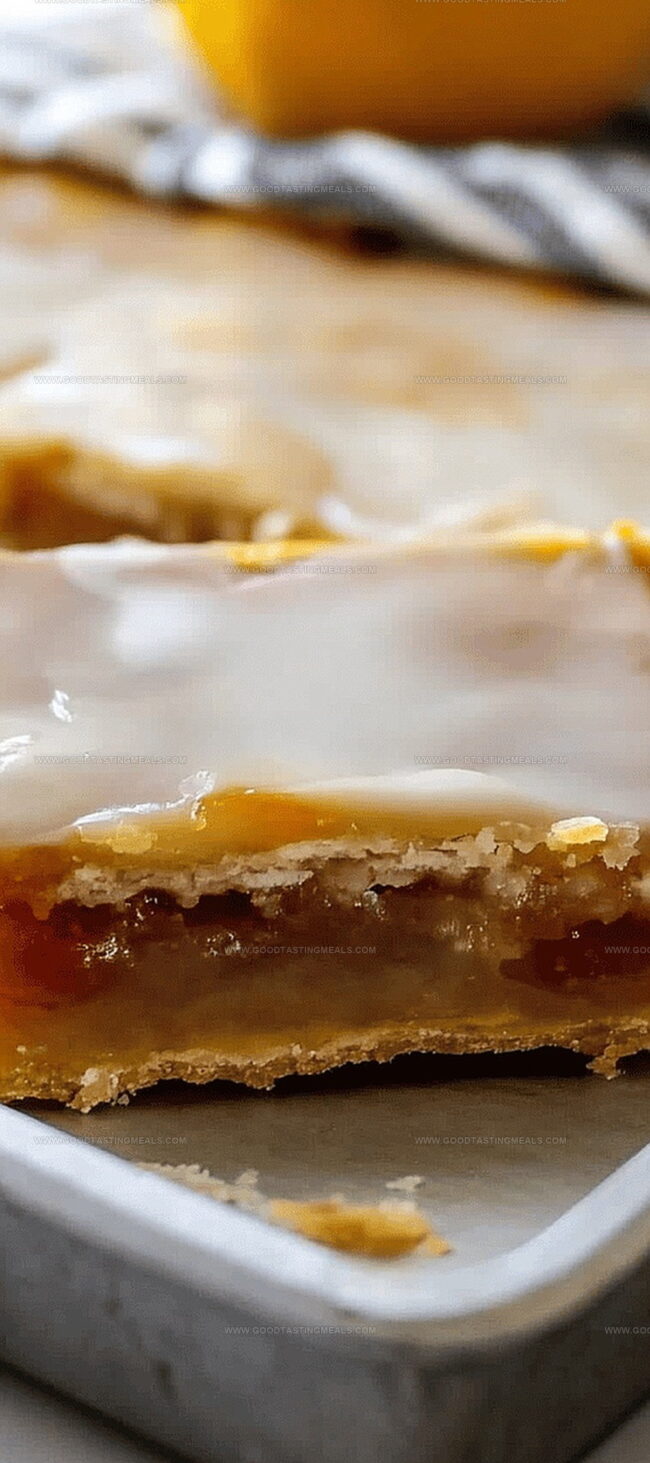
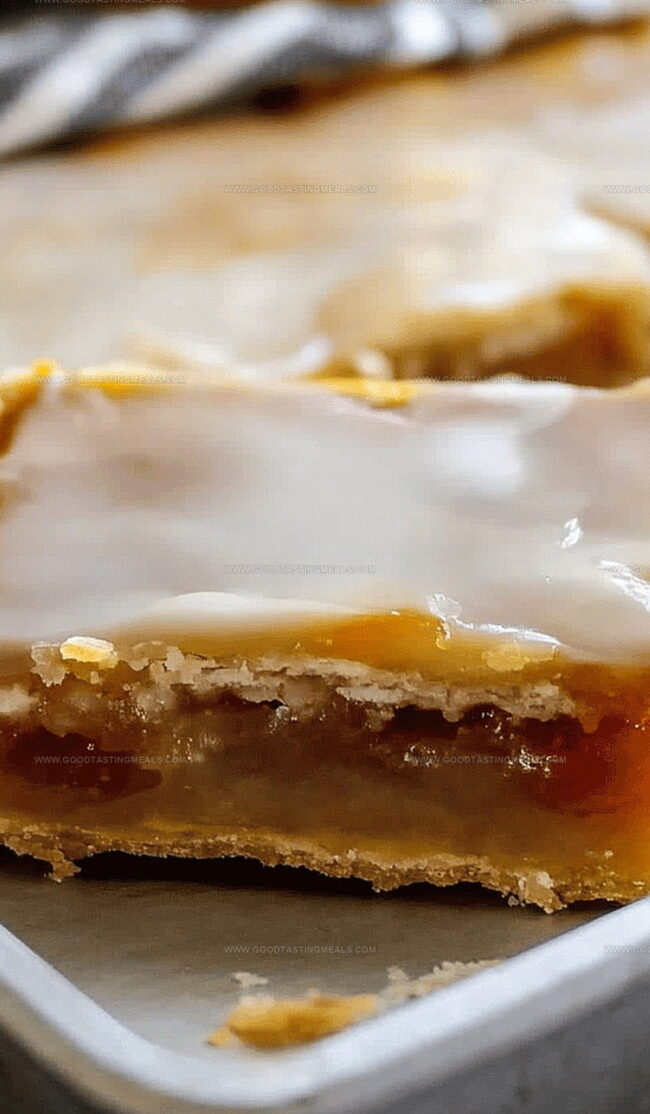
Drizzle smooth glaze over cooled dessert. Let sweet topping set before cutting into delightful squares.
Apple Slice Tips and Seasoning Ideas
How to Serve Apple Slices Creatively
Storage Options for Apple Slices
Print
Crispy Apple Slices Recipe
- Total Time: 1 hour
- Yield: 9 1x
Description
Homemade apple slices combine classic American dessert comfort with simple ingredients from grandmother’s kitchen. Warm cinnamon notes and buttery pastry create a nostalgic experience for family gatherings and sweet memories.
Ingredients
- 32 oz (907 g) apple dessert filling/topping
- 2 cups all-purpose flour
- ¾ cup (170 g) lard (preferably non-hydrogenated, unprocessed)
- ½ cup (120 ml) water
- 2 egg yolks
- 1 cup (120 g) powdered sugar
- 2 tbsps (30 ml) melted or softened butter
- 2 tbsps (30 ml) whole milk (more as needed for thinning)
- ½ tsp baking powder
- ½ tsp salt (Diamond kosher salt recommended)
- 1 tsp lemon juice
- ½ tsp vanilla extract
Instructions
- Preheat Oven: Warm the oven to 400°F, creating an optimal baking environment for the pastry.
- Combine Dry Ingredients: Sift flour, sugar, and salt together in a large mixing bowl, ensuring a smooth, uniform base.
- Incorporate Fat: Work lard into the flour mixture using fingertips or a pastry cutter until the texture resembles coarse, sandy crumbs.
- Prepare Liquid Mixture: Whisk water, egg yolks, and lemon juice in a separate container to create a binding liquid.
- Form Dough: Fold the liquid into the flour mixture with a fork until a cohesive dough forms, then divide into two equal portions.
- Prepare Pan Base: Press one dough half into a 9×13-inch jelly roll pan, extending slightly up the sides to create a sturdy foundation.
- Layer Filling: Spread apple filling evenly across the dough, ensuring a consistent fruity layer.
- Create Top Crust: Roll out the remaining dough to match the pan’s dimensions and carefully drape over the apple filling.
- Seal and Ventilate: Pinch and press edges to seal, patch any gaps, and score several strategic slits across the top crust to allow steam escape.
- Bake and Cool: Bake for 40 minutes, rotating midway for even browning. Transfer to a wire rack to cool completely.
- Prepare Glaze: Whisk powdered sugar, melted butter, vanilla, and milk until smooth, adjusting consistency as needed.
- Finish and Serve: Apply glaze generously with an offset spatula, allow to set, then slice into 2- or 3-inch squares.
Notes
- Precision Matters: Sift dry ingredients thoroughly to eliminate lumps and ensure a smooth, consistent dough texture.
- Pastry Technique: Work lard into flour using fingertips or a pastry cutter until the mixture resembles coarse, sandy crumbs for the perfect flaky crust.
- Steam Escape Strategy: Create strategic slits on the top crust to prevent moisture buildup and avoid a soggy bottom.
- Glaze Consistency Control: Adjust glaze thickness by adding milk gradually, achieving a spreadable, glossy finish that sets beautifully.
- Prep Time: 20 minutes
- Cook Time: 40 minutes
- Category: Snacks, Breakfast
- Method: Baking
- Cuisine: American
Nutrition
- Serving Size: 9
- Calories: 280
- Sugar: 10 g
- Sodium: 180 mg
- Fat: 15 g
- Saturated Fat: 6 g
- Unsaturated Fat: 8 g
- Trans Fat: 0 g
- Carbohydrates: 34 g
- Fiber: 1 g
- Protein: 3 g
- Cholesterol: 50 mg
Sophie Martin
Co-Founder & Content Creator
Expertise
Education
Stellenbosch University, South Africa
South African Chefs Academy, Cape Town
Sophie Martin is the nutrition brain and feel-good foodie at Good Tasting Meals. With a degree in Human Nutrition from Stellenbosch University and chef training from the South African Chefs Academy, Sophie brings balance to the table, literally. She loves creating meals that are easy to make, great to eat, and good for your body too.
Her recipes are made for everyday living, with a little flair and a lot of heart. Sophie’s not here to count calories, she’s here to show you how fresh, simple food can fit into your life, taste amazing, and still be nourishing.