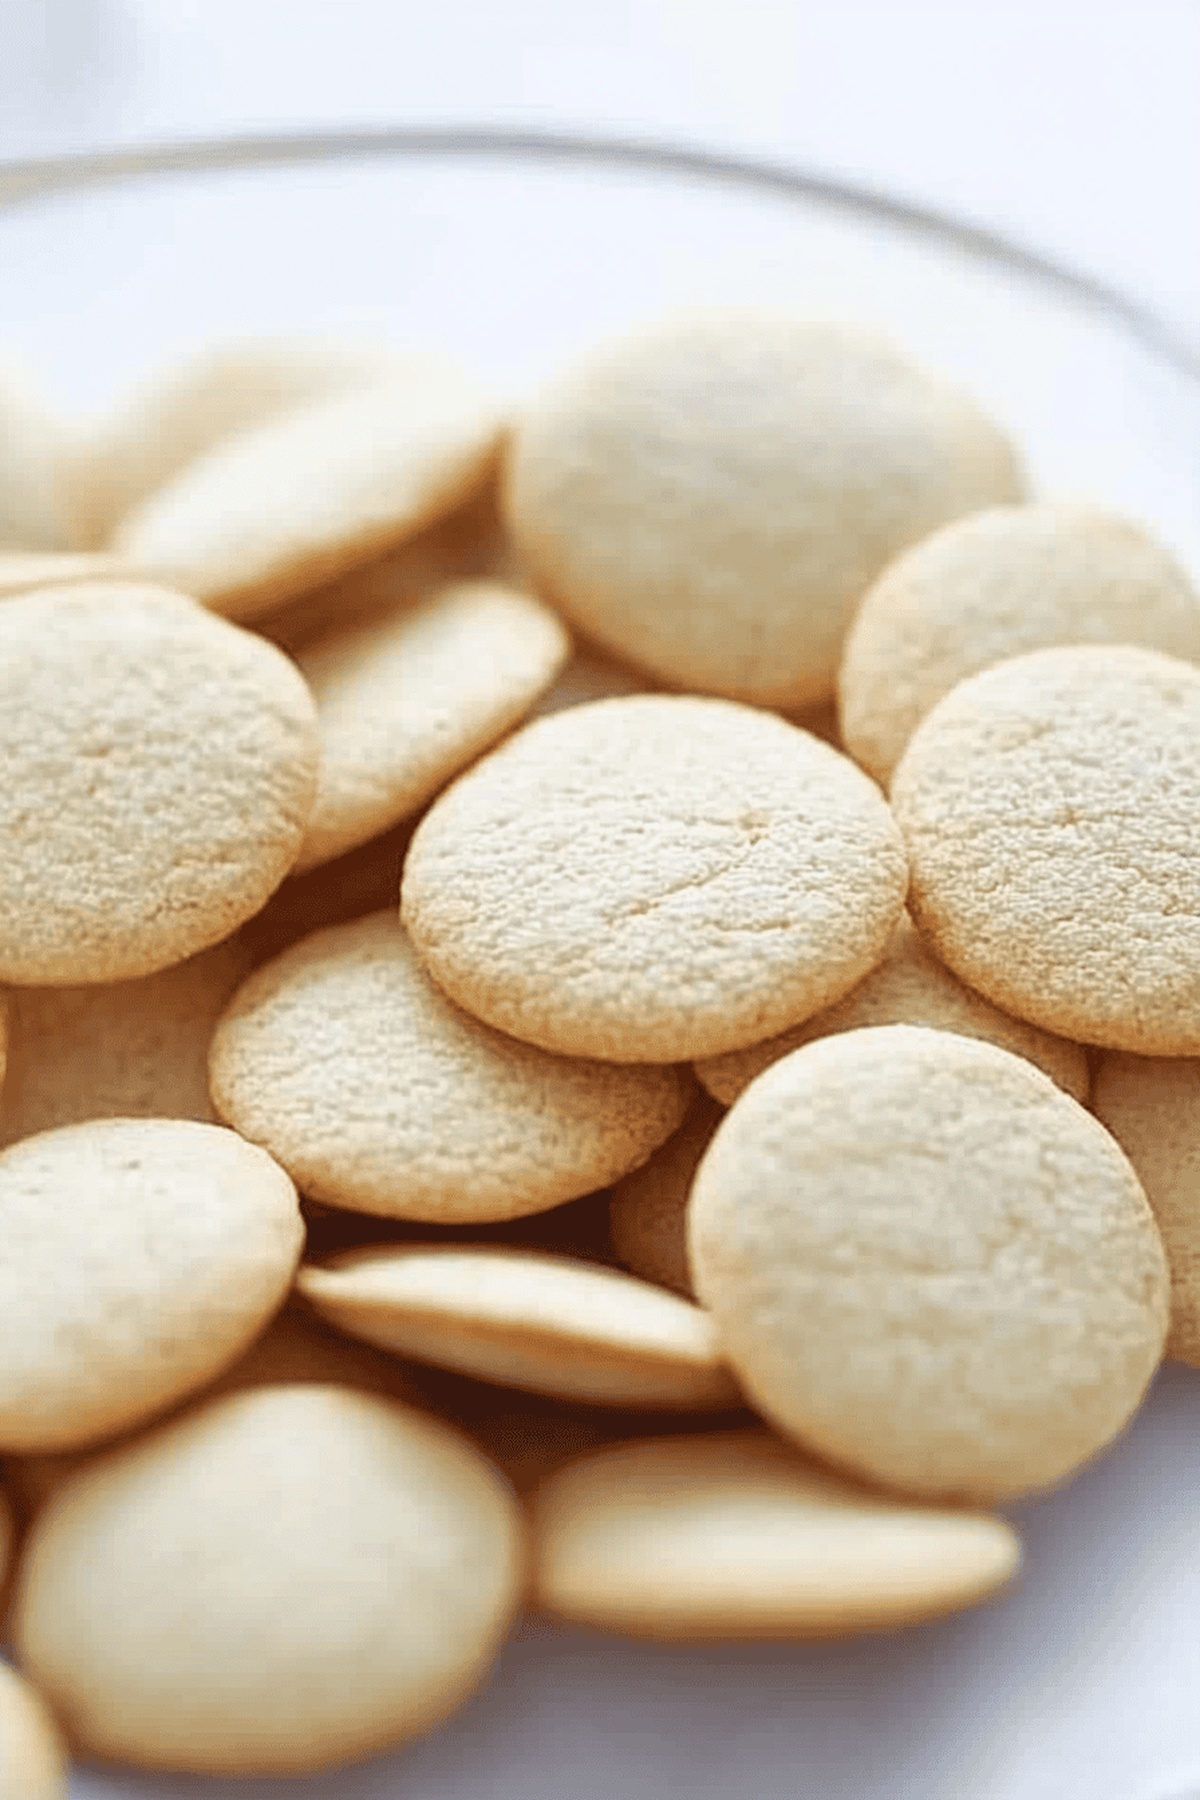
Crisp, golden cookies that melt in your mouth start with this foolproof vanilla wafers recipe passed down through generations.
Bakers everywhere adore these delicate treats for their simple elegance and rich buttery flavor.
Each delicate disc carries the warm, comforting essence of pure vanilla extracted from premium beans.
Home kitchens come alive with the sweet aroma of these classic cookies baking to perfection.
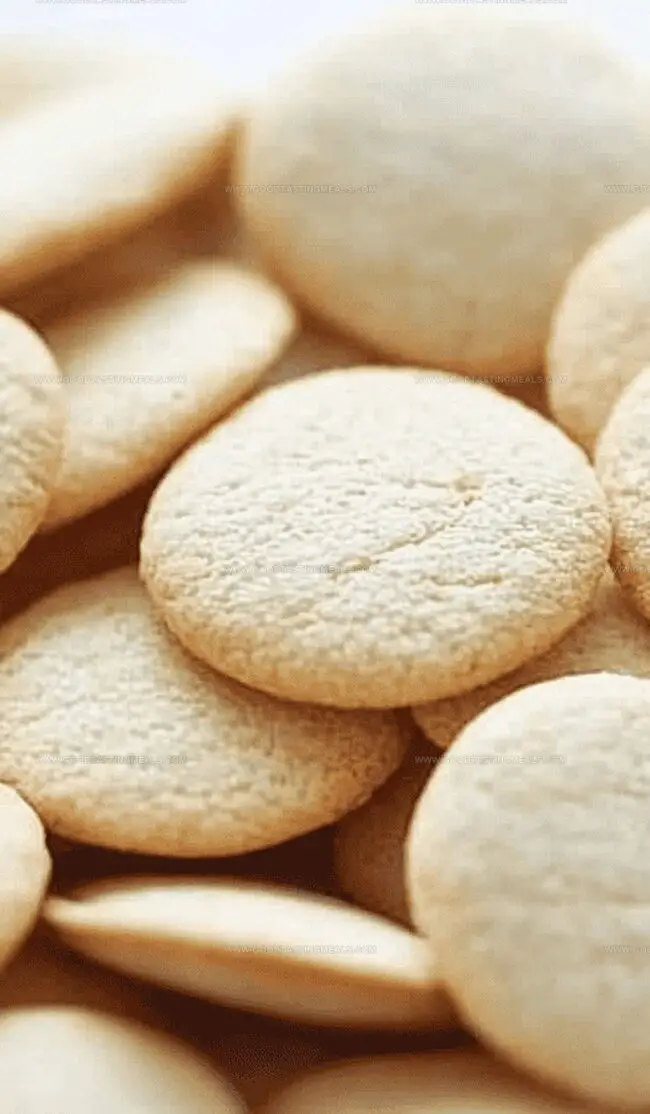
The delightful crunch and subtle sweetness make these wafers an irresistible accompaniment to afternoon tea or a quick snack.
Light, crisp, and impossibly easy to make, these vanilla wafers promise to become your new favorite homemade cookie sensation.
Get ready to fall in love with a recipe that turns basic ingredients into pure culinary magic.
Quick Recipe Overview
Prep Time: 15 minutes
Cook Time: 12-15 minutes
Total Time: 27-30 minutes
Calories: 119 kcal
Servings: 22
Everything That Goes Into Vanilla Wafers
For Dry Ingredients:
All-Purpose Flour: The foundation of the wafers, providing structure and texture with its fine, versatile nature.
Baking Powder: Creates light, airy lift and helps the wafers achieve their delicate, crisp profile.
Kosher Salt: Enhances the overall flavor, balancing the sweetness and bringing out the subtle vanilla notes.
For Wet Ingredients:
Butter: Adds rich, creamy flavor and ensures a smooth, tender texture in the wafers.
Confectioners’ Sugar: Provides a silky smoothness and delicate sweetness to the cookie base.
Granulated Sugar: Contributes to the crisp edges and golden-brown color of the wafers.
Egg: Binds the ingredients together and adds richness to the cookie texture.
Vanilla Extract: Delivers the signature warm, aromatic flavor that defines these classic wafers.
Whole Milk: Helps create a soft, tender crumb and adds moisture to the dough.
For Finishing:
Parchment Paper: Ensures easy release and prevents sticking during baking, creating perfect wafer edges.
Tools You’ll Need for Vanilla Wafers
Stand Mixer: Powerful kitchen tool for creaming butter and sugar, ensuring smooth and fluffy batter.
Medium Bowl: Perfect for sifting dry ingredients and preparing the flour mixture.
Baking Sheet: Essential for evenly baking the vanilla wafers with crisp, golden edges.
Parchment Paper: Prevents sticking and makes cleanup a breeze.
Wire Rack: Helps cookies cool evenly and maintain their crisp texture.
Measuring Spoons: Precise for scooping 1/2 teaspoon-sized dollops of batter.
Sifter: Ensures smooth, lump-free dry ingredients for perfect wafers.
Spatula: Great for scraping down mixer bowl and ensuring even mixing.
Step-by-Step Guide for Vanilla Wafers
Sweet Home Comfort
Kitchen Preparation Cozy workspace and all your baking essentials ready for delightful cookie magic.
Flour Blend Soft flour dance with baking powder and a whisper of salt, creating a delicate foundation for your treats.
Butter Bliss Creamy butter swirling with sugars until the mixture transforms into a cloud-like wonder, smooth and dreamy.
Liquid Harmony Egg, vanilla, and milk joining the party, bringing rich moisture and depth to your cookie dreams.
Gentle Mixing Flour softly folding into wet ingredients, creating a tender batter that promises crisp, melt-in-your-mouth moments.
Chill Moment Quick refrigerator rest to help batter become perfectly manageable.
Cookie Formation Tiny droplets of joy nestled carefully on baking sheet, promising golden perfection.
Oven Transformation Warm embrace of 350°F transforms raw batter into crisp, golden treasures, filling your kitchen with irresistible aroma.
Cooling Celebration Patient waiting as cookies rest, developing their signature crunch and delicate texture.
Tips to Get the Best Vanilla Wafers
Creative twists to elevate your classic vanilla wafer recipe.
Replace all-purpose flour with almond or whole wheat flour for unique textures and nutty undertones that add depth to your cookies.
Mix in finely ground lavender, orange zest, or ground cinnamon to transform these simple wafers into gourmet treats that surprise and delight taste buds.
Store cooled wafers in an airtight container between parchment paper layers for up to one week, maintaining their delicate crispness and preventing moisture absorption.
Drizzle melted dark chocolate, dip half the wafer in white chocolate, or dust with powdered sugar for elegant presentation that turns these humble cookies into stunning dessert companions.
How to Serve Homemade Vanilla Wafers
Sweet Snack Companion: Pair these crisp vanilla wafers with a cold glass of milk for a classic, comforting treat that brings back childhood memories.
Dessert Base Delight: Crush these wafers to create a delectable crumb crust for cheesecakes, puddings, or no-bake pie recipes, adding a delightful vanilla-infused texture.
Tea Time Elegance: Serve these delicate cookies alongside a hot cup of Earl Grey or chamomile tea, creating a sophisticated and light afternoon snack perfect for entertaining guests.
Ice Cream Sandwich Magic: Sandwich a small scoop of vanilla or chocolate ice cream between two wafers for a quick, homemade frozen dessert that’s both simple and irresistible.
How to Store Vanilla Wafers Properly
Smart Storage Solutions: Keep vanilla wafers in an airtight container at room temperature for maximum freshness, preventing moisture and maintaining crisp texture.
Freezing Friendly: Wafers can be frozen flat in sealed freezer bags for up to 3 months, perfect for make-ahead snacking or emergency treat stockpiles.
Moisture Management: Place a small piece of bread inside the storage container to absorb excess humidity and keep cookies crunchy for several days.
Quick Refresh Technique: If wafers lose crispness, spread them on a baking sheet and warm in a 300°F oven for 3-5 minutes to restore original crackly texture.
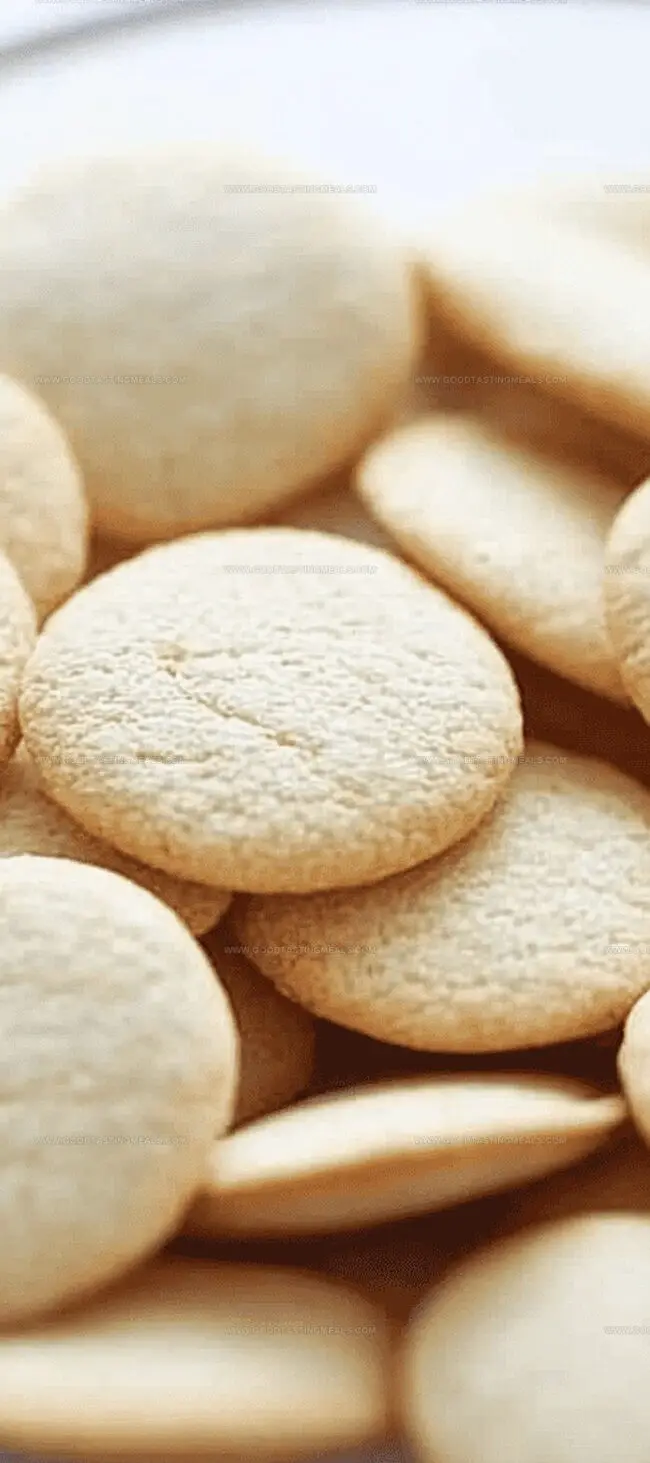
Classic Southern vanilla wafers bring nostalgic comfort through simple, crisp cookies perfected by home bakers for generations. Small circles of buttery sweetness connect family memories with delightful crunch you can savor in each delicate bite.
Ingredients
Scale
0.5 cup (113 g / 4 oz) unsalted butter, room temperature
1 large egg, room temperature
1.5 cups (360 ml / 12 fl oz) all-purpose flour
0.5 cup (100 g) granulated sugar
0.5 cup (100 g) confectioners’ sugar
0.75 tsp baking powder
0.5 tsp kosher salt
1 tbsp vanilla extract
1 tbsp whole milk
Instructions
Preparation: Preheat the oven to 350°F and line a baking sheet with parchment paper to create an ideal baking surface for delicate wafers.
Dry Ingredients: Sift flour, baking powder, and salt together, creating a uniform dry mixture that will ensure consistent texture throughout the wafers.
Creaming: Blend butter with confectioners’ and granulated sugars in a stand mixer, whipping until the mixture transforms into a light, pale, and airy consistency.
Wet Integration: Add egg, vanilla extract, and whole milk to the creamed butter, mixing thoroughly to create a smooth, homogeneous batter.
Combining: Fold the sifted dry ingredients into the wet mixture using low-speed mixing, carefully maintaining the delicate texture of the batter.
Chilling: Refrigerate the batter for 10-15 minutes to firm up and make portioning easier, enhancing the wafers’ final shape and texture.
Baking: Carefully drop small, precise dollops onto the prepared baking sheet, spacing them one inch apart to allow for even spreading and crisp edges.
Final Baking: Place the baking sheet in the preheated oven, rotating midway through the 12-15 minute baking process to achieve uniform golden-brown coloration.
Cooling: Transfer the wafers to a wire rack, allowing them to cool completely and develop their signature crisp texture before serving or storing.
Notes
Chill Before Baking: Refrigerate dough for 10-15 minutes to help wafers maintain shape and prevent excessive spreading during baking.
Precise Portioning: Use a small cookie scoop or teaspoon to create uniform, tiny dollops for consistent size and crisp texture.
Rotate Mid-Bake: Halfway through baking, rotate the baking sheet to ensure even golden-brown coloration and prevent uneven browning.
Cool Completely: Allow wafers to cool entirely on a wire rack to develop maximum crispness and prevent sogginess.
Focus: Studying how food affects health, learning about balanced diets, and understanding the nutritional needs of different people.
South African Chefs Academy, Cape Town
Program: Professional Culinary Arts Diploma
Focus: Practical cooking skills, focusing on healthy meal preparation and understanding various cooking methods.
Sophie Martin is the nutrition brain and feel-good foodie at Good Tasting Meals. With a degree in Human Nutrition from Stellenbosch University and chef training from the South African Chefs Academy, Sophie brings balance to the table, literally. She loves creating meals that are easy to make, great to eat, and good for your body too.
Her recipes are made for everyday living, with a little flair and a lot of heart. Sophie’s not here to count calories, she’s here to show you how fresh, simple food can fit into your life, taste amazing, and still be nourishing.


Sophie Martin
Co-Founder & Content Creator
Expertise
Education
Stellenbosch University, South Africa
South African Chefs Academy, Cape Town
Sophie Martin is the nutrition brain and feel-good foodie at Good Tasting Meals. With a degree in Human Nutrition from Stellenbosch University and chef training from the South African Chefs Academy, Sophie brings balance to the table, literally. She loves creating meals that are easy to make, great to eat, and good for your body too.
Her recipes are made for everyday living, with a little flair and a lot of heart. Sophie’s not here to count calories, she’s here to show you how fresh, simple food can fit into your life, taste amazing, and still be nourishing.