
Crispy Golden Yaki Onigiri Recipe: A Savory Japanese Delight
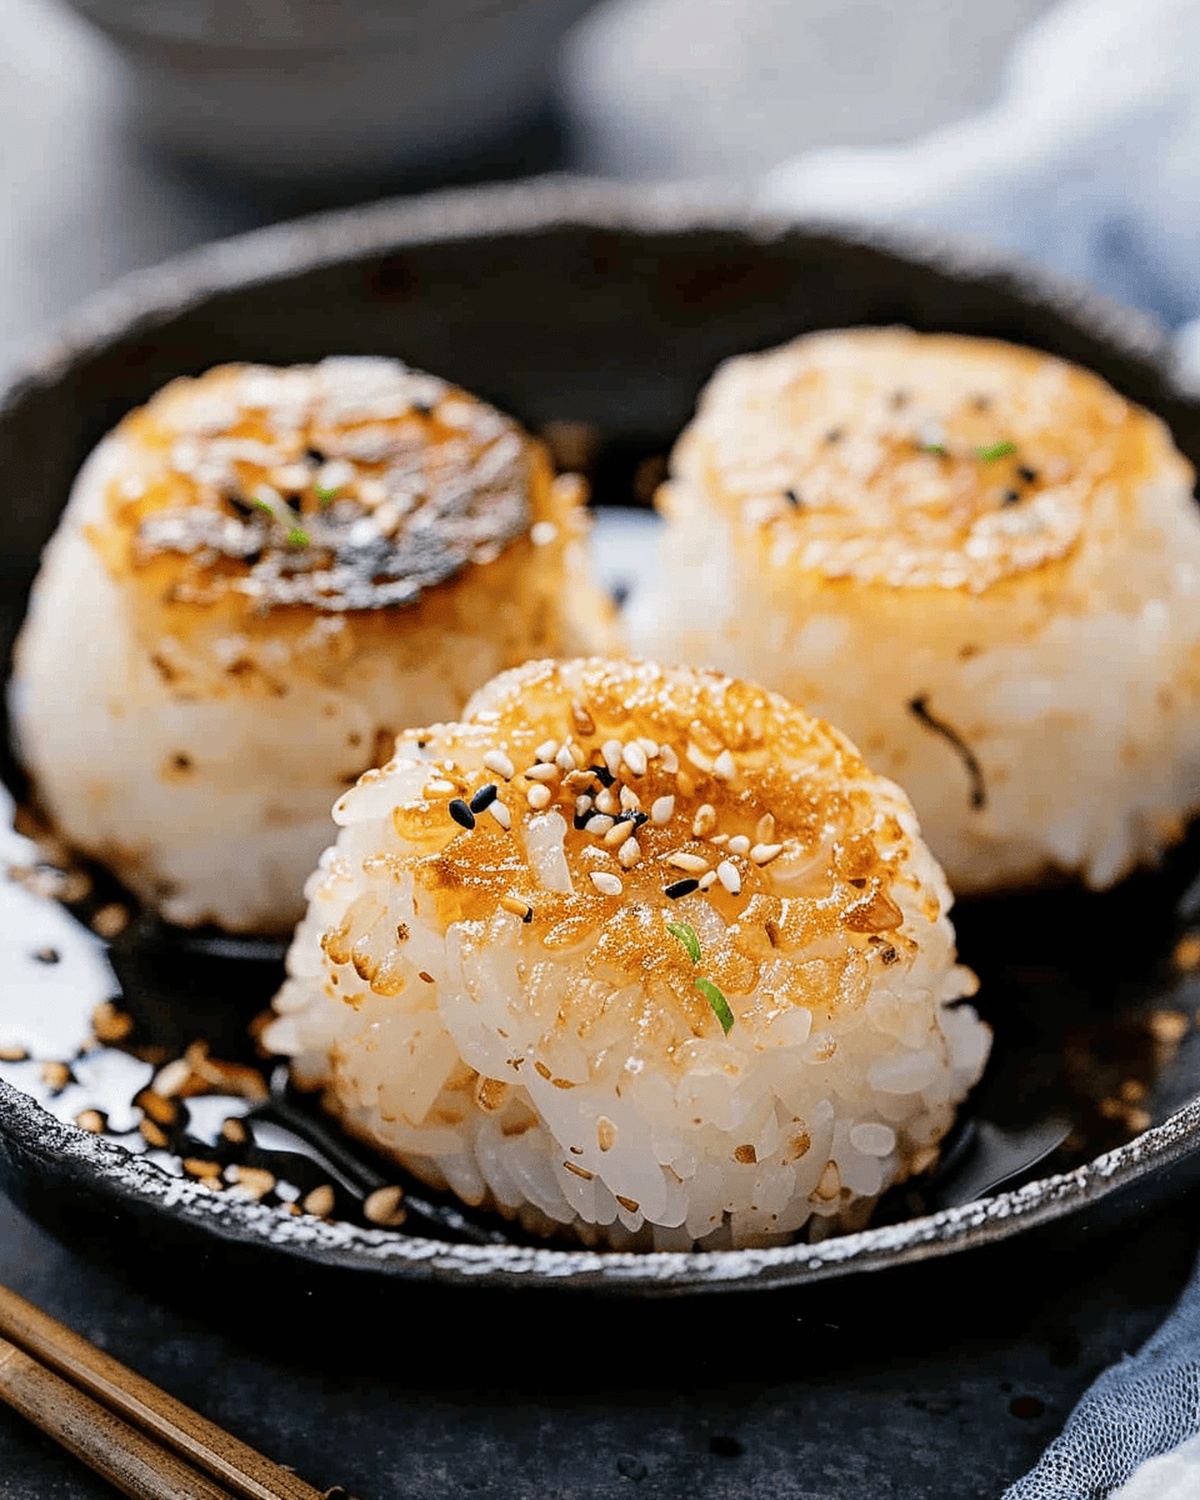
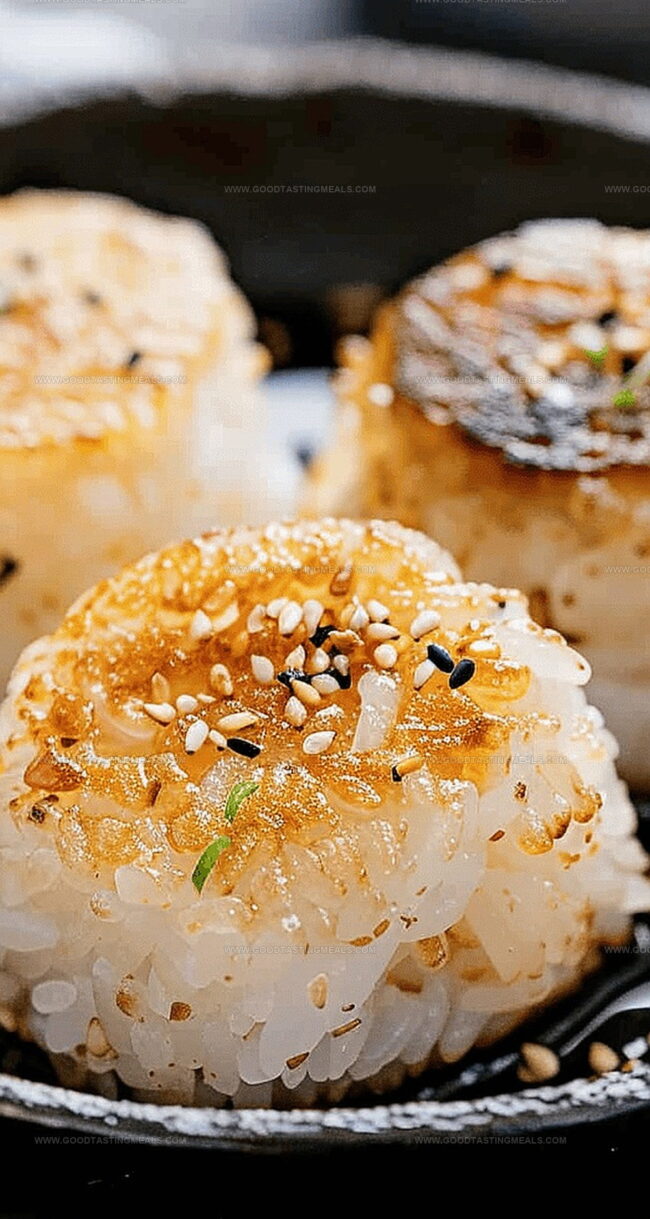
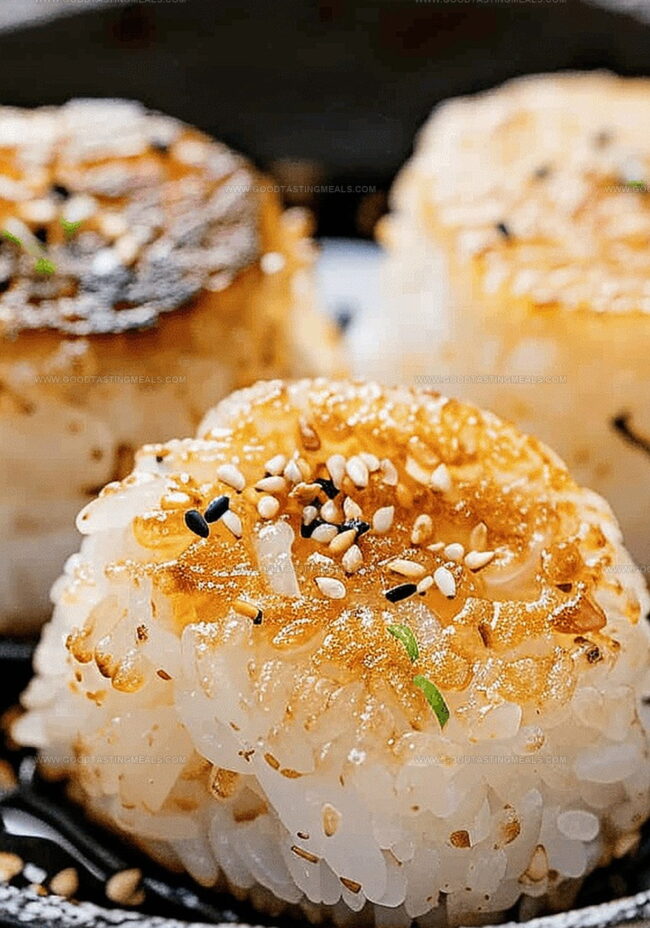
Sizzling Japanese street food meets home cooking with this irresistible yaki onigiri recipe that promises crispy, golden-brown rice balls packed with flavor.
Grilled to perfection, these handheld delights capture the essence of Japanese comfort cuisine.
Each bite delivers a delectable combination of charred edges and soft, warm centers.
The simplicity of the ingredients belies the complex taste profile that emerges from careful grilling.
Brushed with savory soy sauce and carefully caramelized, these rice triangles offer a mouthwatering experience straight from traditional Japanese kitchens.
You’ll fall in love with this easy-to-make snack that brings the vibrant street food culture right to your plate.
Dive into this culinary adventure and savor every crispy, umami-rich moment.
Quick Recipe Overview
Ingredients for Making Yaki Onigiri
For Rice Base:For Flavor Enhancers:For Garnish and Finishing:Tools to Grill Yaki Onigiri at Home
Steps for Delicious Yaki Onigiri
Yaki Onigiri Adventure
Perfectly cooked rice is the heart of this delicious Japanese snack. Choose short-grain rice for the best texture and stickiness.
Transform warm rice into triangular treasures using plastic wrap as your molding helper. Gently press and compact each portion to create sturdy, compact rice cakes.
A hot skillet becomes your magic cooking surface. Coat the pan with butter or oil to create a golden, crispy exterior that will make your onigiri irresistible.
Paint your rice triangles with miso paste or soy sauce, allowing each side to caramelize and develop a rich, complex taste. The key is patience and frequent turning to achieve an even, crunchy coating.
Sprinkle chopped chives, sesame seeds, or everything bagel seasoning to add a final burst of flavor and visual appeal. Serve these hot, crispy delights immediately for maximum enjoyment.
Grilled Onigiri Flavor Options
How to Plate Yaki Onigiri
Store Grilled Onigiri the Way
Print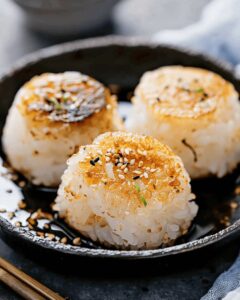
Crispy Yaki Onigiri Recipe
- Total Time: 30 minutes
- Yield: 5 1x
Description
Flavorful yaki onigiri from Japan offers grilled rice balls with crispy exteriors and savory fillings. Japanese street food enthusiasts will delight in this simple yet delicious culinary creation that brings comfort and excitement to your plate.
Ingredients
- 2 cups/473 ml uncooked short-grain rice
- 2 cups/473 ml water
- 1.5 tbsps/22 ml vegetable oil
- 1 tbsp/15 ml soy sauce
- 1 tbsp/15 ml miso
- 1.5 tbsps/22 ml everything bagel seasoning
- 1.5 tbsps/22 ml butter
- 2 tsps/10 ml mirin
- 2 tsps/10 ml sake
- 2 tsps/10 ml sugar
- 1 tsp/5 ml finely chopped chives
- 1 tsp/5 ml sesame seeds
Instructions
- Rice Preparation: Cook rice using rice cooker or stovetop method until grains are tender and sticky, then allow to cool slightly.
- Miso Glaze Creation: Whisk miso, mirin, sake, and sugar in a small bowl until smooth and fully combined.
- Rice Shaping: Use plastic wrap to mold rice into triangular shapes, applying gentle, consistent pressure to create compact, uniform onigiri.
- Skillet Searing: Heat cast iron skillet over medium flame, lightly coated with butter or oil, creating an ideal golden-brown surface.
- Grilling and Glazing: Place rice triangles on hot skillet, searing each side for approximately one minute, then generously brush with miso mixture or soy sauce to develop a caramelized, crispy exterior.
- Finishing Touches: Continue grilling and basting until onigiri reach a rich, crackling texture with deep flavor, then transfer to serving plates and garnish with chives, sesame seeds, or everything bagel seasoning.
- Serving: Complete with a small butter pat and serve immediately to maintain optimal temperature and crispness.
Notes
- Check Rice Consistency: Ensure rice is slightly sticky and tender for perfect onigiri shape and texture.
- Master Wrapping Technique: Use plastic wrap to create uniform triangular shapes with gentle, consistent pressure to prevent rice from falling apart.
- Control Skillet Heat: Maintain medium heat to achieve golden, crispy exterior without burning the rice triangles.
- Brush Carefully: Apply miso mixture or soy sauce evenly, rotating onigiri to create a rich, caramelized flavor profile without oversaturating.
- Prep Time: 10 minutes
- Cook Time: 20 minutes
- Category: Breakfast, Lunch, Snacks
- Method: Grilling
- Cuisine: Japanese
Nutrition
- Serving Size: 5
- Calories: 310
- Sugar: 3 g
- Sodium: 300 mg
- Fat: 14 g
- Saturated Fat: 7 g
- Unsaturated Fat: 6 g
- Trans Fat: 0 g
- Carbohydrates: 40 g
- Fiber: 1 g
- Protein: 5 g
- Cholesterol: 15 mg
Sophie Martin
Co-Founder & Content Creator
Expertise
Education
Stellenbosch University, South Africa
South African Chefs Academy, Cape Town
Sophie Martin is the nutrition brain and feel-good foodie at Good Tasting Meals. With a degree in Human Nutrition from Stellenbosch University and chef training from the South African Chefs Academy, Sophie brings balance to the table, literally. She loves creating meals that are easy to make, great to eat, and good for your body too.
Her recipes are made for everyday living, with a little flair and a lot of heart. Sophie’s not here to count calories, she’s here to show you how fresh, simple food can fit into your life, taste amazing, and still be nourishing.