

Zesty Dill Pickle Roasted Chickpeas Recipe for Snack Lovers
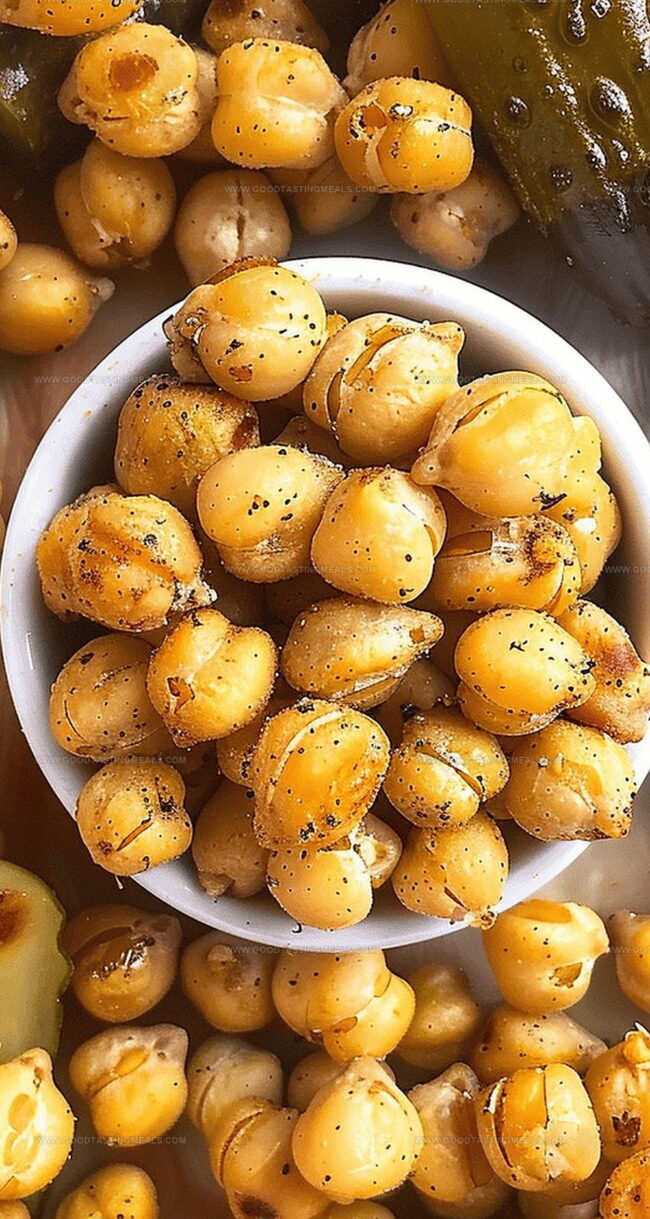
Crispy, tangy dill pickle roasted chickpeas burst with unexpected flavor that keeps you coming back for more.
These addictive legumes deliver a zesty crunch that transforms ordinary snacking into an exciting culinary adventure.
Packed with protein and boldly seasoned, each bite promises a delightful punch of dill pickle goodness.
The simple recipe requires minimal ingredients but yields maximum satisfaction.
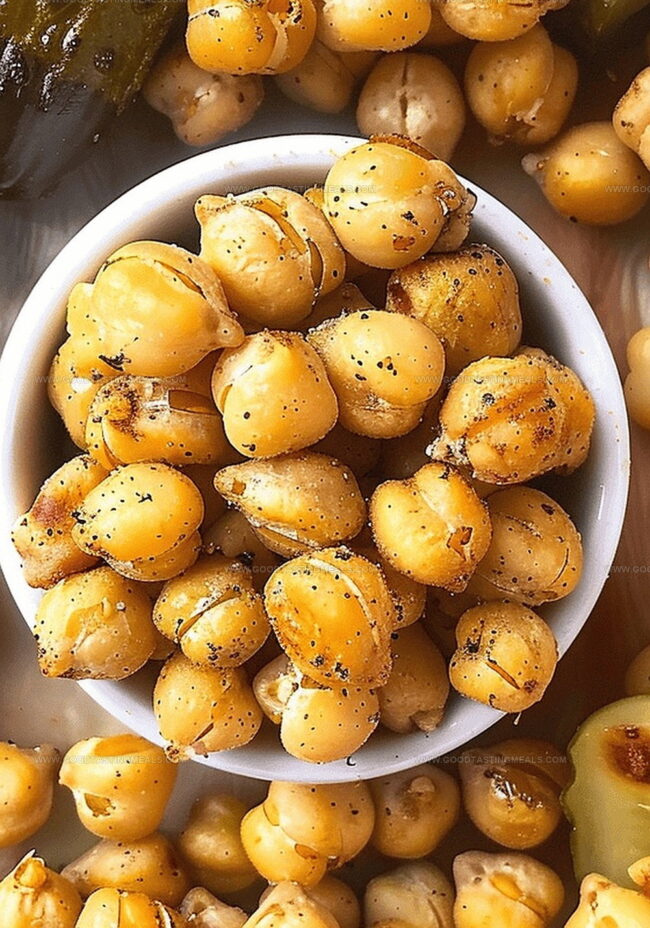
Roasting brings out a nutty depth while the pickle seasoning adds a vibrant, mouthwatering twist.
Perfectly seasoned and incredibly easy to make, these chickpeas work as a stellar snack or crunchy salad topper.
You’ll want to make a double batch because they disappear faster than you can imagine.
Quick Recipe Overview
What You’ll Need for Dill Pickle Roasted Chickpeas
For Chickpea Base:For Seasoning Liquids:For Flavor Enhancers:Tools for Crispy Dill Pickle Chickpeas
Roasting Steps for Dill Pickle Chickpeas
Gather all your ingredients and get ready for a tangy snack adventure. Gently cleanse chickpeas and pat them completely dry, ensuring no excess moisture remains.
Coat the chickpeas generously with pickle juice and olive oil, creating a zesty base that will make your taste buds dance. Sprinkle salt to enhance the flavor profile.
Spread the seasoned chickpeas on a baking sheet, creating a single layer that allows each morsel to crisp up perfectly. Slide them into a warm oven and let the transformation begin.
Bake the chickpeas until they turn golden and develop a delightful crackle. Keep an eye on them to prevent burning, rotating the pan if needed for even browning.
After roasting, dust the crispy chickpeas with fragrant dried dill. If the seasoning doesn’t stick, add a tiny splash of olive oil to help the herbs cling to each chickpea.
Allow the chickpeas to cool completely at room temperature. Transfer to an airtight container where they’ll stay crispy and ready for snacking.
Tips to Tweak Dill Pickle Roasted Chickpeas
Ways to Serve Dill Pickle Chickpeas
How to Store Dill Pickle Chickpeas After Roasting
Print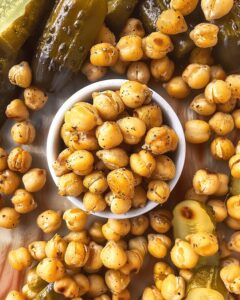
Crunchy Dill Pickle Roasted Chickpeas
- Total Time: 1 hour 10 minutes
- Yield: 5 1x
Description
Quick Dill Pickle Roasted Chickpeas snack combines tangy seasoning with crispy protein-packed bites. Crunchy, zesty morsels provide you a guilt-free, addictive treat perfect for munching anytime.
Ingredients
- 30 oz (850 g) garbanzo beans (chickpeas) (two 15-oz cans)
- 2 tbsps (30 ml) pickle brine (juice from a pickle jar)
- 1 tsp dried dill weed
- 1 tbsp (15 ml) olive oil
- ½ tsp salt
Instructions
- Preparation: Preheat oven to 350°F (175°C) and line a baking sheet with a silicone mat or lightly greased foil.
- Chickpea Conditioning: Drain and rinse chickpeas, then meticulously pat dry with kitchen towels. Gently remove skins if desired for enhanced texture.
- Flavor Infusion: Whisk pickle brine, olive oil, and salt in a large bowl, thoroughly coating each chickpea to ensure uniform seasoning.
- Roasting Setup: Spread seasoned chickpeas in a single, uncrowded layer on the prepared baking sheet to guarantee even crisping.
- Initial Roasting: Bake for 35-40 minutes, watching as chickpeas transform into a golden, crunchy state, rotating the sheet midway for consistent browning.
- Dehydration Phase: Turn off oven, leaving chickpeas inside to continue drying for an additional 30-40 minutes, periodically checking for ultimate crispness.
- Final Seasoning: Transfer roasted chickpeas to a mixing bowl, sprinkle dried dill weed, and toss gently. If needed, add a touch of olive oil or pickle brine to help herbs adhere.
- Flavor Refinement: Adjust salt and dill to taste, ensuring a perfectly balanced snack.
- Cooling and Storage: Allow chickpeas to cool completely at room temperature, then store in an airtight container to maintain their satisfying crunch.
Notes
- Moisture Matters: Completely dry chickpeas are crucial for achieving maximum crispiness, so use clean kitchen towels and press gently to remove all excess water.
- Skin Removal Technique: Gently removing chickpea skins can dramatically improve texture, creating a lighter and crunchier final snack.
- Oven Positioning Tip: Spread chickpeas in a single, uncrowded layer to ensure even roasting and prevent steaming instead of crisping.
- Storage Strategy: Let chickpeas cool completely at room temperature before storing to prevent unwanted sogginess and maintain their satisfying crunch.
- Prep Time: 10 minutes
- Cook Time: 35-40 minutes
- Category: Snacks, Appetizer
- Method: Roasting
- Cuisine: American
Nutrition
- Serving Size: 5
- Calories: 145
- Sugar: 0.5 g
- Sodium: 218 mg
- Fat: 4.5 g
- Saturated Fat: 0.6 g
- Unsaturated Fat: 3.9 g
- Trans Fat: 0 g
- Carbohydrates: 20 g
- Fiber: 5 g
- Protein: 7 g
- Cholesterol: 0 mg
Sophie Martin
Co-Founder & Content Creator
Expertise
Education
Stellenbosch University, South Africa
South African Chefs Academy, Cape Town
Sophie Martin is the nutrition brain and feel-good foodie at Good Tasting Meals. With a degree in Human Nutrition from Stellenbosch University and chef training from the South African Chefs Academy, Sophie brings balance to the table, literally. She loves creating meals that are easy to make, great to eat, and good for your body too.
Her recipes are made for everyday living, with a little flair and a lot of heart. Sophie’s not here to count calories, she’s here to show you how fresh, simple food can fit into your life, taste amazing, and still be nourishing.