Easy Homemade Thin Mint Cookies Recipe: Fresh & Crisp
Chocolate lovers rejoice as these homemade thin mint cookies capture the essence of everyone’s favorite Girl Scout treat.
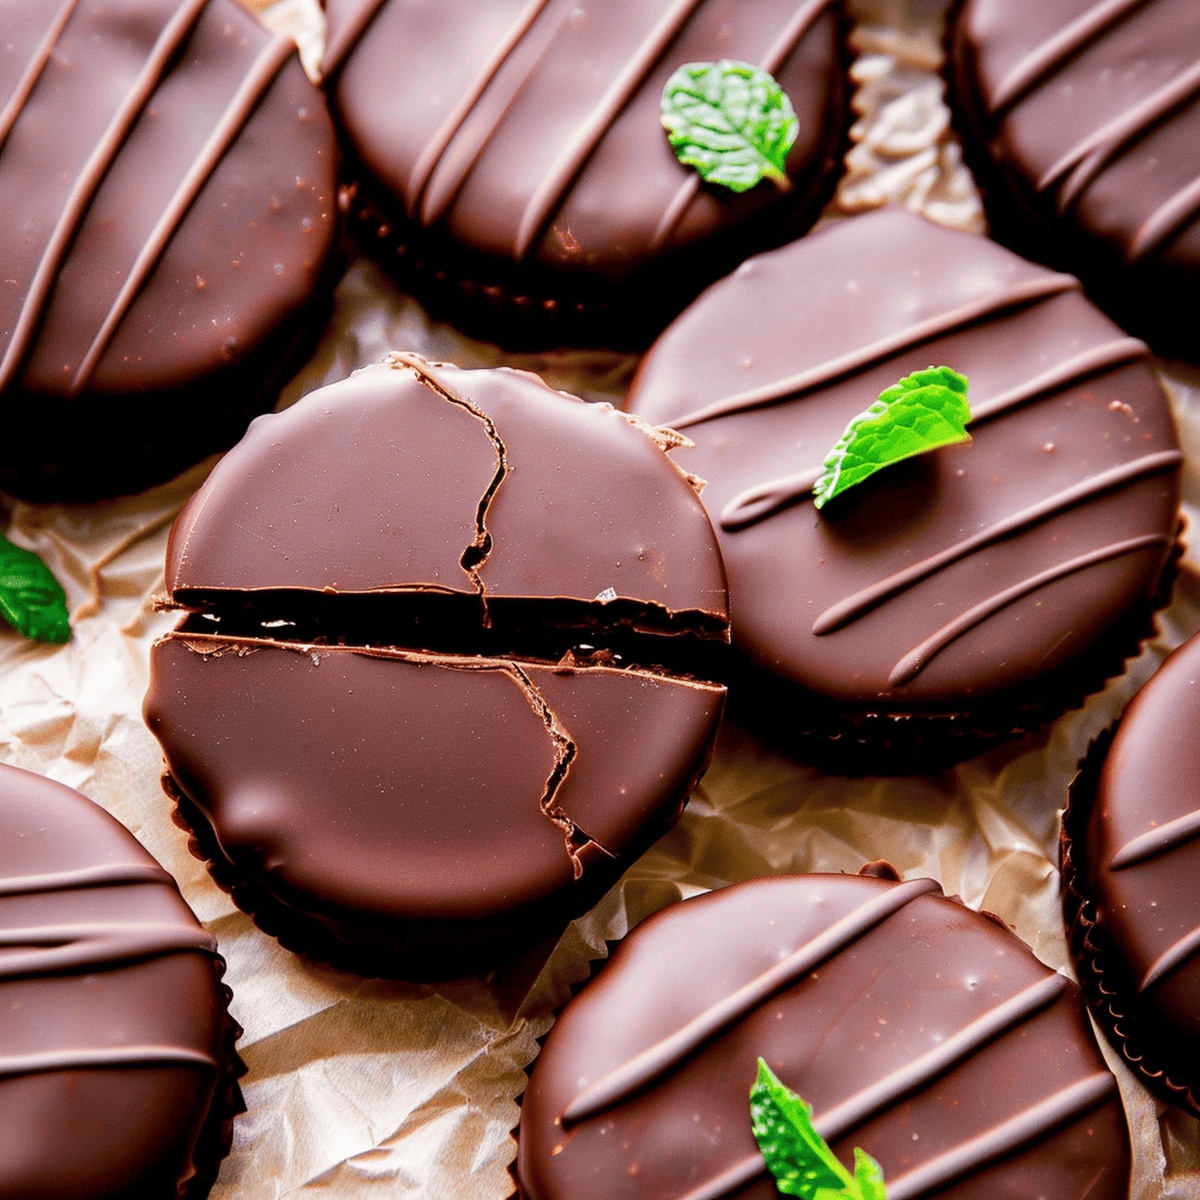
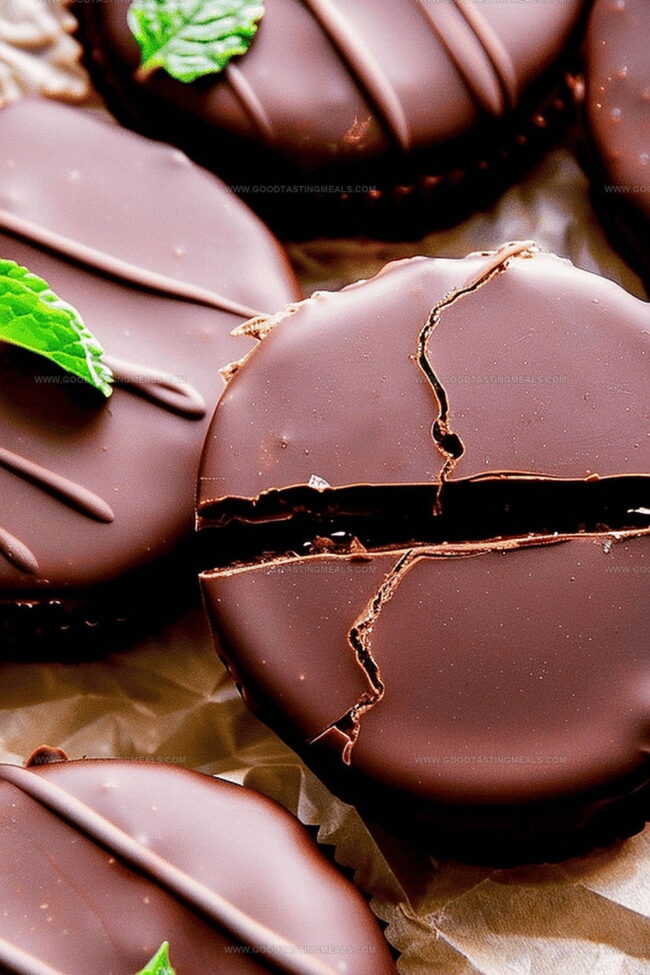
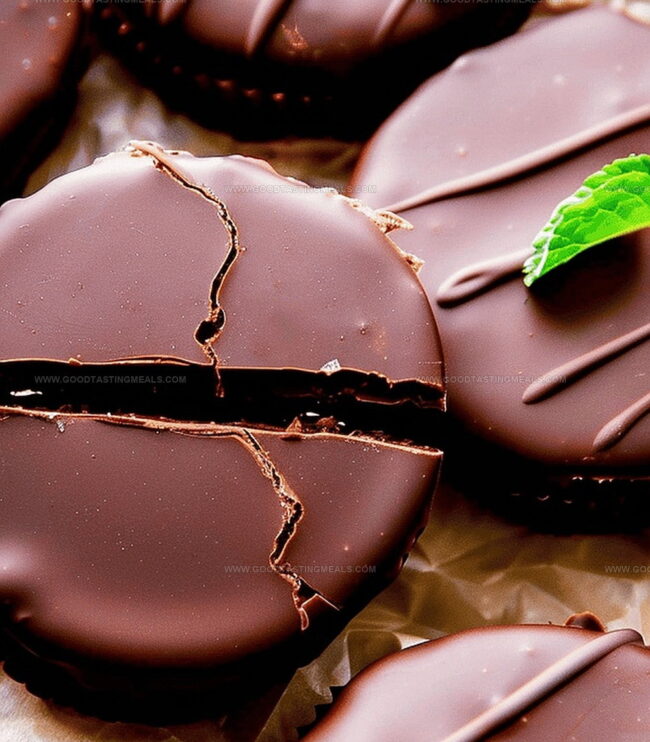
The classic thin mint cookie recipe brings nostalgic memories flooding back with its crisp chocolate wafer and cool mint glaze.
Baking these delectable treats in your own kitchen means controlling every delicious ingredient.
Each bite delivers a perfect balance of rich cocoa and refreshing peppermint that dance across your taste buds.
Every chocolate chip and mint extract tells a story of sweet satisfaction waiting to unfold.
These cookies promise to be your new go-to dessert for any occasion, from afternoon snacking to elegant dinner parties.
Roll up your sleeves and get ready to bake a batch of pure chocolate-mint magic that will have everyone asking for seconds.
Quick Recipe Overview
What’s in Homemade Thin Mint Cookies
For Cookie Base:For Flavor Enhancers:For Chocolate Coating:Tools to Make These Minty Delights
Step-by-Step for the Ultimate Copycat Cookies
Blend softened butter until silky smooth. Mix in sugar until fluffy and light. Add egg and flavor extracts, ensuring everything combines beautifully. Scrape bowl sides for perfect consistency.
Sift cocoa and flour together. Incorporate baking powder and salt. Gently fold dry mixture into wet ingredients until a uniform dough forms.
Divide dough into two portions. Roll each piece thinly on parchment paper. Stack and refrigerate for minimum one hour. Overnight chilling enhances flavor development.
Preheat oven to moderate temperature. Remove chilled dough. Cut precise circular shapes using round cookie cutter. Transfer delicate circles onto lined baking sheets.
Bake until cookie edges appear set but centers remain soft. Rotate baking sheet midway for even browning. Allow brief cooling before transferring to wire rack.
Melt chocolate with oil using gentle heat method. Stir consistently to prevent burning. Incorporate peppermint extract for additional flavor complexity.
Dip completely cooled cookies into melted chocolate. Use fork for smooth coating. Tap excess chocolate off. Place on clean surface for chocolate setting.
Keep cookies in sealed container. Enjoy within several days. Refrigeration extends preservation. Freezer storage provides delightful crisp texture.
Tips for Crisp Edges & Cooling Chocolate Tops
How to Serve Thin Mints Like a Pro
Storing Thin Mints at Their Peak
Print
Crunchy Homemade Thin Mint Cookies
- Total Time: 1hr 25min
- Yield: 22 1x
Description
Classic homemade thin mint cookies combine peppermint and chocolate for an irresistible treat. Crisp chocolate wafers enrobed in smooth melted chocolate create a nostalgic dessert that promises pure deliciousness.
Ingredients
- 1 cup (200 grams) granulated sugar
- ¾ cup (12 tbsps; 170 grams) unsalted butter, softened to room temperature
- 1 ½ cups (188 grams) all-purpose flour
- ¾ cup (62 grams) unsweetened natural cocoa powder
- 1 large egg, at room temperature
- 1 tsp pure vanilla extract
- 1 tsp baking powder
- ¼ tsp peppermint extract
- 1/8 tsp salt
- 14 oz (395 grams) quality semi-sweet chocolate, coarsely chopped
- ½ tsp canola or vegetable oil
- ¼ tsp peppermint extract
Instructions
- Dough Preparation: Cream butter until silky, gradually blend sugar until fluffy. Whisk in egg, vanilla, and peppermint extracts, ensuring uniform consistency by scraping bowl edges periodically.
- Dry Ingredient Integration: Sift flour and cocoa powder together with baking powder and salt. Merge dry ingredients into wet mixture, mixing until uniform dough emerges.
- Dough Chilling: Divide dough into two sections. Roll each between parchment paper to quarter-inch thickness. Sandwich rolled dough with parchment layers and refrigerate for one hour to solidify.
- Cookie Shaping and Baking: Preheat oven to 350°F. Line baking sheets with parchment. Extract chilled dough and cut uniform circular shapes. Arrange cookies on prepared baking surfaces.
- Initial Baking Process: Bake cookies for 8-10 minutes, rotating midway for even coloration. Remove when centers remain slightly soft. Cool briefly on baking sheet before transferring to wire rack.
- Chocolate Coating Preparation: Melt chocolate and oil using double boiler or microwave, stirring consistently to prevent burning. Blend in peppermint extract for enhanced flavor complexity.
- Dipping and Setting: Fully immerse each cooled cookie in melted chocolate using a fork to drain excess. Place dipped cookies on lined sheet and refrigerate to accelerate chocolate solidification.
- Storage and Serving: Preserve cookies in sealed container at room temperature or refrigerate for extended freshness. Serve chilled or frozen for optimal taste experience.
Notes
- Chill Dough Strategically: Refrigerate dough for at least one hour to prevent spreading and maintain crisp cookie edges during baking.
- Master Chocolate Coating: Maintain chocolate at consistent warm temperature while dipping to achieve smooth, even chocolate coverage without clumping.
- Use Precise Cutting Technique: Roll dough uniformly and use sharp-edged cookie cutter for professional-looking, consistent cookie shapes.
- Temperature Matters: Allow cookies to cool completely before chocolate dipping to prevent melting and ensure clean, glossy chocolate shell.
- Prep Time: 1hr 15min
- Cook Time: 10min
- Category: Desserts, Snacks
- Method: Baking
- Cuisine: American
Nutrition
- Serving Size: 22
- Calories: 190
- Sugar: 9 g
- Sodium: 50 mg
- Fat: 10 g
- Saturated Fat: 6 g
- Unsaturated Fat: 4 g
- Trans Fat: 0 g
- Carbohydrates: 24 g
- Fiber: 1 g
- Protein: 2 g
- Cholesterol: 20 mg


Sophie Martin
Co-Founder & Content Creator
Expertise
Education
Stellenbosch University, South Africa
South African Chefs Academy, Cape Town
Sophie Martin is the nutrition brain and feel-good foodie at Good Tasting Meals. With a degree in Human Nutrition from Stellenbosch University and chef training from the South African Chefs Academy, Sophie brings balance to the table, literally. She loves creating meals that are easy to make, great to eat, and good for your body too.
Her recipes are made for everyday living, with a little flair and a lot of heart. Sophie’s not here to count calories, she’s here to show you how fresh, simple food can fit into your life, taste amazing, and still be nourishing.