
Dreamy Cherry Cream Cheese Danish Recipe for Sweet Mornings
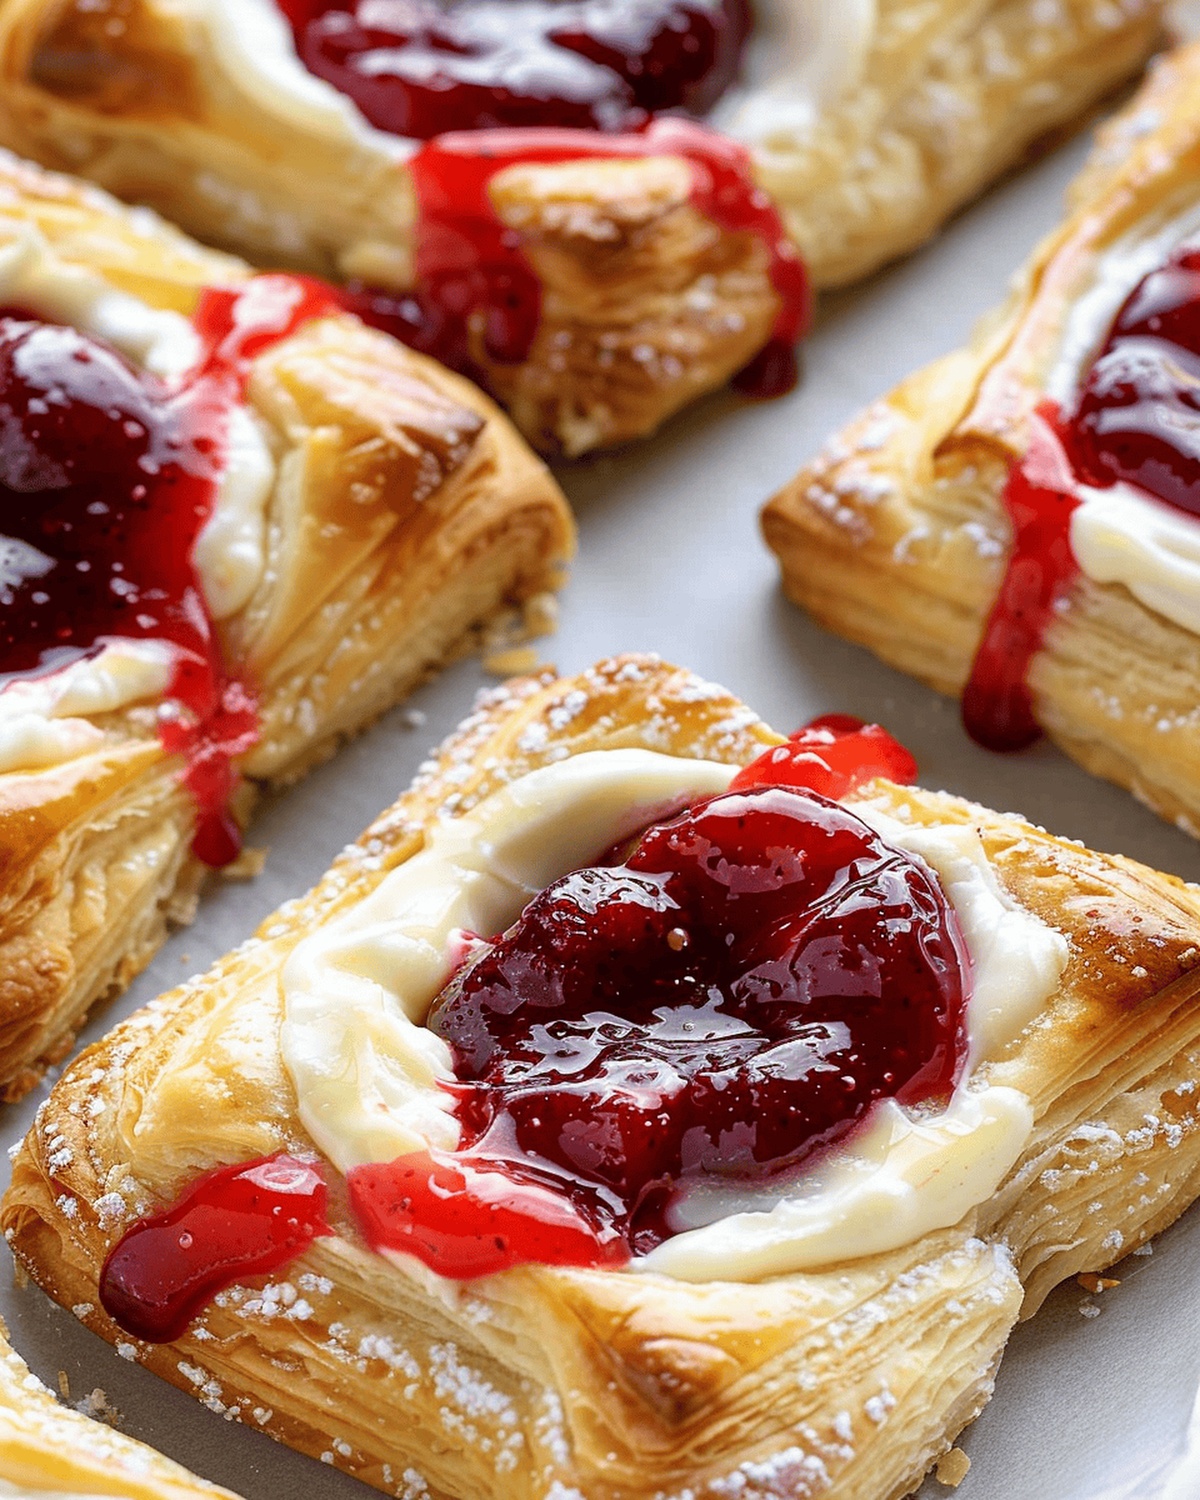
Flaky pastry layers and rich cream cheese create a breakfast masterpiece that melts in your mouth with this irresistible cherry cream cheese Danish recipe.
Golden-brown edges promise a delightful crunch with every bite.
Sweet cherries nestled in velvety cream cheese filling deliver a burst of fruity elegance.
The delicate pastry whispers promises of indulgence and comfort.
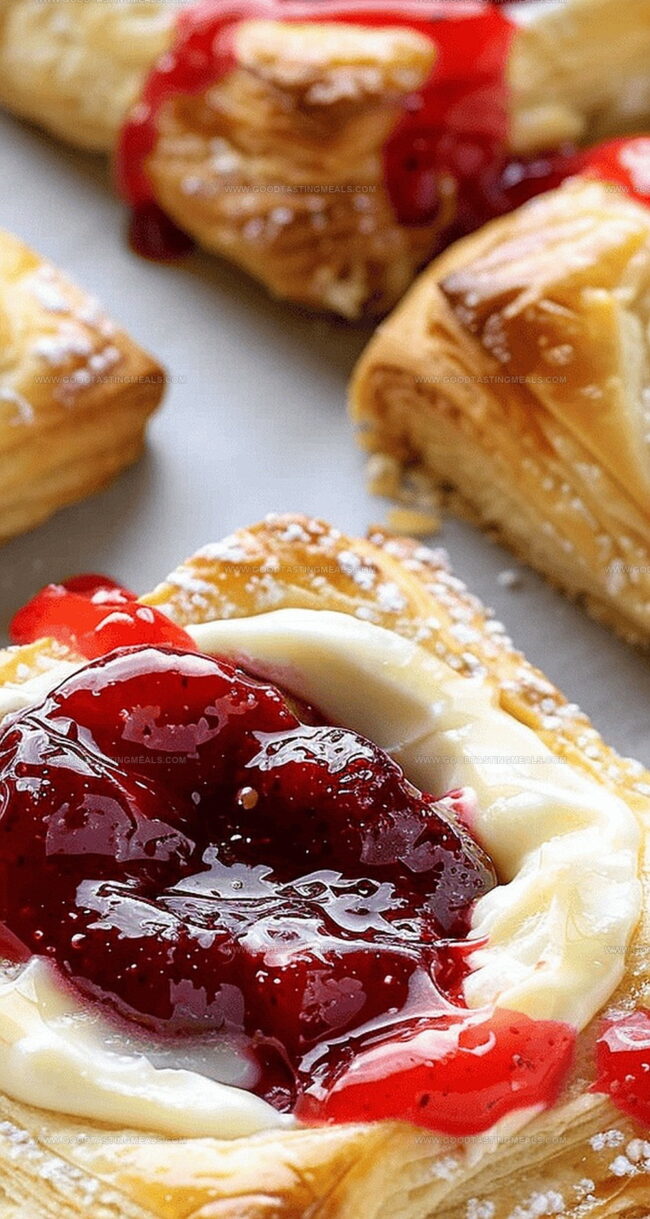
Each Danish offers a perfect balance of tangy cream cheese and bright cherry notes.
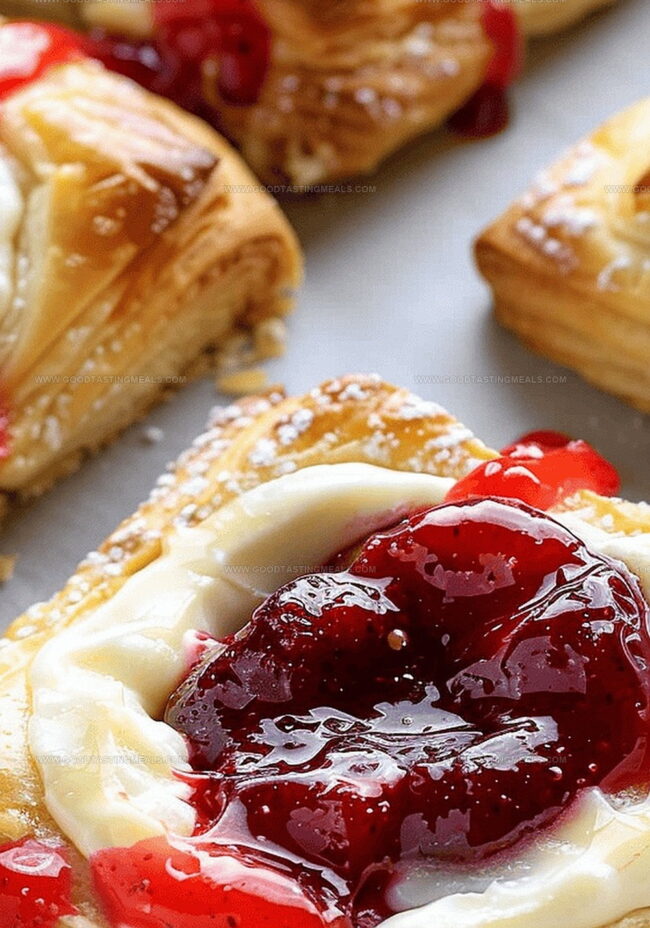
Breakfast or brunch feels instantly special with these elegant, homemade pastries.
You’ll love how simple ingredients come together to create something extraordinary.
Quick Recipe Overview
Cherry Cream Cheese Danish Ingredient Breakdown
For Pastry Base:For Filling Components:For Finishing Touches:Tools to Shape and Bake Cherry Danishes
Step-by-Step to Cherry Cream Cheese Danish
Unroll delicate puff pastry on a lightly dusted surface, slicing each sheet into six beautiful rectangles.
Spread the pastry pieces onto parchment-lined baking sheets, giving them breathing room between each delicate square.
Gently pierce the center of each pastry with a fork, creating tiny pathways that allow the edges to rise while creating a cozy space for filling.
Blend cream cheese with sweet sugar and a whisper of almond extract until silky smooth.
Dollop a generous spoonful of cream cheese in the pastry’s center, then crown it with vibrant cherry pie filling.
Whisk egg with water and tenderly brush the pastry edges, creating a golden shimmer.
Slide the baking sheets into a hot oven, letting the pastries transform into golden, puffy clouds for 15-18 minutes.
Dust the warm pastries with a delicate snowfall of powdered sugar, then let them rest briefly before serving these heavenly treats.
Danish Tips to Improve Texture and Taste
Serving Cherry Danish at Home or Events
How to Store and Reheat Danish Easily
Print
Dreamy Cherry Cream Cheese Danish
- Total Time: 28 minutes
- Yield: 9 1x
Description
Danish pastry perfection emerges with this cherry cream cheese danish, blending sweet cherries and tangy cream cheese in a flaky, golden-brown pastry. Delicate layers promise a delightful breakfast or dessert you’ll savor with each delectable bite.
Ingredients
- 2 sheets puff pastry (frozen, thawed)
- 8 oz (226 g) cream cheese (softened)
- 1 can 21 oz (595 g) cherry pie filling
- 1 large egg (room temperature)
- 2 tbsps (30 mL) granulated sugar
- 1 tsp (5 mL) almond extract
- 1 tbsp (15 mL) water
- Confectioners’ sugar (for dusting)
Instructions
- Preheat and Prepare: Set oven to 400°F and line baking sheets with parchment paper, creating an ideal baking environment for delicate pastries.
- Shape and Portion: Unfurl puff pastry sheets on a floured surface, dividing each into 6 precise rectangular segments, ensuring uniform size and structure.
- Ventilate and Prepare Base: Puncture pastry centers with a fork, establishing strategic air channels while maintaining elevated outer edges, then arrange on prepared baking sheets with adequate spacing.
- Craft Cream Cheese Mixture: Blend cream cheese, sugar, and almond extract until achieving a silky, homogeneous filling that promises rich, luxurious flavor.
- Assemble Danish: Deposit a generous dollop of cream cheese mixture into each pastry center, then cascade cherry pie filling atop, distributing evenly to create a vibrant, appetizing topping.
- Finish and Glaze: Whisk egg with water to create a luminous coating, meticulously brushing pastry borders to encourage beautiful caramelization and glossy appearance.
- Bake and Transform: Slide baking sheets into the preheated oven, allowing pastries to metamorphose for 15-18 minutes until they reach a stunning golden-brown complexion.
- Garnish and Serve: Dust warm danishes with confectioners’ sugar, creating a delicate, sweet finale before presenting these elegant pastries.
Notes
- Precision Matters: Use room temperature cream cheese for smoother, lump-free filling that blends effortlessly and spreads evenly across pastry.
- Pastry Performance: Keep puff pastry chilled until ready to use, preventing butter from melting and ensuring flaky, crisp layers during baking.
- Spacing Strategy: Allow adequate space between pastries on baking sheet to promote even air circulation and prevent edges from sticking together.
- Glaze Technique: Apply egg wash carefully around pastry edges to create a beautiful golden-brown shine and help seal the danish’s delicate borders.
- Prep Time: 10 minutes
- Cook Time: 18 minutes
- Category: Breakfast, Snacks, Desserts
- Method: Baking
- Cuisine: Danish
Nutrition
- Serving Size: 9
- Calories: 305
- Sugar: 12 g
- Sodium: 250 mg
- Fat: 18 g
- Saturated Fat: 10 g
- Unsaturated Fat: 7 g
- Trans Fat: 0 g
- Carbohydrates: 32 g
- Fiber: 1 g
- Protein: 4 g
- Cholesterol: 60 mg
Sophie Martin
Co-Founder & Content Creator
Expertise
Education
Stellenbosch University, South Africa
South African Chefs Academy, Cape Town
Sophie Martin is the nutrition brain and feel-good foodie at Good Tasting Meals. With a degree in Human Nutrition from Stellenbosch University and chef training from the South African Chefs Academy, Sophie brings balance to the table, literally. She loves creating meals that are easy to make, great to eat, and good for your body too.
Her recipes are made for everyday living, with a little flair and a lot of heart. Sophie’s not here to count calories, she’s here to show you how fresh, simple food can fit into your life, taste amazing, and still be nourishing.