Dreamy Mini No-Bake Oreo Cheesecakes Recipe

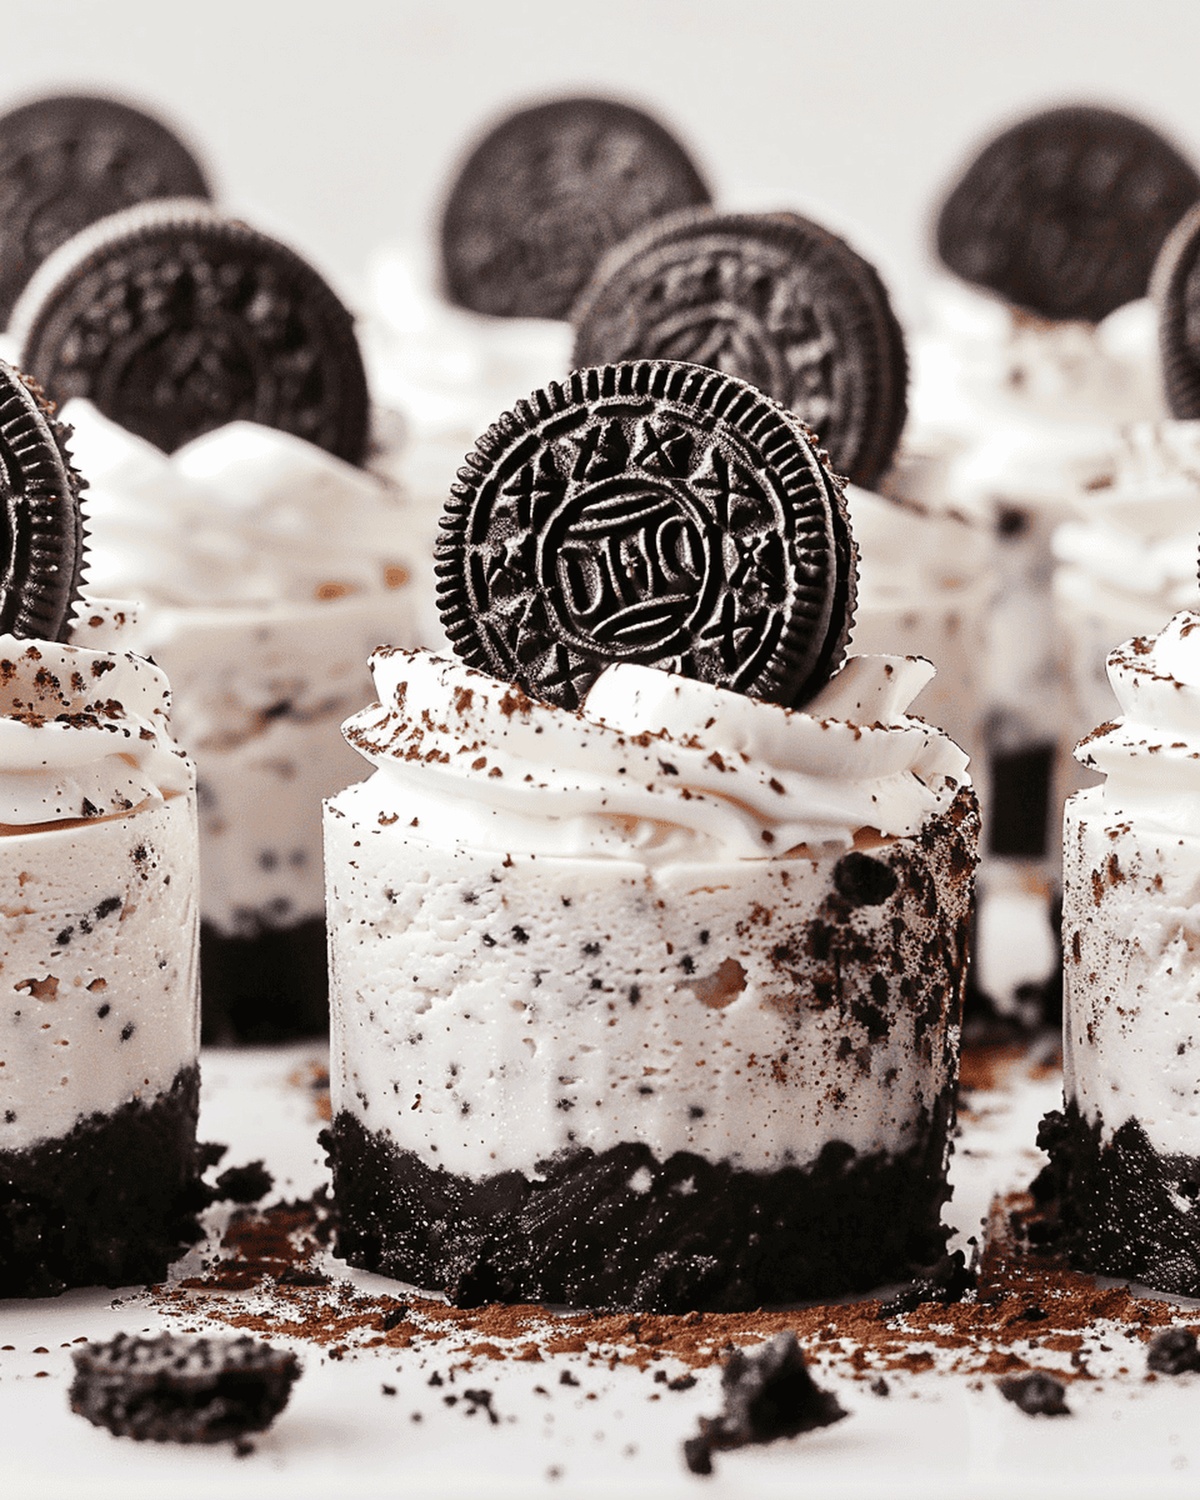
Fluffy Mini Oreo Cheesecakes Recipe: Fuss-Free Dessert Joy

Creamy, decadent mini no-bake Oreo cheesecakes will make your dessert dreams come true.

These bite-sized delights pack a powerful punch of chocolate cookie goodness.

Rich cream cheese blends seamlessly with crushed Oreo cookies to create an irresistible treat.

Each spoonful delivers a smooth, velvety texture that melts perfectly in your mouth.

The no-bake method means you can whip up these elegant desserts without turning on the oven.

Simple ingredients and quick preparation make these mini cheesecakes a go-to option for spontaneous sweet cravings.

Dive into this delightful recipe and experience a dessert that promises to impress at any gathering.

Quick Recipe Overview

Prep Time: 20 min

Cook Time:

Total Time: 4 hours 20 min

Calories: 300 kcal

Servings: 7

What’s in Mini No-Bake Oreo Cheesecakes

For Base:
  • Oreo Cookies: Crunchy foundation that provides a rich, chocolatey backbone to the dessert. Choose fresh, crisp cookies for the best texture and flavor.
  • Dairy-Free Butter: Binds the cookie crumbs together, creating a sturdy and delectable base. Look for high-quality plant-based butter with smooth melting properties.
For Creamy Filling:
  • Dairy-Free Cream Cheese: Delivers the classic tangy cheesecake essence with a smooth, velvety consistency. Select a brand that whips well and has a rich, authentic flavor.
  • Dairy-Free Whipping Cream: Adds lightness and creates a dreamy, airy texture. Opt for cream that holds peaks and provides a luxurious mouthfeel.
  • Oreo Cookies: Infuses the filling with intense chocolate flavor and delightful cookie crunch. Select cookies that crush easily and blend smoothly.
For Topping:
  • Dairy-Free Whipping Cream: Creates a billowy, elegant crown for the mini cheesecakes. Choose cream that can be whipped to stiff, picture-perfect peaks.
  • Oreo Cookies: Provides a decorative and delicious final touch. Use whole and crushed cookies for visual and textural contrast.

Tools That Make No-Bake Cheesecakes

  • Blender or Food Processor: Essential for crushing Oreo cookies into fine crumbs.
  • Small Saucepan: Needed to melt butter evenly over low heat.
  • Medium-sized Heat-proof Mixing Bowl: Perfect for combining cookie crumbs and melted butter.
  • Cookie Cup Tin: Crucial for shaping and holding the mini cheesecakes.
  • Stand Mixer or Hand Whisk: Great for whipping cream and cream cheese to creamy perfection.
  • Piping Bags: Two required – one with large round tip for filling, another with open star tip for cream swirl.
  • Offset Spatula: Helps level and smooth the cheesecake filling.
  • Mixing Bowls: Multiple sizes needed for different preparation stages.
  • Nozzle Tips: Large round and open star tips for precise piping.

How to Assemble Mini Oreo Cheesecakes

  • Cookie Crush

Pulverize Oreo cookies into fine crumbs using a food processor. Mix with melted butter until the texture resembles damp beach sand.

  • Base Formation

Press the cookie mixture firmly into individual mini tins, ensuring a compact and sturdy foundation. Chill in the freezer while preparing the filling.

  • Creamy Mixture

Blend dairy-free cream cheese and whipping cream until smooth and voluptuous. Fold in crushed Oreo pieces for extra flavor and texture.

  • Filling Magic

Pipe the luscious mixture into the chilled cookie bases, creating elegant and even layers. Smooth the tops for a polished appearance.

  • Freezer Rest

Allow the mini cheesecakes to set in the freezer for several hours until firm and stable.

  • Finishing Touches

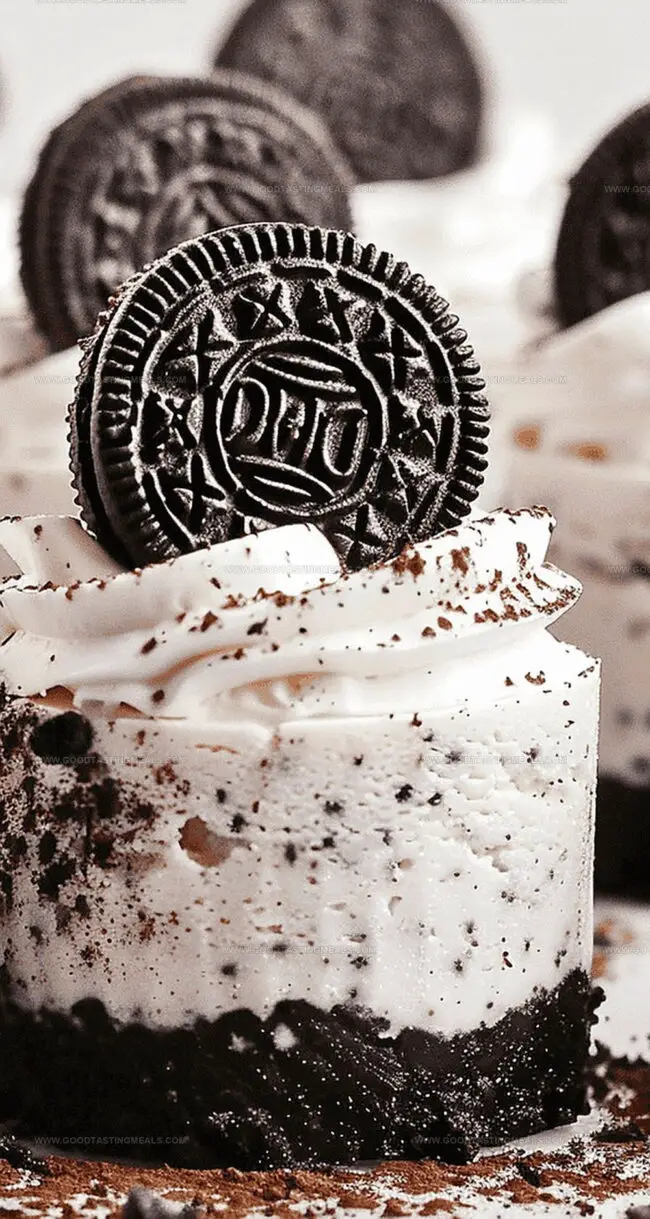
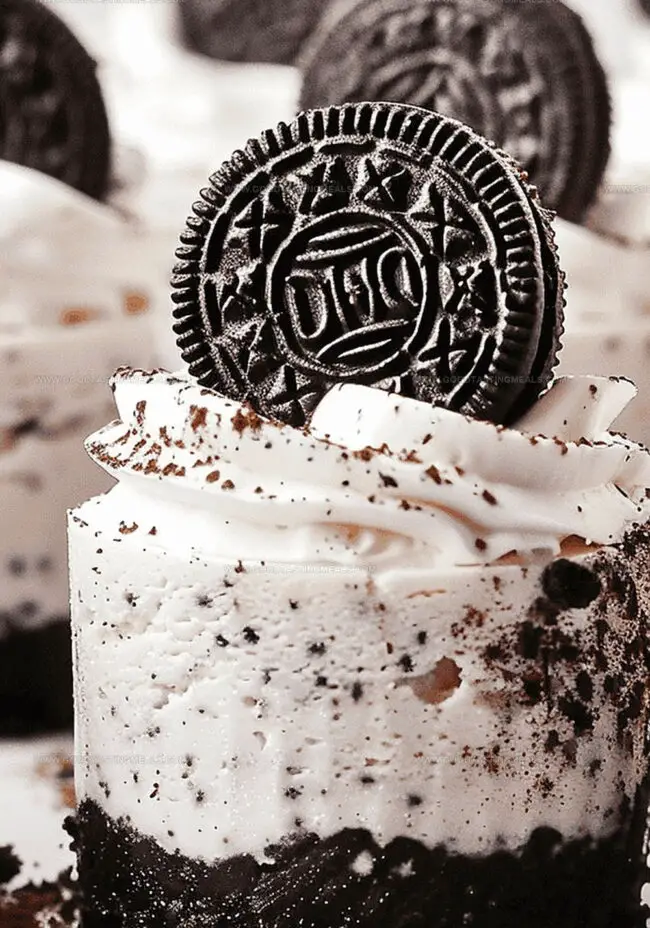
Create delicate whipped cream swirls on top using a star-tipped piping bag. Garnish with a halved Oreo cookie and sprinkle of cookie crumbs for a stunning presentation.

  • Serving Delight

Remove from freezer, let slightly soften in the refrigerator, and serve chilled for a decadent dessert experience.

Oreo Cheesecake Tweaks to Try

  • Crush extra Oreo cookies more finely for a smoother, more consistent base that holds together perfectly without crumbling.
  • Experiment with different Oreo flavors like mint, peanut butter, or birthday cake to create unique variations that surprise your taste buds.
  • Allow cheesecakes to sit at room temperature for 5-10 minutes before serving to achieve the ideal creamy texture that melts in your mouth.
  • Practice piping techniques on a piece of parchment paper first to ensure beautiful, consistent swirls that make your mini cheesecakes look professionally decorated.
  • Keep these delightful treats in an airtight container in the freezer for up to 2 weeks, so you can enjoy a quick sweet treat whenever dessert cravings strike.

Serving Oreo Cheesecakes in Cute Ways

  • Dessert Companion Delights
  • Coffee Pairing Perfection: Serve these mini Oreo cheesecakes alongside a warm espresso or cold brew coffee to enhance the rich chocolate flavor and create a delightful contrast in temperatures.
  • Fruit Refresh Balance: Add a small side of fresh strawberries or raspberries to cut through the creamy sweetness and provide a light, tangy complement to the decadent cheesecake.
  • Elegant Presentation Style: Place each mini cheesecake on a small dessert plate with a light dusting of cocoa powder or crushed Oreo crumbs around the edges for a professional and Instagram-worthy presentation that elevates the visual appeal.
  • Chilled Serving Suggestion: Keep these mini cheesecakes slightly chilled when serving to maintain their perfect creamy texture and ensure the most enjoyable taste experience for your guests.

Store Mini Cheesecakes Without a Mess

  • Tasty Storage Solutions: Easy Mini Oreo Cheesecake Care
  • Cool Refrigerator Strategy: Store these delightful mini cheesecakes in an airtight container within the refrigerator. They'll stay fresh and delicious for up to 5 days, maintaining their creamy texture and fabulous flavor profile.
  • Freezer-Friendly Approach: These little dessert gems can be frozen for maximum convenience. Wrap each cheesecake individually in plastic wrap, then place inside a freezer-safe container. They'll remain scrumptious for 2-3 weeks, ready for spontaneous sweet cravings.
  • Smart Serving Tips: Remove cheesecakes from the refrigerator about 10-15 minutes before serving. This gentle warming allows the dessert to soften slightly, creating a more luxurious and melt-in-your-mouth experience.
  • Moisture Management: Always keep the cheesecakes covered to prevent absorbing other refrigerator odors. A tight-sealing container with a lid works perfectly to protect their delicate flavor and prevent unwanted taste interactions.
Print
clock clock iconcutlery cutlery iconflag flag iconfolder folder iconinstagram instagram iconpinterest pinterest iconfacebook facebook iconprint print iconsquares squares iconheart heart iconheart solid heart solid icon
Dreamy Mini No-Bake Oreo Cheesecakes Recipe

Dreamy Mini No-Bake Oreo Cheesecakes


5 Stars 4 Stars 3 Stars 2 Stars 1 Star

4.7 from 25 reviews

  • Total Time: 4 hours 20 min
  • Yield: 7 1x

Description

Creamy mini no-bake oreo cheesecakes shine with rich chocolate cookie crusts and silky smooth filling. Refrigerated layers provide cool, indulgent dessert perfection for quick celebrations or casual weekend treats.


Ingredients

Scale
  • 12 Oreo cookies (8 for blending, 4 for decoration)
  • 150 grams (5.3 oz) Oreo cookies
  • 260 grams (9.2 oz) dairy-free whipping cream
  • 20 grams (0.7 oz) dairy-free whipping cream
  • 160 grams (5.6 oz) dairy-free cream cheese
  • 50 grams (1.8 oz) dairy-free butter or margarine

Instructions

  1. Prepare Base: Pulverize Oreo cookies into fine crumbs, then blend with melted dairy-free butter until the mixture resembles damp sand. Press firmly into individual cookie cup tins, creating a compact foundation.
  2. Chill Base: Place the prepared cookie bases in the freezer to set while preparing the filling.
  3. Create Filling: Whip dairy-free cream cheese and whipping cream together, gradually increasing speed until thick and smooth. Fold in finely ground Oreo cookies, ensuring thorough incorporation.
  4. Fill Cups: Transfer the cheesecake mixture into a piping bag and carefully fill each prepared cookie cup. Smooth the tops with an offset spatula for a polished appearance.
  5. Freeze and Set: Allow the mini cheesecakes to freeze for approximately 4 hours until completely firm. If using push-up tins, gently release by pressing the bases upward.
  6. Prepare Topping: Whip additional dairy-free cream until forming stable, thick peaks. Using a star-tipped piping bag, create elegant cream swirls on top of each cheesecake.
  7. Garnish and Serve: Adorn with a half Oreo cookie and sprinkle of cookie crumbs. Refrigerate briefly to slightly soften before serving chilled.

Notes

  • Crumb Consistency Matters: Ensure Oreo cookies are crushed into ultra-fine, sand-like texture for a perfect compact base that holds together beautifully.
  • Whipping Technique: Start whipping cream cheese and cream at low speed, gradually increasing to prevent air bubbles and achieve a luxuriously smooth filling.
  • Freezing is Key: Allow exactly 4 hours of freezing time to set cheesecakes perfectly – not less, not more – for ideal texture and easy serving.
  • Garnish with Precision: Use a star-tipped piping bag for professional-looking cream swirls and strategically place Oreo half for maximum visual impact.
  • Prep Time: 20 min
  • Category: Desserts, Snacks
  • Method: Blending
  • Cuisine: American

Nutrition

  • Serving Size: 7
  • Calories: 300
  • Sugar: 25 g
  • Sodium: 250 mg
  • Fat: 20 g
  • Saturated Fat: 10 g
  • Unsaturated Fat: 9 g
  • Trans Fat: 0 g
  • Carbohydrates: 30 g
  • Fiber: 1 g
  • Protein: 3 g
  • Cholesterol: 0 mg
Sophie Martin

Sophie Martin

Co-Founder & Content Creator

Expertise

  • Nutrition and Healthy Eating
  • Creating Balanced Recipes
  • Meal Planning
  • Food Safety
  • Teaching About Nutrition

Education

Stellenbosch University, South Africa

  • Degree: Bachelor of Science in Human Nutrition
  • Focus: Studying how food affects health, learning about balanced diets, and understanding the nutritional needs of different people.

South African Chefs Academy, Cape Town

  • Program: Professional Culinary Arts Diploma
  • Focus: Practical cooking skills, focusing on healthy meal preparation and understanding various cooking methods.

Sophie Martin is the nutrition brain and feel-good foodie at Good Tasting Meals. With a degree in Human Nutrition from Stellenbosch University and chef training from the South African Chefs Academy, Sophie brings balance to the table, literally. She loves creating meals that are easy to make, great to eat, and good for your body too.

Her recipes are made for everyday living, with a little flair and a lot of heart. Sophie’s not here to count calories, she’s here to show you how fresh, simple food can fit into your life, taste amazing, and still be nourishing.

Leave a Reply

Your email address will not be published. Required fields are marked *

Recipe rating 5 Stars 4 Stars 3 Stars 2 Stars 1 Star