
Frosty OREO Cookie Balls Recipe: Sweet Winter Treats
Decadent chocolate and creamy Oreo cookie balls dance together in this irresistible snowball Oreo cookie balls recipe that promises pure dessert bliss.
Cold winter nights call for something sweet and indulgent that melts in your mouth.
These delightful treats combine the classic crunch of Oreo cookies with smooth cream cheese and rich white chocolate coating.
Each bite delivers a perfect balance of textures and flavors that will make taste buds sing with joy.
Rolling these delicate spheres into coconut flakes adds a festive touch and delightful crunch.
Guests and cookie lovers alike will be enchanted by these simple yet elegant dessert bites.
Dive into this easy recipe and create a batch of heavenly snowball Oreo cookie balls that are sure to delight everyone at the table.
Quick Recipe Overview
Snowball OREO Balls Ingredient List
For Base and Binding:For Coating:For Preparation Surface:Tools to Craft OREO Snowballs
Making Snowball Cookie Balls
Grab a large baking sheet and line it with wax paper, creating a smooth surface for your sweet creation.
Grab softened cream cheese and crush OREO cookies into fine crumbs, mixing them together until they form a delightful, uniform mixture.
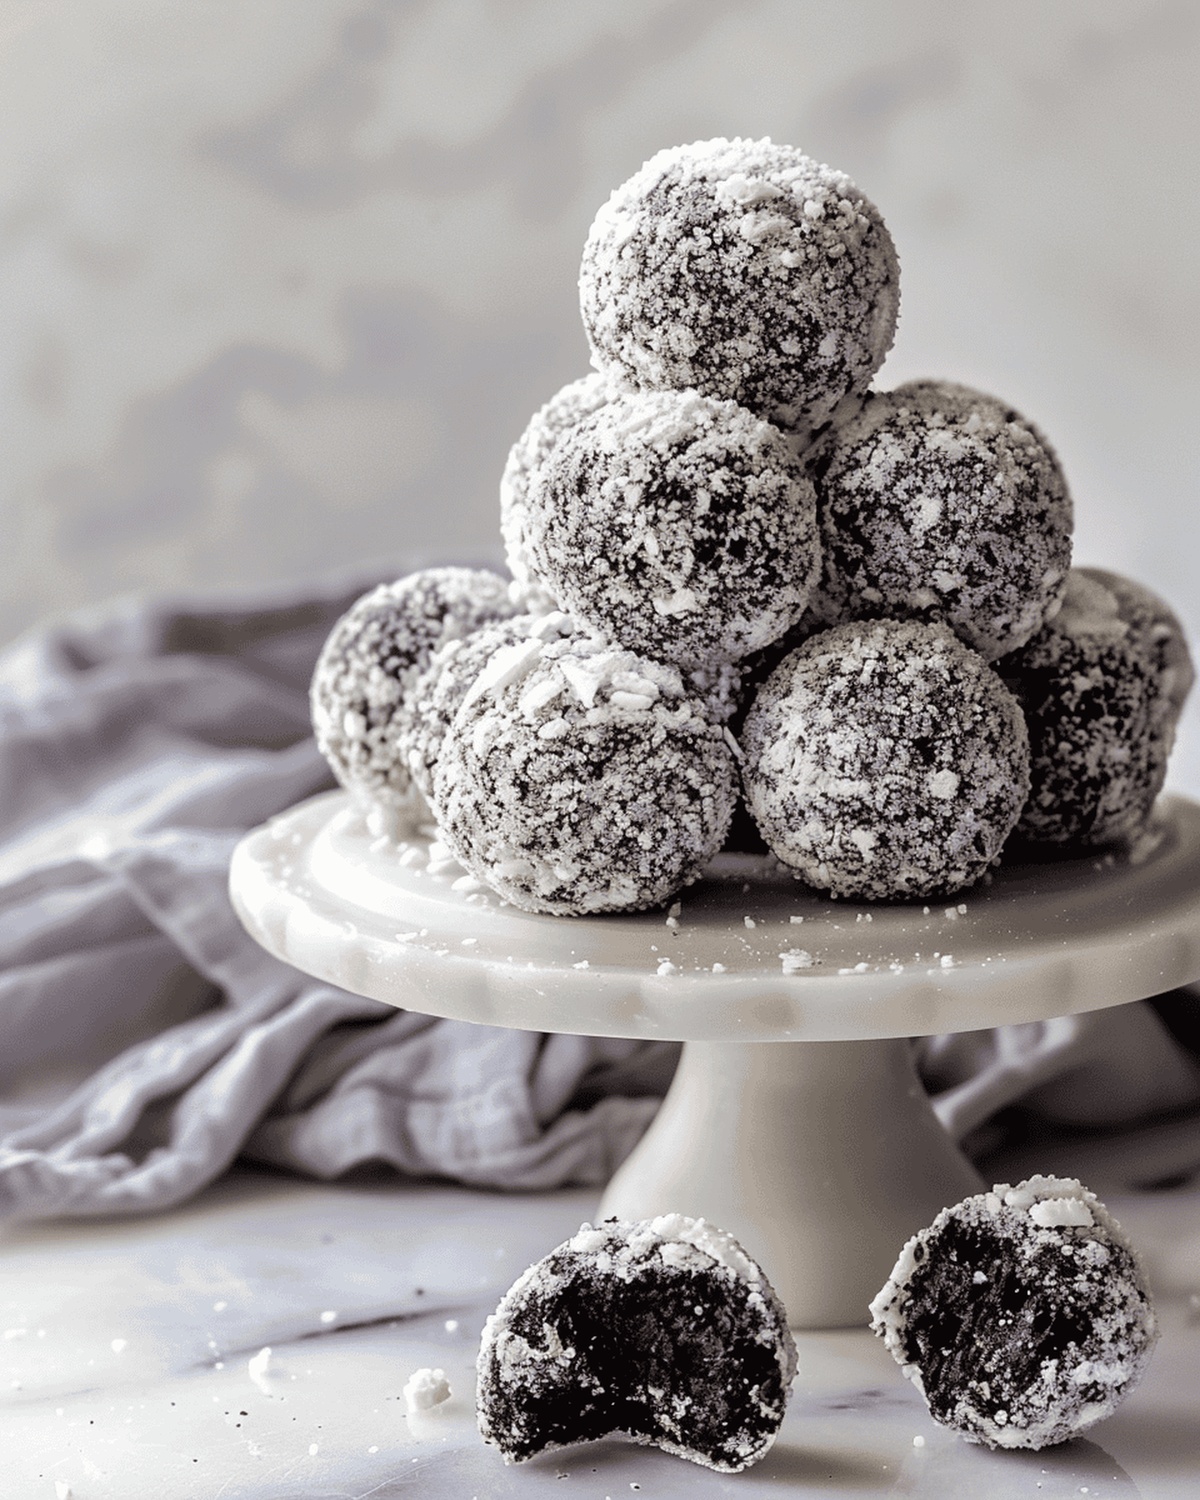
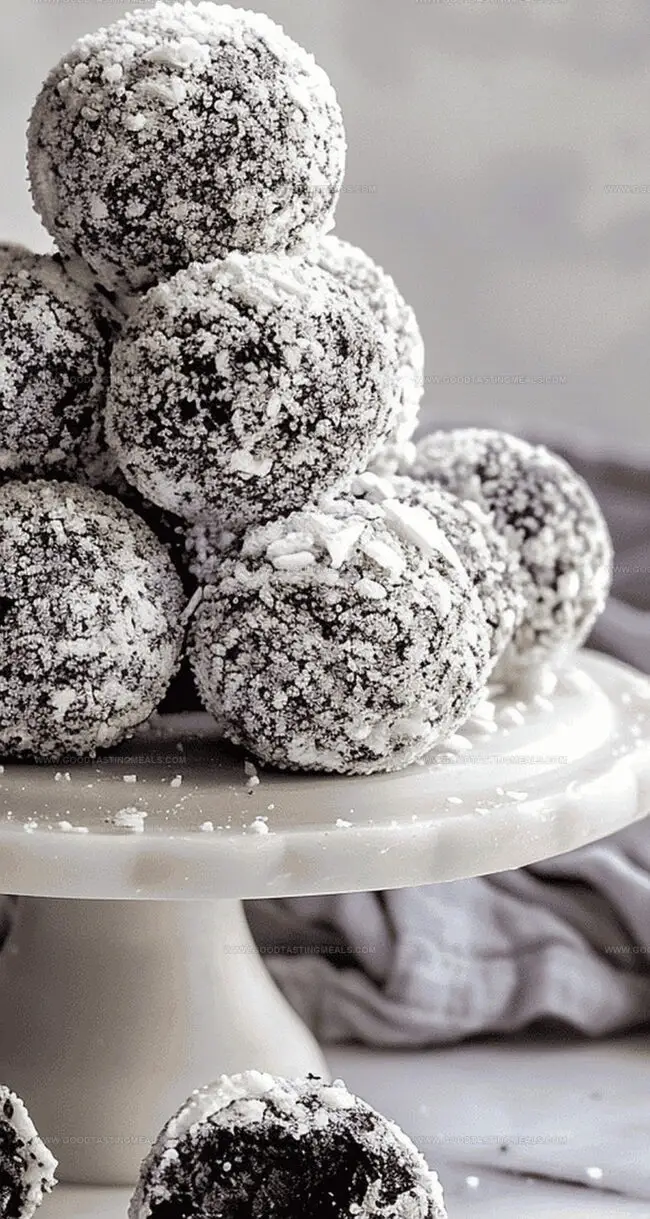
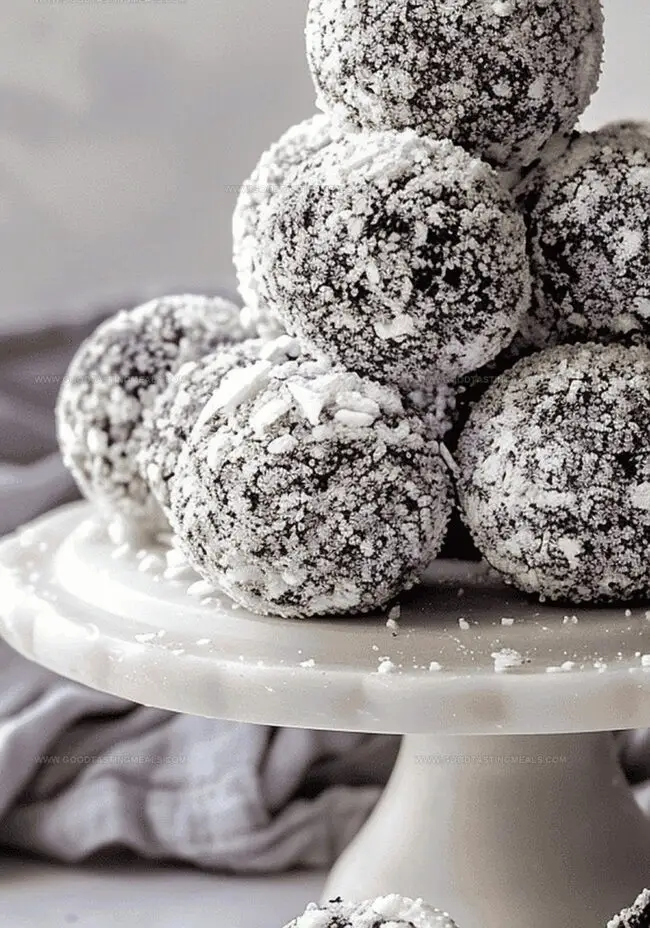
Roll the mixture into bite-sized spheres, then generously dust each ball with powdered sugar, creating a snowy, delectable coating.
Pop your cookie balls into the refrigerator for about an hour, allowing them to firm up and develop a perfect, melt-in-your-mouth texture. Keep them chilled until you’re ready to indulge in these heavenly bites.
Flavor Ideas for Snowball Truffles
Serving These Festive OREO Snowballs
How to Save Snowball Cookie Balls
Print
Dreamy Snowball OREO Cookie Balls Recipe
- Total Time: 1 hour 15 minutes (including chilling)
- Yield: 13 1x
Description
Rich chocolate snowball oreo cookie balls combine creamy Oreo crumbs with smooth cream cheese, rolled in powdered sugar for delightful winter-inspired treats. Sweet spheres deliver classic cookie flavor with elegant presentation that delights dessert enthusiasts everywhere.
Ingredients
- 1 brick (8 oz/226 g) cream cheese, softened
- 36 OREO Cookies, finely crushed
- ½ cup (120 mL/4 fl oz) powdered sugar
Instructions
- Preparation: Cover a rimmed baking sheet with wax paper, creating a clean surface for assembling the cookie balls.
- Cookie Crumb Formation: Crush OREO cookies into fine, uniform crumbs using a food processor or rolling pin, ensuring no large fragments remain.
- Mixture Blending: Incorporate softened cream cheese with cookie crumbs in a mixing bowl, kneading until a uniform, malleable dough develops with no visible streaks.
- Shaping and Coating: Carefully craft compact, bite-sized spheres approximately one inch in diameter, then generously roll each ball in powdered sugar, ensuring a complete, delicate white coating that mimics a soft winter snowball.
- Chilling and Setting: Arrange the sugar-coated cookie balls in a single layer on the prepared tray, then refrigerate for at least one hour to firm up the texture and intensify the flavor profile.
- Storage and Serving: Maintain the cookie balls in the refrigerator until ready to serve, preserving their delightful consistency and preventing premature softening.
Notes
- Crush Cookies Completely: Ensure OREO cookies are ground into ultra-fine, uniform crumbs for a smooth, consistent texture that helps bind ingredients perfectly.
- Soften Cream Cheese Properly: Let cream cheese sit at room temperature for 30-45 minutes before mixing to guarantee effortless blending and prevent lumpy consistency.
- Shape with Precision: Use gentle, consistent pressure when forming balls to create uniform 1-inch spheres that hold together without cracking or falling apart.
- Chill for Best Results: Refrigerate cookie balls for at least one hour to firm up texture, making them easier to handle and enhancing their delightful melt-in-your-mouth quality.
- Prep Time: 15 minutes
- Cook Time: 0 minutes
- Category: Desserts, Snacks
- Method: None
- Cuisine: American
Nutrition
- Serving Size: 13
- Calories: 157
- Sugar: 10 g
- Sodium: 58 mg
- Fat: 8 g
- Saturated Fat: 4.5 g
- Unsaturated Fat: 2.5 g
- Trans Fat: 0 g
- Carbohydrates: 20 g
- Fiber: 0.5 g
- Protein: 1.5 g
- Cholesterol: 15 mg
Sophie Martin
Co-Founder & Content Creator
Expertise
Education
Stellenbosch University, South Africa
South African Chefs Academy, Cape Town
Sophie Martin is the nutrition brain and feel-good foodie at Good Tasting Meals. With a degree in Human Nutrition from Stellenbosch University and chef training from the South African Chefs Academy, Sophie brings balance to the table, literally. She loves creating meals that are easy to make, great to eat, and good for your body too.
Her recipes are made for everyday living, with a little flair and a lot of heart. Sophie’s not here to count calories, she’s here to show you how fresh, simple food can fit into your life, taste amazing, and still be nourishing.