
Tiny Cherry Dynamite: Juicy Pie Bombs Recipe
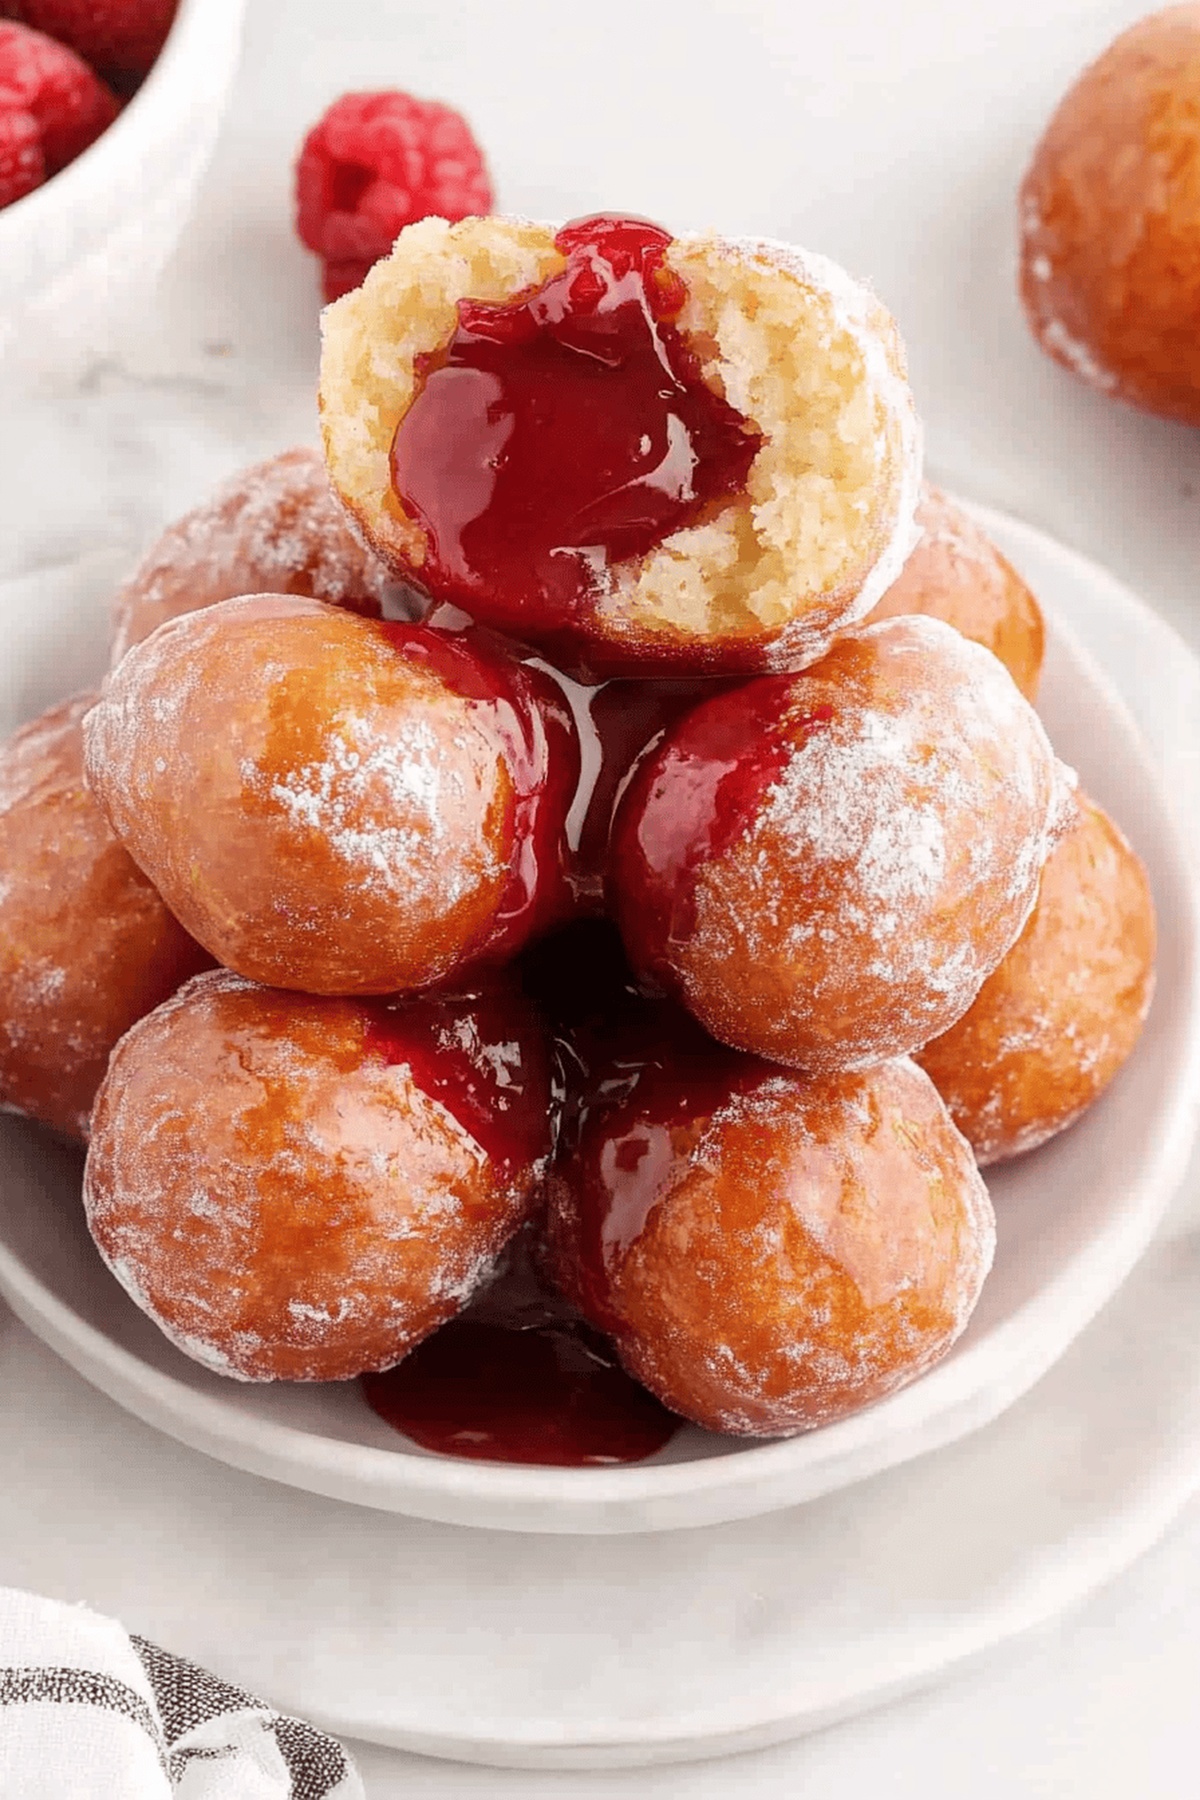
Bursting with sweet, tangy goodness, these cherry pie bombs deliver a delightful explosion of flavor that’ll make taste buds dance.
A classic dessert reimagined, these bite-sized treats pack the rich essence of traditional cherry pie into one irresistible morsel.
Tender pastry wraps around luscious cherry filling, creating a perfect handheld indulgence that’s both nostalgic and innovative.
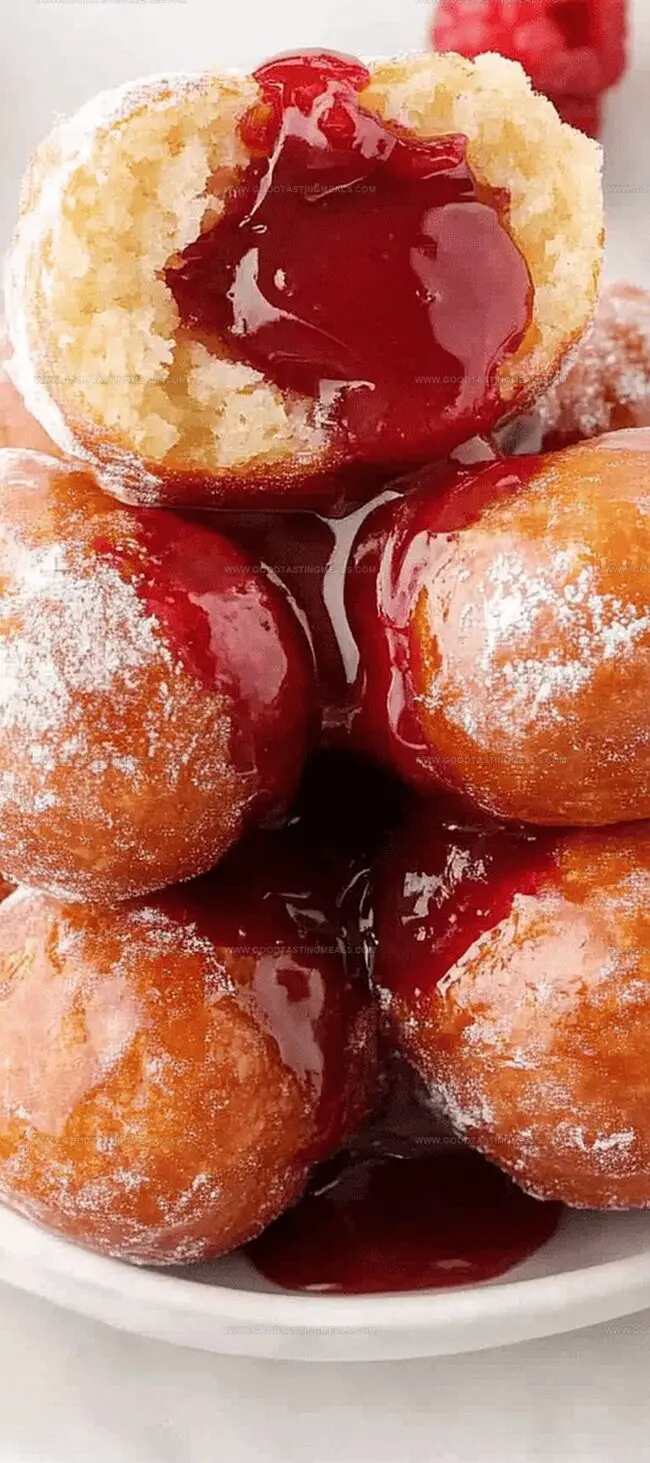
The golden-brown exterior gives way to a warm, gooey center that promises pure dessert bliss.
Each bomb is a miniature work of culinary art, designed to surprise and delight with every single bite.
Soft, crispy, and brimming with fruity charm, these little morsels will become your new go-to sweet sensation.
Grab your apron and get ready to revolutionize dessert time with this mouthwatering recipe that’s sure to impress.
Quick Recipe Overview
Cherry Pie Bombs: Ingredients You’ll Need
For Dough Base:For Filling:For Glaze and Finishing:Kitchen Tools for Cherry Pie Bombs
Cherry Pie Bombs Instructions
Cherry Pie Treasure Pockets
Get a deep cooking pot ready with vegetable oil, filling it just past halfway. The oil depth should cover your dough balls completely.
Split each biscuit into delicate layers, gently stretching them into soft circles. Create a gentle platform for your fruity surprise.
Nestle a dollop of sweet cherry filling right in the center of each dough circle. The cherry becomes the hidden gem inside your pocket.
Carefully fold the dough edges, hugging the cherry filling tight. Roll into a perfect round shape, ensuring no sneaky leaks can escape during cooking.
Heat the oil to a precise warmth around 325°F. This magical temperature guarantees a perfect golden exterior.
Gently lower 2-3 dough balls into the hot oil using a slotted spoon. Dance them around to create an even, golden-brown coat. Each pocket should transform in about 5 minutes.
Transfer the crispy pockets onto paper towels, letting excess oil melt away. These golden treasures will look irresistible.
Whip together a silky glaze using powdered sugar, milk, and corn syrup. Dunk each pocket, letting the sweet coating cascade over the crispy surface.
Let the glazed pockets rest on parchment paper until the coating sets. Serve warm and watch everyone’s eyes light up with delight.
Cherry Pie Bomb Tips & Flaky Upgrades
Serving Cherry Pie Bombs Warm or Cold
How to Keep Cherry Pie Bombs Fresh
Print
Explosive Cherry Pie Bombs
- Total Time: 30 minutes
- Yield: 9 1x
Description
Home bakers crafting cherry pie bombs discover a delightful dessert merging classic pastry with unexpected texture. Crisp exterior gives way to warm, gooey cherry filling that delights palates you’ll savor with pure culinary joy.
Ingredients
- 16.3 oz (462 g) Grands “Big” biscuits, flaky
- 21 oz (595 g) cherry pie filling
- 2 cups powdered sugar
- ¼ cup (60 ml) milk
- 1 tbsp (15 ml) light corn syrup
- vegetable oil, for frying
Instructions
- Oil Preparation: Fill a heavy-bottomed saucepan slightly over halfway with vegetable oil, ensuring sufficient depth for complete dough ball submersion.
- Dough Manipulation: Separate each biscuit into two layers, delicately flattening each piece without making the dough excessively thin, creating a perfect canvas for the filling.
- Filling Placement: Center a precise dollop of cherry pie filling on each dough circle, positioning it with careful attention.
- Sealing and Shaping: Pinch dough edges together, transforming the circular piece into a seamless, compact sphere that prevents filling from escaping during frying.
- Temperature Control: Heat oil to a consistent 325°F, maintaining an optimal temperature for even cooking and golden-brown perfection.
- Frying Technique: Introduce dough balls into hot oil using a slotted metal spoon in small batches, continuously rotating to ensure uniform coloration and prevent sticking.
- Draining and Cooling: Transfer fried pie bombs to a paper towel-lined plate, allowing excess oil to be absorbed while preserving their crisp exterior.
- Glaze Creation: Whisk powdered sugar, milk, and light corn syrup into a smooth, glossy mixture that will coat the pie bombs with a delectable sheen.
- Glazing and Finishing: Completely immerse each golden bomb in the glaze, allowing excess to drip off before placing on parchment paper or a cooling rack, then let set for approximately 10 minutes or serve immediately for a warm, indulgent treat.
Notes
- Manage Oil Temperature: Maintain consistent 325°F for perfect golden-brown color without burning; use a reliable kitchen thermometer for accuracy.
- Seal Dough Carefully: Pinch edges completely shut to prevent cherry filling from leaking during frying, creating a tight spherical shape.
- Fry in Small Batches: Cook 2-3 dough balls at a time to ensure even cooking and prevent overcrowding that reduces oil temperature.
- Glaze Precision: Whisk glaze ingredients thoroughly until smooth and integrated for a perfect, even coating on the pie bombs.
- Prep Time: 15 minutes
- Cook Time: 5 minutes per batch
- Category: Desserts, Snacks
- Method: Frying
- Cuisine: American
Nutrition
- Serving Size: 9
- Calories: 292
- Sugar: 21 g
- Sodium: 153 mg
- Fat: 15 g
- Saturated Fat: 4 g
- Unsaturated Fat: 11 g
- Trans Fat: 0 g
- Carbohydrates: 36 g
- Fiber: 1 g
- Protein: 3 g
- Cholesterol: 1 mg
Sophie Martin
Co-Founder & Content Creator
Expertise
Education
Stellenbosch University, South Africa
South African Chefs Academy, Cape Town
Sophie Martin is the nutrition brain and feel-good foodie at Good Tasting Meals. With a degree in Human Nutrition from Stellenbosch University and chef training from the South African Chefs Academy, Sophie brings balance to the table, literally. She loves creating meals that are easy to make, great to eat, and good for your body too.
Her recipes are made for everyday living, with a little flair and a lot of heart. Sophie’s not here to count calories, she’s here to show you how fresh, simple food can fit into your life, taste amazing, and still be nourishing.