

The Fluffiest Flourless Banana Oat Waffles Recipe Ever Made
Flourless banana oat waffles revolutionize breakfast with their wholesome, guilt-free approach to morning indulgence.
Nutritious ingredients merge seamlessly, creating a delightful alternative to traditional waffle recipes.
Bananas provide natural sweetness and binding power, while rolled oats contribute hearty texture and robust nutritional benefits.
These waffles promise a delectable harmony of flavors that dance across your palate with each crispy bite.
Gluten-sensitive individuals can rejoice in this simple yet satisfying morning meal that doesn’t compromise on taste or enjoyment.
Health-conscious eaters will appreciate the smart combination of ingredients that convert basic pantry staples into a nourishing breakfast experience.
Crisp edges and soft centers guarantee a memorable morning treat that energizes and delights.
Flourless Banana Oat Waffles: A Guilt-Free Breakfast
What You’ll Need for Flourless Banana Oat Waffles
Main Ingredients:
Banana Base:Liquid and Binding Ingredients:Flavor and Texture Enhancers:Optional Cooking Ingredients:Easy Instructions for Banana Oat Waffles
Step 1: Blend The Waffle Magic
Toss all ingredients into a high-speed blender. Whirl everything together for 30-45 seconds until the mixture transforms into a smooth, creamy batter. Let the batter rest for 4-6 minutes, allowing it to thicken and develop delicious flavors.
Step 2: Prepare The Waffle Iron
Heat your waffle iron to the perfect temperature. Lightly coat the surface with non-stick cooking spray or butter to ensure easy waffle removal and golden crispy edges.
Step 3: Cook Your Waffles
Carefully pour the batter into the waffle iron, filling each section about 3/4 full. Close the iron and cook until the waffles turn a beautiful golden brown. Cooking time varies depending on your specific waffle maker, so follow the manufacturer’s recommended settings.
Step 4: Create Waffle Perfection
Gently remove each waffle and let them rest for 1-2 minutes. This helps them set and become slightly crispy. Stack them on a warm plate, ready for delightful toppings.
Step 5: Serve And Enjoy
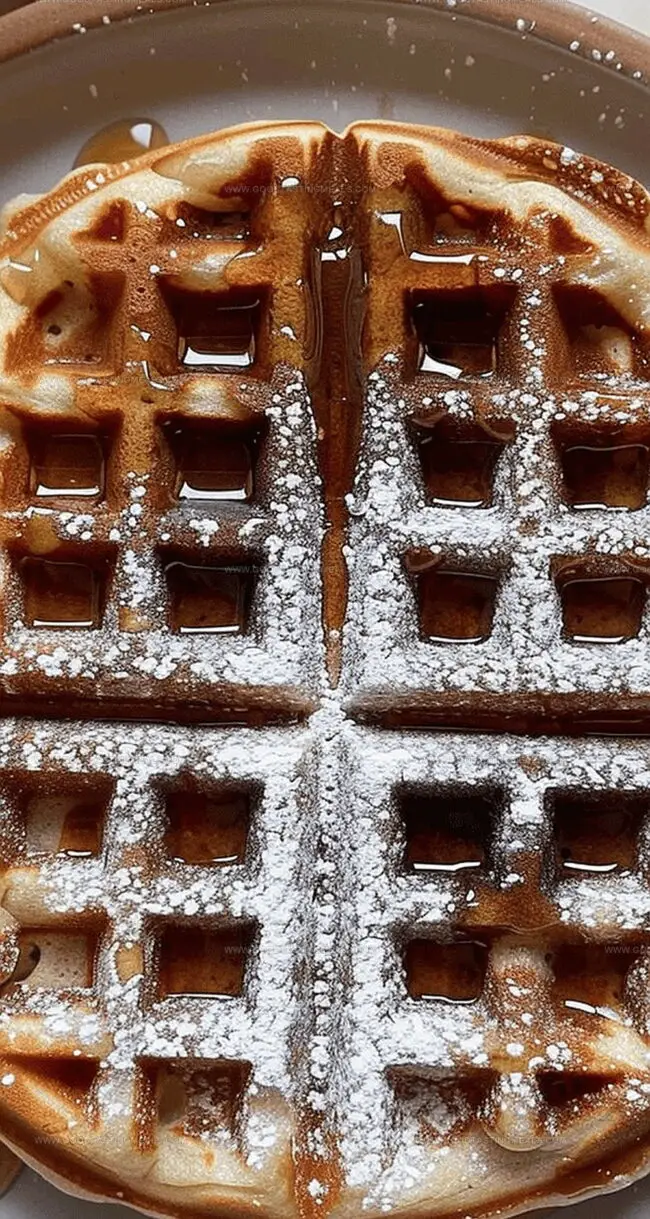
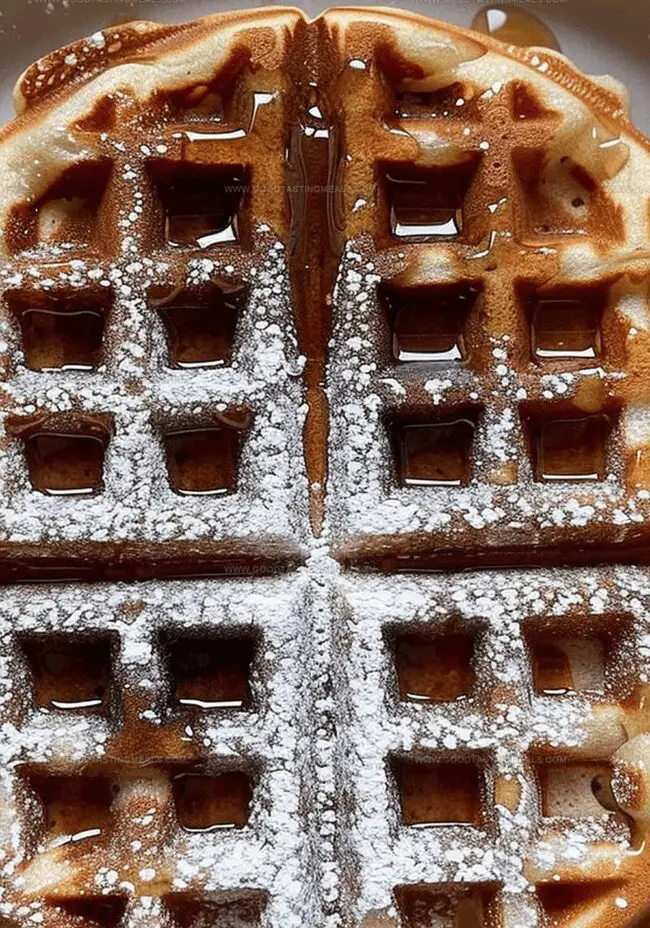
Top your waffles with fresh berries, sliced bananas, a drizzle of maple syrup, or a dollop of Greek yogurt. Each bite promises a delicious, nutritious breakfast that will energize your morning.
Bon appétit! 🍌🥞
Tips for Fluffy Flourless Banana Waffles
Storing and Reheating Banana Oat Waffles
Breakfast Pairings That Work with Banana Oat Waffles
Tasty Variations of Banana Oat Waffles
Print
Flourless Banana Oat Waffles Recipe
- Total Time: 30 minutes
- Yield: 2 1x
Description
Flourless banana oat waffles deliver a nutritious breakfast paradise without gluten. Hearty oats and ripe bananas blend into a wholesome morning treat you’ll savor with pure comfort and delightful simplicity.
Ingredients
Main Ingredients:
- 2 medium spotty bananas
- 2 eggs
- 1 ¾ cups old-fashioned rolled oats (gluten-free certified if necessary)
Liquid Ingredients:
- ⅔ cup unsweetened almond milk (or 2% milk, whole milk, cashew or oat milk)
- 1 teaspoon vanilla extract
Dry and Spice Ingredients:
- 1 ½ teaspoons baking powder
- 1 ½ teaspoons cinnamon
Instructions
- Combine all ingredients in a powerful blender, processing for 45 seconds until achieving a completely smooth, homogeneous mixture. Allow the batter to rest and slightly thicken for 5 minutes while preheating the waffle iron.
- Prepare the waffle iron by lightly coating its surface with a thin layer of non-stick cooking spray or butter to prevent sticking and ensure easy removal.
- Pour the batter into the heated waffle iron, distributing it evenly across the cooking surface. Close the iron and cook until the exterior develops a rich golden-brown color and the interior becomes fully set.
- Carefully monitor the cooking process, adjusting time based on your specific waffle maker’s recommendations and the desired level of crispness.
- Gently remove each waffle from the iron, allowing them to cool slightly for 1-2 minutes to help them firm up and maintain structural integrity.
- Serve immediately while warm, garnishing with optional toppings like sliced fresh berries, a drizzle of honey, or a sprinkle of chopped nuts for added texture and flavor.
Notes
- Batter consistency matters: Let the mixture rest 4-6 minutes to thicken, ensuring perfect waffle texture and easier pouring.
- Waffle iron preparation is crucial: Lightly grease with non-stick spray or butter to prevent sticking and achieve crispy edges.
- Cooking time varies: Follow your specific waffle maker’s recommended settings for golden-brown, fully cooked waffles.
- Patience is key: Allow waffles to sit 1-2 minutes after cooking to help them set and become easier to remove from the iron.
- Topping suggestions enhance flavor: Fresh fruits, honey, or maple syrup can elevate these nutritious, gluten-free waffles.
- Blending technique matters: Blend ingredients for 30-45 seconds until completely smooth for a uniform, lump-free batter.
- Prep Time: 10 minutes
- Cook Time: 20 minutes
- Category: Breakfast, Snacks
- Method: Blending
- Cuisine: American
Nutrition
- Serving Size: 2
- Calories: 275
- Sugar: 6g
- Sodium: 150mg
- Fat: 9g
- Saturated Fat: 1.5g
- Unsaturated Fat: 7g
- Trans Fat: 0g
- Carbohydrates: 43g
- Fiber: 6g
- Protein: 10g
- Cholesterol: 186mg
Liam O’Brien
Founder & Recipe Developer
Expertise
Education
Dublin Institute of Technology (now Technological University Dublin)
Ballymaloe Cookery School, County Cork, Ireland
Liam O’Brien is the co-founder and kitchen soul behind Good Tasting Meals, a chef who believes that cooking shouldn’t feel stressful or complicated.
He earned his culinary stripes at Technological University Dublin and polished his farm-to-table skills at Ballymaloe Cookery School. With over 15 years flipping pans and stirring up stories, Liam has worked in family cafés, bustling bistros, and everything in between.
At Good Tasting Meals, Liam brings you recipes that feel like home: cozy, simple, and full of flavor.