

Frosty Homemade Buster Bars Recipe for Sweet Tooth Joy
Chocolate and peanut butter create an irresistible symphony in this classic buster bars recipe that brings nostalgic dessert magic to your kitchen.
Rich layers of creamy ingredients promise pure indulgence with every bite.
The no-bake approach makes this treat surprisingly simple to assemble.
Decadent chocolate meets smooth peanut butter in a dessert that requires minimal effort but delivers maximum satisfaction.
Chilled to perfection, these bars offer a cool, sweet escape from ordinary desserts.
Whether you’re hosting a gathering or seeking a delightful personal treat, this recipe will become your new go-to dessert that sparks joy and satisfies sweet cravings.
Let’s dive into this delectable creation that combines classic flavors into one irresistible bar.
Quick Recipe Overview
Buster Bars Ingredient List
For Base Ingredients:For Coating Ingredients:For Garnish Ingredients:Tools Needed for Making Buster Bars
Buster Bars Assembly Guide
Blend yogurt and peanut butter into a silky smooth mixture. Optional chocolate chips can add delightful texture.
Spread parchment paper on a tray. Create small puddles of the yogurt mixture. Insert popsicle sticks gently, smoothing around each one. Sprinkle crushed peanuts for extra crunch.
Transfer tray to freezer. Allow bars to solidify completely.
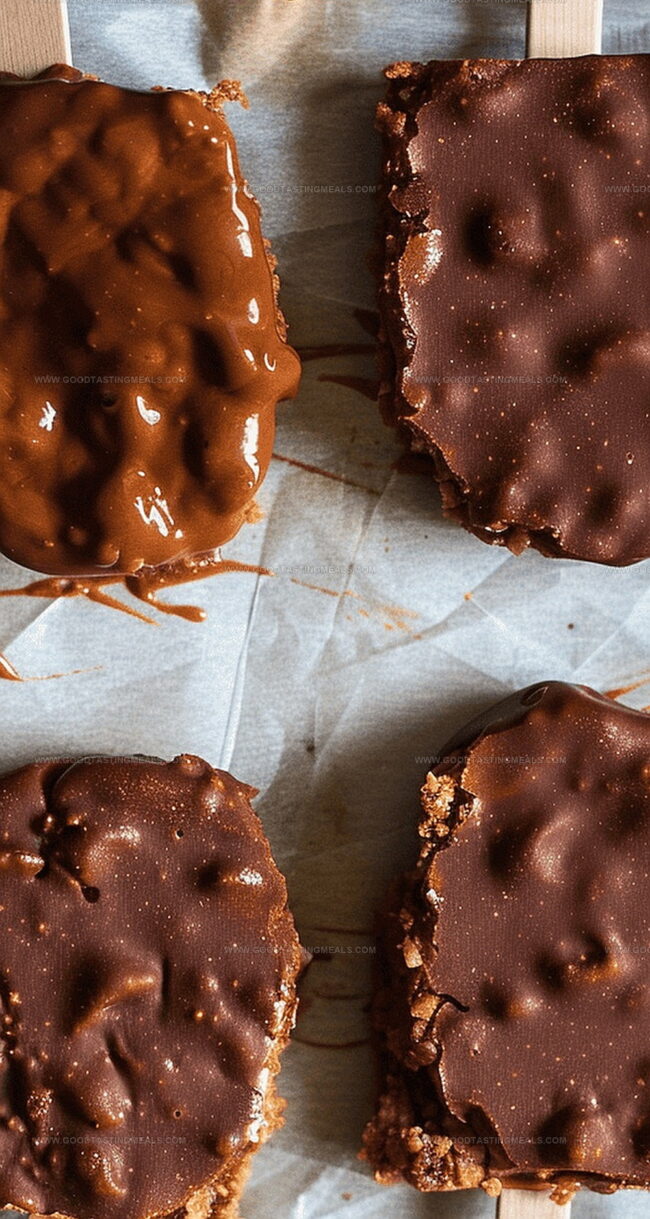
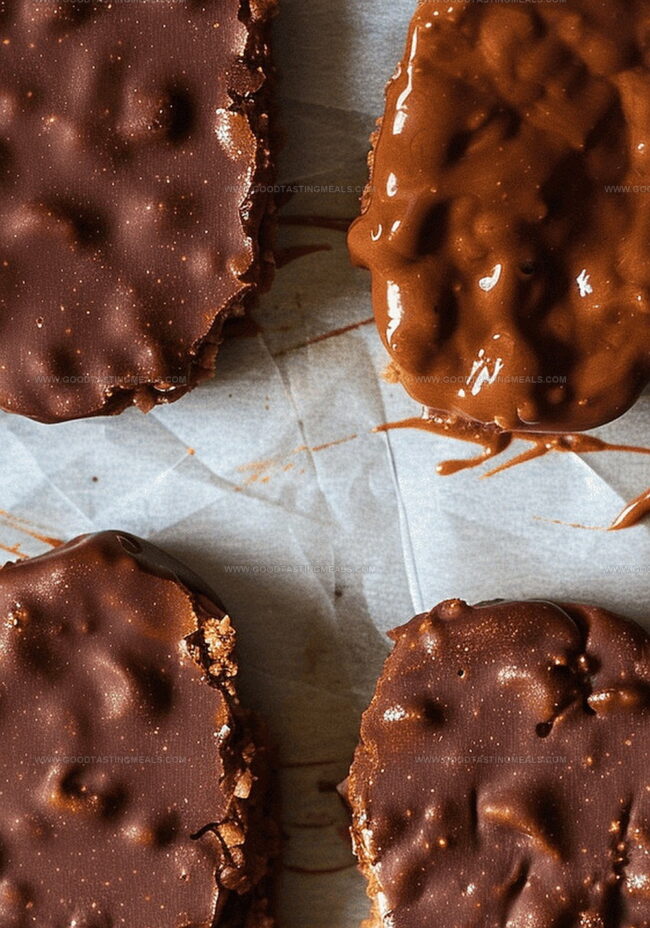
Melt chocolate using gentle heat method. If desired, add a touch of coconut oil for glossy finish. Carefully dunk each frozen bar into molten chocolate.
Return chocolate-coated bars to freezer. Wait until chocolate shell becomes crisp and smooth. Remove and savor these cool, decadent treats whenever craving strikes. Store remaining bars in freezer for future enjoyment.
Creative Twists on Buster Bar Layers
How to Serve Buster Bars Cold
Freezing and Storing Buster Bars
Print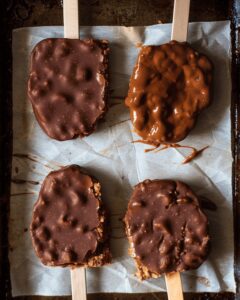
Frosty Buster Bars Recipe
- Total Time: 1 hour 10 minutes (including freezing)
- Yield: 5 1x
Description
Chocolate lovers will adore this classic Buster bars recipe, blending rich chocolate, creamy peanut butter, and crispy rice cereal. Chilled and sliced, these no-bake treats offer a perfect balance of sweet and salty flavors you’ll crave again and again.
Ingredients
- 1 cup (240 ml) vanilla yogurt (or vanilla ice cream or vegan yogurt)
- 1 cup (170 g) chocolate chips
- ¼ cup (60 g) peanut butter (or allergy-friendly substitute)
- 2 tbsps sweetener of choice (if using unsweetened yogurt)
- 2 tsp coconut oil (optional)
- 2 tbsps peanuts, chopped (optional)
Instructions
- Blend Base: Whisk yogurt, peanut butter, and sweetener until achieving a smooth, creamy texture, then fold in mini chocolate chips for added dimension.
- Prepare Surface: Line a tray with parchment paper and carefully portion the yogurt mixture into individual servings, inserting a popsicle stick into each mound and smoothing edges.
- First Freeze: Dust crushed peanuts over the surface and transfer tray to the freezer, allowing bars to solidify completely for approximately 2-3 hours.
- Chocolate Coating: Melt chocolate chips with coconut oil using a double boiler or microwave, stirring until achieving a glossy, uniform consistency.
- Final Assembly: Remove frozen bars from freezer, dip each entirely into the molten chocolate, ensuring complete coverage, then return to freezer for final setting.
- Serve and Store: Once chocolate shell has crystallized, transfer Buster Bars to an airtight container and keep frozen until ready to enjoy, maintaining their optimal texture and flavor.
Notes
- Chill Perfectly: Ensure your tray is completely flat in the freezer to prevent uneven bar shapes.
- Chocolate Coating Trick: Add coconut oil to chocolate for a smoother, shinier, crack-free shell that won’t break when biting.
- Stick Placement Hack: Insert popsicle sticks gently and centered to prevent splitting or sliding of the yogurt base.
- Storage Secret: Wrap individual bars in plastic wrap after freezing to prevent freezer burn and maintain fresh flavor for up to 2 weeks.
- Prep Time: 10 minutes
- Cook Time: 0 minutes
- Category: Desserts, Snacks
- Method: Freezing
- Cuisine: American
Nutrition
- Serving Size: 5
- Calories: 400
- Sugar: 30g
- Sodium: 100mg
- Fat: 20g
- Saturated Fat: 10g
- Unsaturated Fat: 8g
- Trans Fat: 0g
- Carbohydrates: 45g
- Fiber: 3g
- Protein: 7g
- Cholesterol: 5mg
Sophie Martin
Co-Founder & Content Creator
Expertise
Education
Stellenbosch University, South Africa
South African Chefs Academy, Cape Town
Sophie Martin is the nutrition brain and feel-good foodie at Good Tasting Meals. With a degree in Human Nutrition from Stellenbosch University and chef training from the South African Chefs Academy, Sophie brings balance to the table, literally. She loves creating meals that are easy to make, great to eat, and good for your body too.
Her recipes are made for everyday living, with a little flair and a lot of heart. Sophie’s not here to count calories, she’s here to show you how fresh, simple food can fit into your life, taste amazing, and still be nourishing.