
Gooey Cheesy Garlic Butter Rollups Recipe: A Tasty Twist
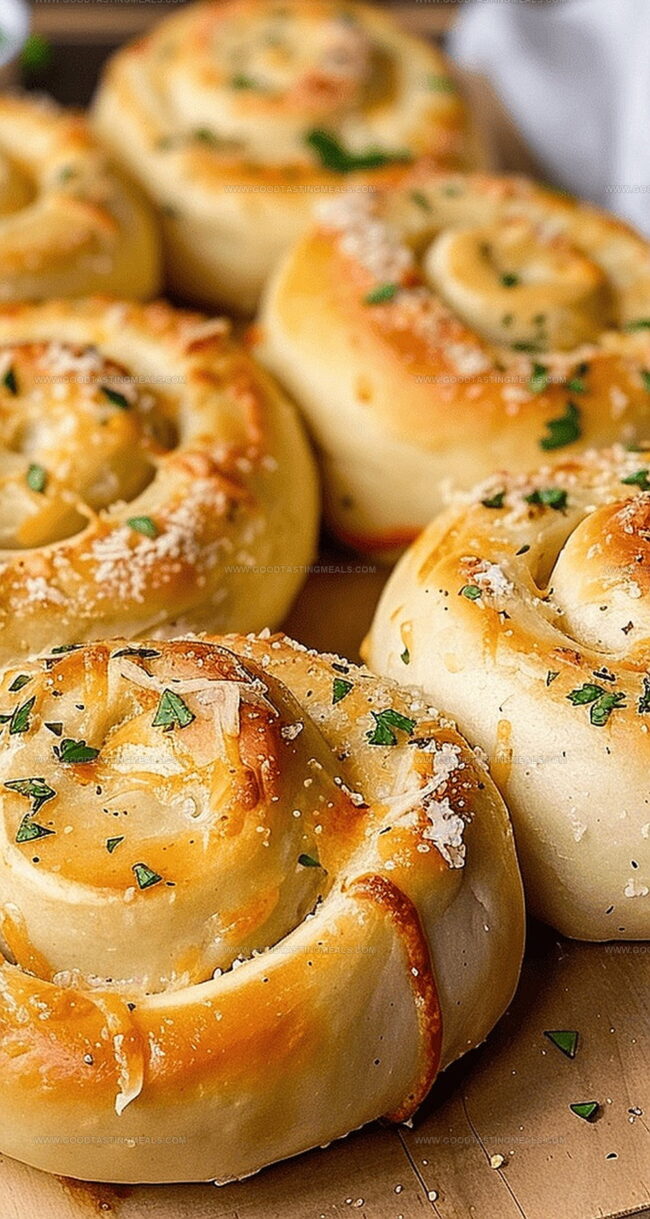
Soft, pillowy dough wrapped around melted cheesy garlic butter rollups will make your taste buds dance with delight.
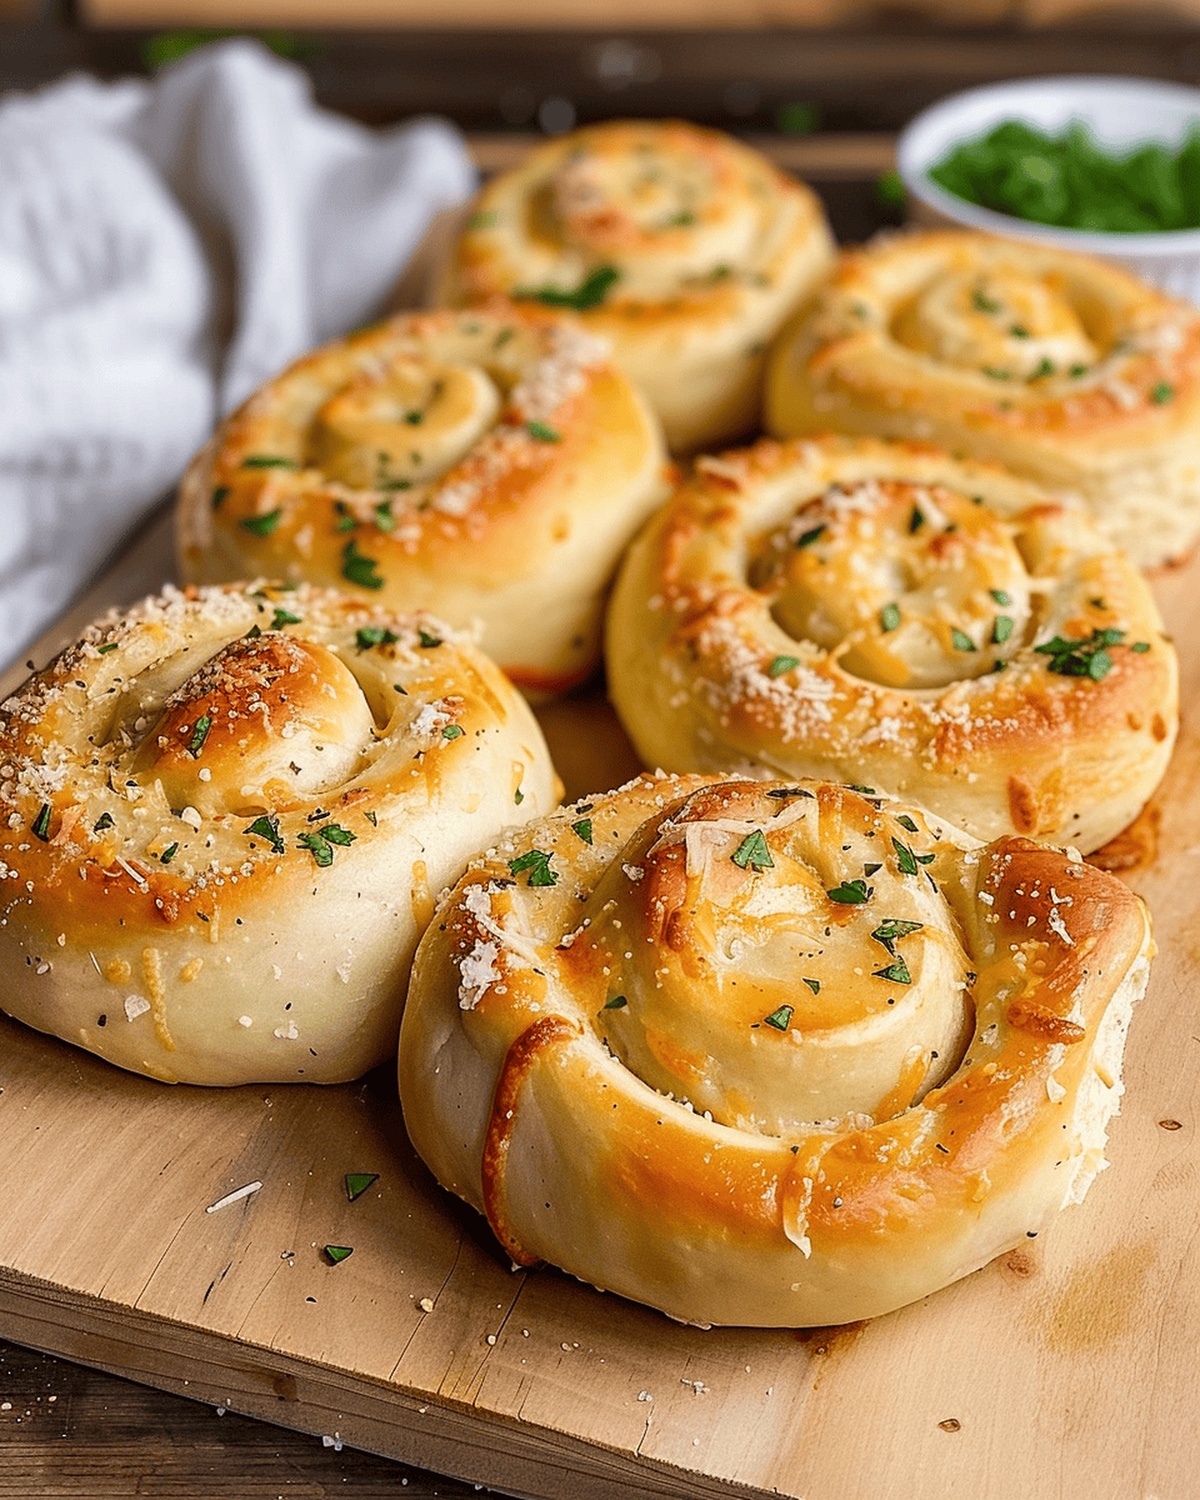
Golden rolls emerge from the oven, promising an irresistible aroma that fills the kitchen.
Warm, buttery layers invite you to pull them apart, revealing pockets of gooey cheese and fragrant garlic.
Each roll promises a perfect blend of comfort and indulgence.
The combination of simple ingredients creates a side dish that steals the spotlight at any meal.
Crisp edges and tender centers make these rolls impossible to resist.
Serve these mouthwatering rolls and watch everyone’s eyes light up with pure culinary excitement.
Quick Recipe Overview
Ingredients for Cheesy Garlic Butter Rollups
For Dough Base:For Flavor Enhancers:For Cheese Blend:Tools to Make Cheesy Butter Rollups
Instructions to Roll and Bake Cheesy Garlic Butter
Warm water, yeast, and sugar dance together in a mixer, creating a foamy promise of deliciousness. Let the mixture bubble and come alive for a few minutes while the kitchen fills with anticipation.
Introduce flour, salt, and garlic powder into the mixer. Let the dough hook work its wonder, transforming ingredients into a smooth, elastic canvas of potential flavor. Allow the dough to rest and grow in a cozy corner, doubling in size and developing rich character.
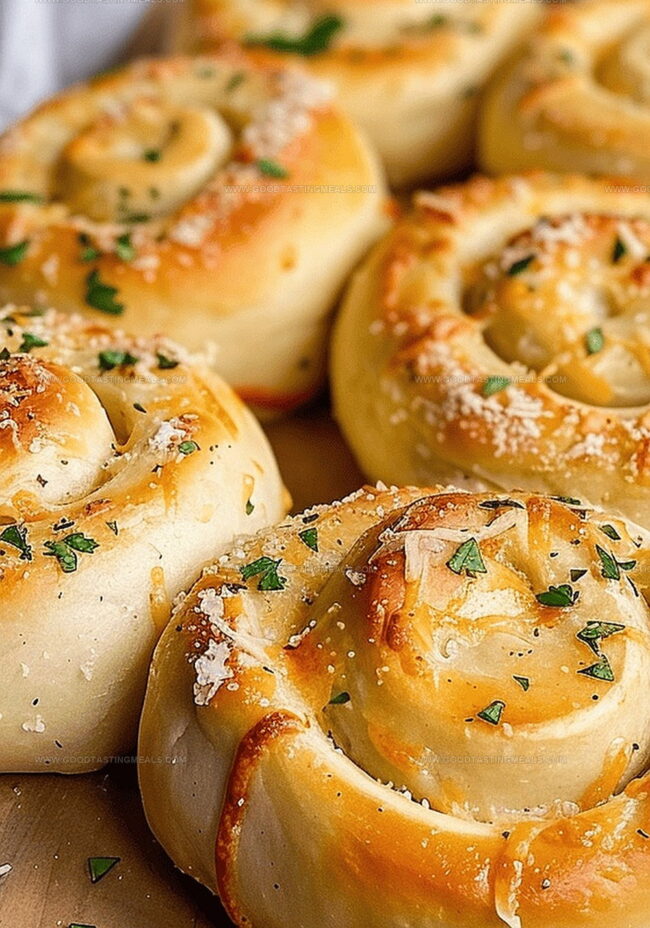
Roll out the dough into a canvas, spreading softened butter like a painter’s first stroke. Scatter minced garlic, mozzarella, Parmesan, and parsley across the surface, creating a landscape of savory promises.
Carefully roll the dough into a tight spiral, slicing into plump sections that hint at the deliciousness to come. Arrange these little flavor bombs on baking sheets, giving them space to breathe and expand.
Bake until the rollups turn a beautiful golden brown, their edges crisp and inviting. A final brush of melted butter adds a gleaming finish, making these rolls irresistibly soft and rich.
Tips to Keep Garlic Rollups Cheesy
Serving Cheesy Butter Rollups Hot
How to Store Garlic Butter Rollups
Print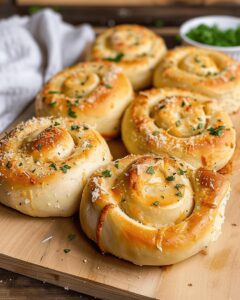
Gooey Garlic Butter Rollups Recipe
- Total Time: 1 hour 25 minutes
- Yield: 13 1x
Description
Cheesy garlic butter rollups deliver a mouthwatering combination of crisp pastry and rich, melted cheese. Warm rolls infused with garlic and butter promise comfort for anyone craving a satisfying side dish you can quickly prepare and devour.
Ingredients
- 5 cups (1200 ml) flour
- 4 tsp (20 ml) yeast
- 2 cups (480 ml) warm water
- 3 tbsps (45 ml) sugar
- 1 tbsp (15 ml) salt
- 2 tsps (10 ml) garlic powder
- 4 oz (113 g) mozzarella cheese
- 4 oz (113 g) parmesan cheese
- ½ cup (113 g) salted butter, softened
- 7–8 cloves garlic, minced
- ¼ cup (60 ml) fresh parsley, chopped
- 2 tbsps (30 ml) butter, melted
- Garlic salt, for sprinkling
- Sea salt flakes, optional
Instructions
- Yeast Activation: Combine warm water, yeast, and sugar in a stand mixer bowl, allowing the mixture to become frothy and bubbly for 5 minutes.
- Dough Preparation: Integrate flour, salt, and garlic powder into the activated yeast mixture using the dough hook attachment. Knead until a smooth, cohesive dough forms, approximately 3-4 minutes.
- First Rise: Lightly grease the mixing bowl, return the dough, and cover with plastic wrap. Let rise in a warm environment until doubled in volume, around 30-40 minutes.
- Dough Rolling and Filling: On a floured surface, roll the dough into a rectangular shape. Spread softened butter evenly, then sprinkle minced garlic, mozzarella, Parmesan cheese, chopped parsley, and a light dusting of garlic salt across the surface.
- Shaping and Cutting: Tightly roll the dough from one long edge, creating a compact cylindrical shape. Slice into 1½-inch sections using dental floss or a sharp knife, yielding 12-15 individual rollups.
- Baking Preparation: Arrange rollups on a parchment-lined baking sheet, spacing 2-3 inches apart. Optional: Garnish with sea salt flakes.
- Baking and Finishing: Preheat the oven to 375°F (190°C) and bake for 22-27 minutes until light golden-brown. Immediately brush hot rollups with melted butter to enhance softness and richness.
Notes
- Yeast Activation Tip: Ensure water temperature is between 100-110°F to prevent killing the yeast, which can result in dense, flat rollups.
- Dough Kneading Technique: Knead until the dough becomes smooth and elastic, stopping just before it becomes tough and overworked.
- Butter Distribution Strategy: Spread softened butter evenly to guarantee consistent flavor and prevent dry spots in the rollups.
- Baking Precision: Watch closely during the last 5 minutes of baking to prevent over-browning and maintain a soft, pillowy texture.
- Prep Time: 20 minutes
- Cook Time: 25 minutes
- Category: Snacks, Appetizer
- Method: Baking
- Cuisine: American
Nutrition
- Serving Size: 13
- Calories: 230
- Sugar: 2 g
- Sodium: 300 mg
- Fat: 12 g
- Saturated Fat: 7 g
- Unsaturated Fat: 3 g
- Trans Fat: 0 g
- Carbohydrates: 25 g
- Fiber: 1 g
- Protein: 6 g
- Cholesterol: 30 mg
Sophie Martin
Co-Founder & Content Creator
Expertise
Education
Stellenbosch University, South Africa
South African Chefs Academy, Cape Town
Sophie Martin is the nutrition brain and feel-good foodie at Good Tasting Meals. With a degree in Human Nutrition from Stellenbosch University and chef training from the South African Chefs Academy, Sophie brings balance to the table, literally. She loves creating meals that are easy to make, great to eat, and good for your body too.
Her recipes are made for everyday living, with a little flair and a lot of heart. Sophie’s not here to count calories, she’s here to show you how fresh, simple food can fit into your life, taste amazing, and still be nourishing.