
Quick Handmade Sub Rolls Recipe: Fluffy Perfection Every Time
Crafting sub rolls at home elevates ordinary bread-making into an artisan experience that delights your senses.
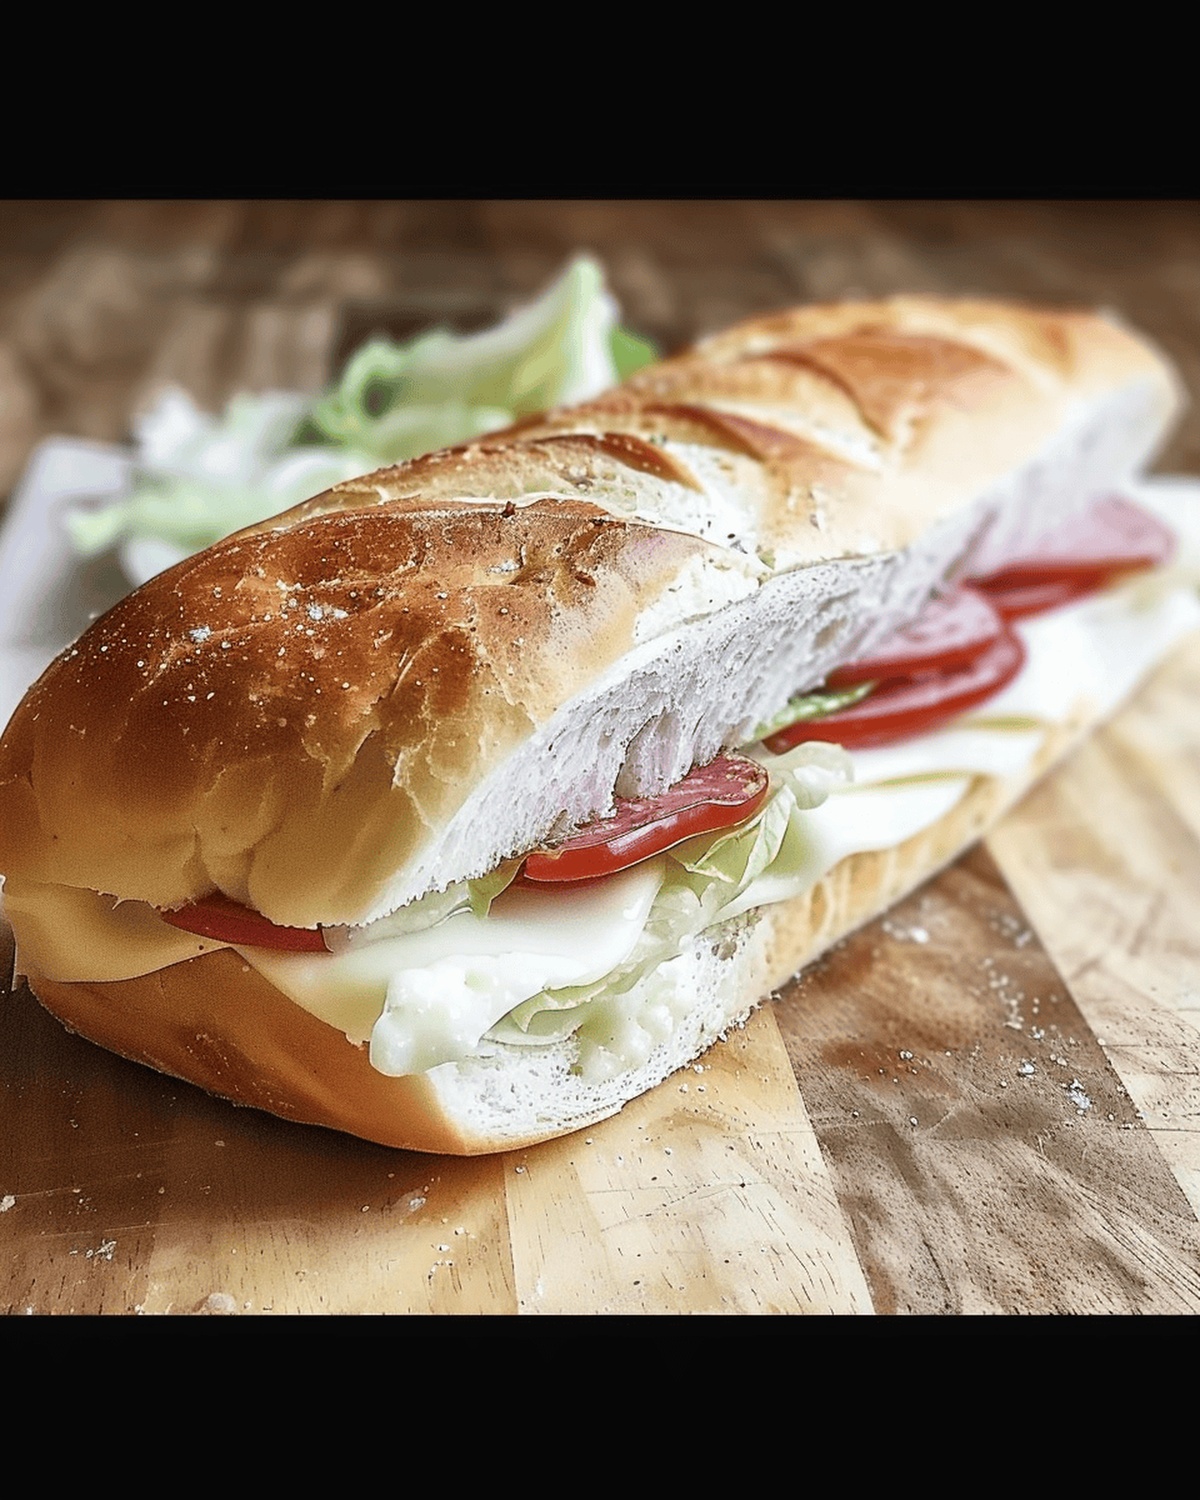
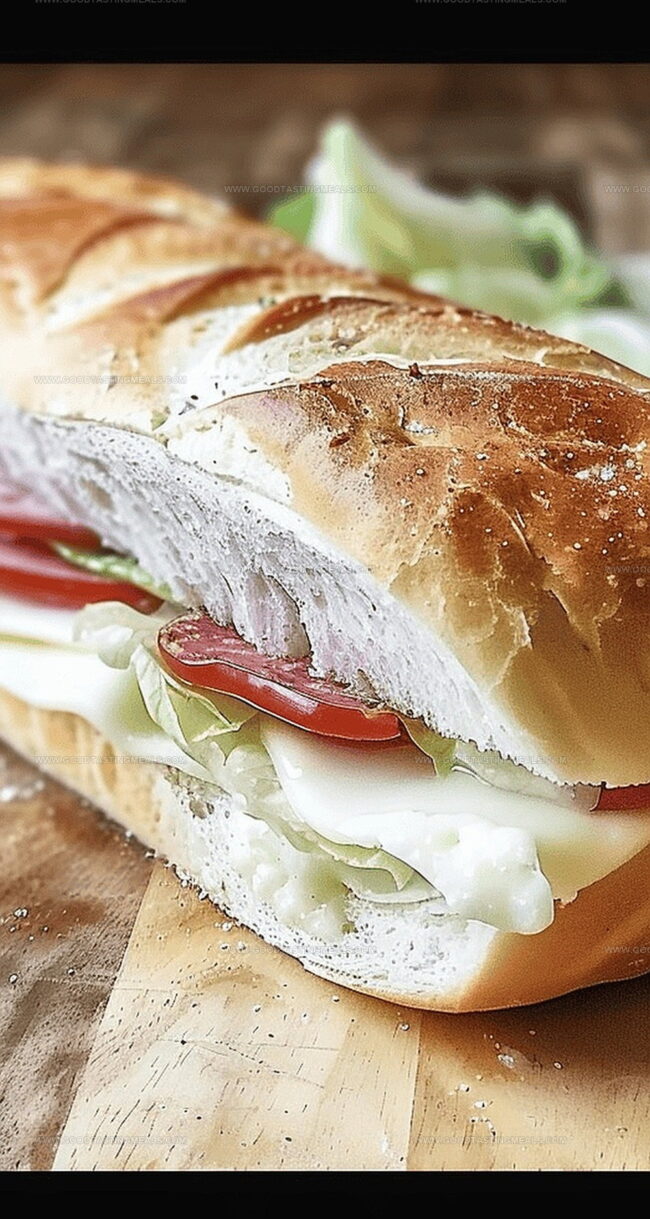
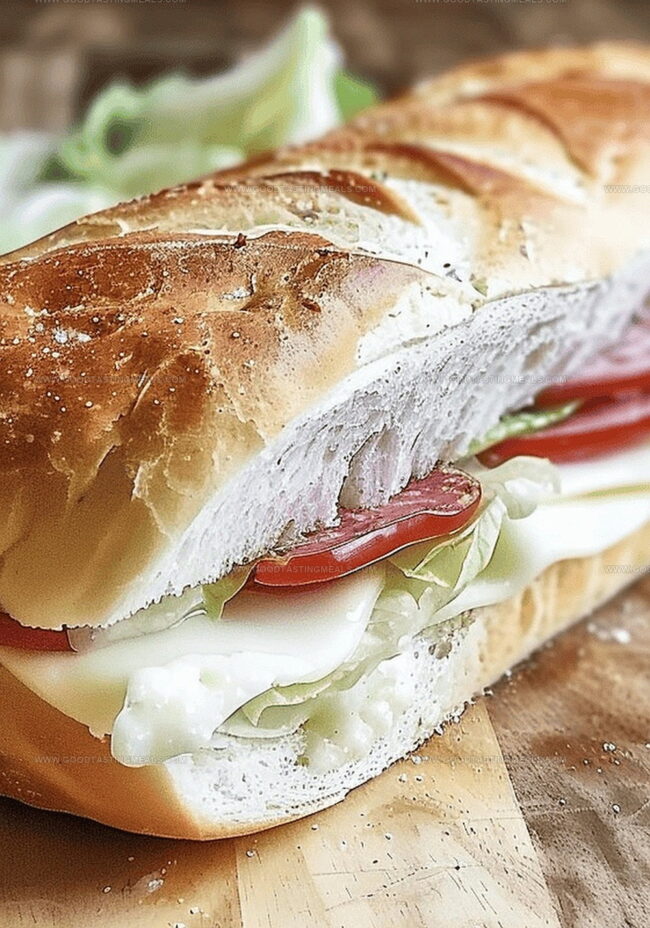
These versatile bread creations carry a robust, golden-brown exterior with a tender, pillowy interior that promises culinary satisfaction.
Soft wheat flour and active yeast collaborate to produce a delectable canvas for countless sandwich possibilities.
The magical process begins with simple ingredients that merge into something extraordinary through careful technique and passion.
Professional bakers understand the subtle balance between moisture, kneading, and rising that elevates bread from mundane to magnificent.
Home cooks can easily master this skill with patience and attention to fundamental baking principles.
Each roll becomes a personal statement of culinary creativity, promising delicious results that surpass store-bought alternatives.
What Makes Handmade Sub Rolls So Worth It
What Goes Into Fluffy, Chewy Sub Rolls
Bread Base Ingredients:Liquid Ingredients:Flavor and Activation Ingredients:Fat and Enrichment Ingredients:Finishing Ingredients:How to Bake Sub Rolls with a Bakery Finish
Step 1: Activate Yeast Mixture
In a medium bowl, blend:Let mixture sit until it becomes frothy and bubbly, about 5-10 minutes.
Step 2: Combine Dry Ingredients
In stand mixer bowl, mix:Step 3: Create Dough Base
Add to dry ingredients:Knead on low speed for 3-5 minutes until dough looks shaggy and rough.
Step 4: Incorporate Butter
Add cold, cubed butter to dough. Knead for 8-10 minutes until butter blends completely and dough becomes smooth.
Step 5: First Dough Rise
Transfer dough to floured surface. Shape into tight ball.
Place in greased large bowl, turning to coat. Cover and let rise for 1 hour until volume doubles.
Step 6: Shape Sub Rolls
Punch down risen dough. Divide into six equal portions.
Roll each piece into 9-inch wide by 5-inch tall rectangle.
Step 7: Form Loaf Shapes
Roll dough from long side, creating tight loaf. Pinch seams closed.
Place rolls seam-side down on parchment-lined baking sheet.
Step 8: Second Dough Rise
Cover rolls with damp cloth. Let rise 30 minutes.
Preheat oven to 400°F.
Step 9: Prepare for Baking
Mix egg white with water. Brush mixture over rolls.
Score dough with three ¼-inch deep cuts.
Step 10: Bake Sub Rolls
Bake 15-20 minutes until golden brown.
Rolls are done when internal temperature reaches 195-200°F.
Tips for Better Rise and Texture
How to Store Sub Rolls Without Losing Freshness
Sandwich Combos That Work With These Rolls
Sub Roll Variations That Elevate Any Filling
Print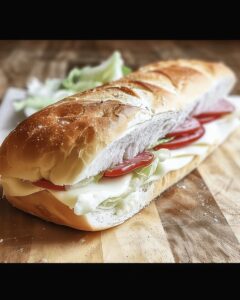
Handmade Sub Rolls Recipe
- Total Time: 2 hours 20 minutes
- Yield: 8 1x
Description
Homemade sub rolls bring Italian bakery magic straight to your kitchen with crusty exteriors and tender, airy centers. Professional bakers know these rolls elevate sandwiches from ordinary to extraordinary, guaranteeing restaurant-quality results you can create at home.
Ingredients
Primary Ingredients:
- 3 Cups (450g) Bread Flour
- 1 Cup (245g) Whole Milk
- 2 Eggs, Beaten
- 3 Tablespoons (42g) Unsalted Butter
Leavening and Seasoning Ingredients:
- 2 ½ Tablespoons (30g) Granulated Sugar
- 2 Teaspoons (11g) Active Dry Yeast
- 2 Teaspoons (12g) Fine Sea Salt
Egg Wash Ingredients:
- 1 Egg White, Beaten
- 1 Tablespoon Water
Instructions
- Activate the yeast by whisking warm milk, sugar, and yeast together in a medium bowl, allowing the mixture to become frothy and bubbly for about 8 minutes.
- Sift bread flour into a stand mixer bowl and incorporate salt, creating a dry ingredient base.
- Pour the activated yeast mixture and beaten eggs into the flour, mixing on low speed to develop a shaggy, rough textured dough.
- Gradually introduce cold, cubed butter while kneading, continuing to work the dough until it transforms into a smooth, elastic consistency with no visible butter chunks.
- Transfer the dough to a lightly floured surface and shape into a compact, round ball with a taut surface.
- Place the dough in a greased large bowl, rotating to ensure complete coverage, then drape with a clean kitchen towel and allow to rise in a warm environment until volume doubles.
- Deflate the risen dough and segment into six uniform portions, rolling each into a precise rectangular shape.
- Tightly roll each rectangle from the long edge, creating a compact loaf and meticulously sealing the seams to prevent unraveling.
- Arrange the rolls seam-side down on a parchment-lined baking sheet, maintaining adequate spacing between each.
- Let the shaped rolls proof for approximately 30 minutes while preheating the oven to 400°F.
- Whisk egg white with water to create a glossy wash, generously brushing over each roll’s surface.
- Make three shallow, precise scores across each roll’s top to facilitate even expansion.
- Bake until the rolls achieve a rich, golden-brown color and reach an internal temperature of 195-200°F, approximately 15-20 minutes.
Notes
- Activate yeast properly by using warm milk between 110-115°F to ensure perfect blooming and active fermentation.
- Kneading butter into the dough requires patience; cold cubed butter helps create a tender, flaky texture with rich flavor.
- Allow sufficient rising time for maximum volume and soft, airy sub roll structure, which develops complex bread characteristics.
- Scoring the dough before baking creates beautiful crust patterns and helps control bread expansion during the baking process.
- Precise internal temperature around 195-200°F guarantees fully cooked rolls with perfect moisture and doneness.
- Brush egg wash before baking to achieve a glossy, golden-brown exterior that looks professionally baked.
- Prep Time: 2 hours
- Cook Time: 20 minutes
- Category: Lunch, Dinner, Snacks
- Method: Baking
- Cuisine: American
Nutrition
- Serving Size: 8
- Calories: 230
- Sugar: 2g
- Sodium: 150mg
- Fat: 6g
- Saturated Fat: 3g
- Unsaturated Fat: 2g
- Trans Fat: 0g
- Carbohydrates: 37g
- Fiber: 1g
- Protein: 8g
- Cholesterol: 50mg
Liam O’Brien
Founder & Recipe Developer
Expertise
Education
Dublin Institute of Technology (now Technological University Dublin)
Ballymaloe Cookery School, County Cork, Ireland
Liam O’Brien is the co-founder and kitchen soul behind Good Tasting Meals, a chef who believes that cooking shouldn’t feel stressful or complicated.
He earned his culinary stripes at Technological University Dublin and polished his farm-to-table skills at Ballymaloe Cookery School. With over 15 years flipping pans and stirring up stories, Liam has worked in family cafés, bustling bistros, and everything in between.
At Good Tasting Meals, Liam brings you recipes that feel like home: cozy, simple, and full of flavor.