Ground Cinnamon: Provides warm, spicy accent to pie leaves.
Whipped Cream: Optional luxurious, light topping for serving.
Tools That Help You Build the Perfect Pie
Large bowl: Perfect for mixing dry ingredients and combining dough.
Whisk: Essential for blending filling ingredients smoothly.
Pastry cutter or two forks: Helps break butter into flour for flaky crust.
Pie dish: Holds the entire pie and determines shape.
Rolling pin: Crucial for rolling out pie dough evenly.
Plastic wrap: Keeps dough chilled and prevents drying.
Parchment paper: Prevents sticking during blind baking.
Pie weights or dry beans: Helps maintain pie crust shape during blind baking.
Cookie cutters: Creates decorative leaf shapes for pie topping.
Egg brush: Gives pie crust a beautiful golden finish.
Making Cinnamon Sugar Apple Butter Pie Step-by-Step
Pie Creation
Crust Foundation A delicate dance of gluten-free flour transforms into a tender base that cradles the rich apple butter filling. Mix dry ingredients and gently incorporate cold butter until small crumbly bits emerge.
Dough Preparation Carefully divide the dough, wrapping each portion and letting them rest in the refrigerator. This quiet time allows the ingredients to meld and relax, creating a flakier texture.
Shell Crafting Roll out the chilled dough with gentle strokes, draping it lovingly into a pie dish. Crimp the edges with care, creating a beautiful decorative border that speaks of homemade warmth.
Pre-Baking Ritual Brush the delicate shell with egg white, then freeze briefly. This protective layer ensures a crisp foundation that won’t surrender to soggy disappointment.
Filling Magic Whisk apple butter with eggs and sweet companions, creating a smooth symphony of flavors. The condensed milk adds luxurious richness that promises pure comfort.
Baking Journey Start with a high heat blast, then lower the temperature to coax the filling into perfect set. Watch as the pie transforms, developing a golden surface that hints at the deliciousness within.
Cooling Celebration Allow the pie to rest and settle, first at room temperature, then in the refrigerator. This patience rewards you with a perfectly sliceable dessert that’s worth every moment of anticipation.
Final Touch Crown your masterpiece with billowy whipped cream, a final flourish that elevates this humble pie to something truly extraordinary.
Spice and Texture Tweaks for Apple Butter Pie
Swap gluten-free flour with almond or coconut flour for a nuttier, more textured pie base that adds depth to the traditional recipe.
Experiment with different apple butter varieties like spiced, bourbon-infused, or homemade versions to create unique flavor profiles that elevate the pie’s taste.
Use various cookie cutters or hand-cut intricate leaf designs to personalize the pie’s top, turning a simple dessert into an artistic culinary masterpiece.
Add chopped nuts like pecans or walnuts to the filling for extra crunch, or sprinkle seasonal spices like nutmeg or cardamom to complement the cinnamon sugar topping.
Serve slightly warm with a scoop of vanilla bean ice cream or pair with a caramel drizzle to create a decadent dessert experience that highlights the pie’s rich apple butter essence.
How to Serve Apple Butter Pie Like a Bakery
Sweet Cream Cloud Topping: Dollop homemade whipped cream with a sprinkle of cinnamon sugar on each slice for a dreamy, light finish that complements the rich apple butter filling.
Caramel Drizzle Delight: Warm caramel sauce cascading over each slice adds a luxurious golden touch, enhancing the pie’s deep autumn flavors and creating a stunning presentation.
Nutty Crunch Accent: Scattered toasted pecans or chopped walnuts around the pie’s edge provide a delightful textural contrast, bringing out the warmth of the cinnamon and apple butter notes.
Vanilla Ice Cream Pairing: A scoop of cold, creamy vanilla ice cream alongside a warm slice creates a classic dessert combination that balances the pie’s rich, spiced profile perfectly.
Best Way to Store Spiced Apple Butter Pies
Fridge-Friendly Storage: Keep your apple butter pie covered in the refrigerator for up to 4 days. Wrap it loosely with plastic wrap or aluminum foil to prevent moisture buildup and maintain its delightful texture.
Make-Ahead Magic: Prepare the pie crust and filling components a day before assembling. Store the rolled-out dough and pre-mixed filling separately in airtight containers to save time and reduce day-of kitchen stress.
Freezer-Safe Strategy: Slice the pie into individual portions, wrap each tightly in plastic wrap, then place in a freezer-safe container. Frozen pie slices stay delicious for 2-3 months, offering a quick dessert option when unexpected guests arrive.
Room Temperature Timing: After chilling, let the pie sit at room temperature for 15-20 minutes before serving. This gentle warming helps restore the butter’s smooth texture and enhances the pie’s rich cinnamon and apple flavors, making each bite more enjoyable.
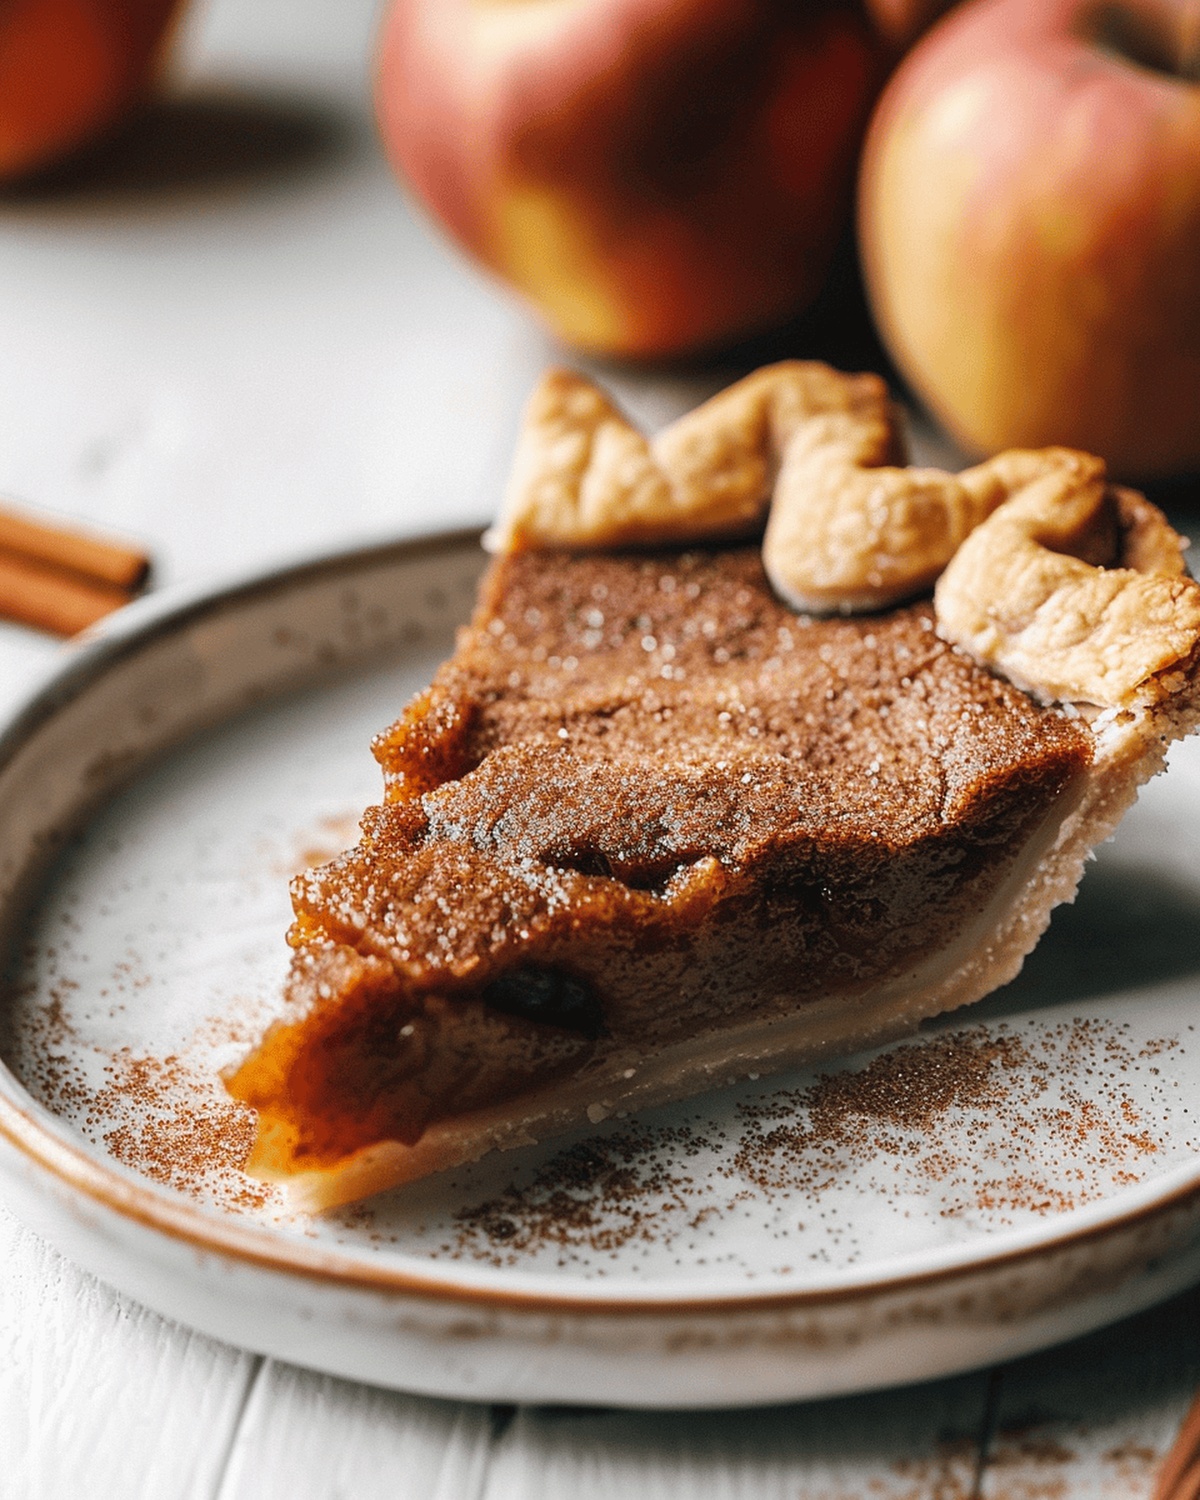
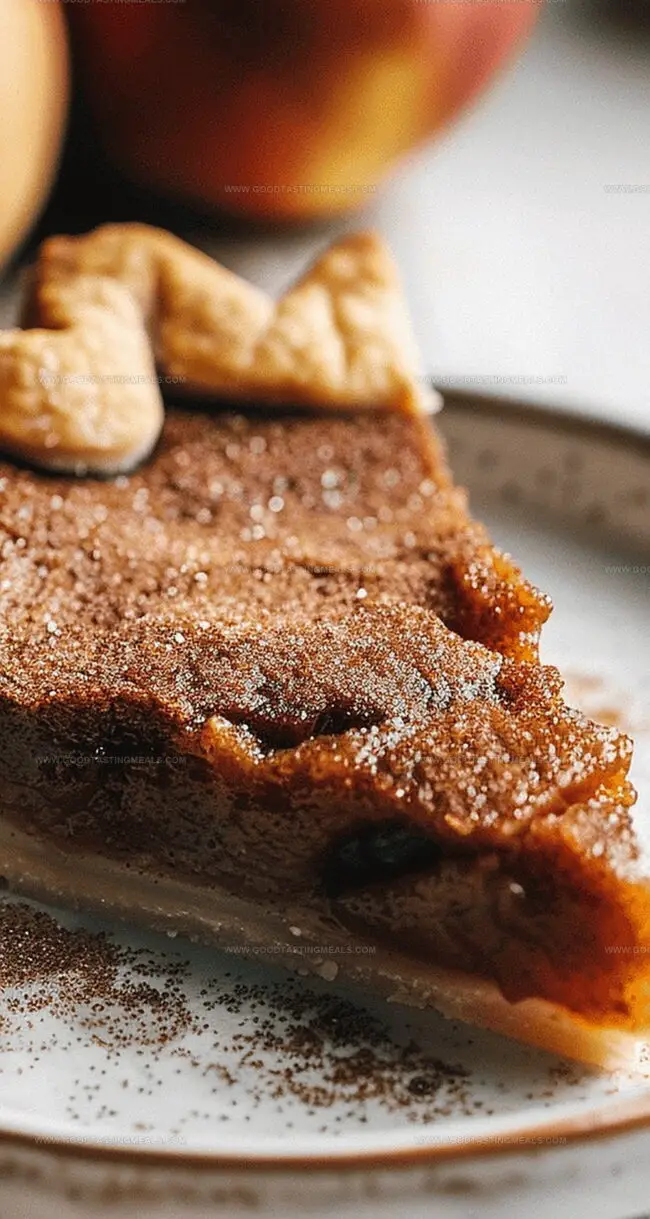
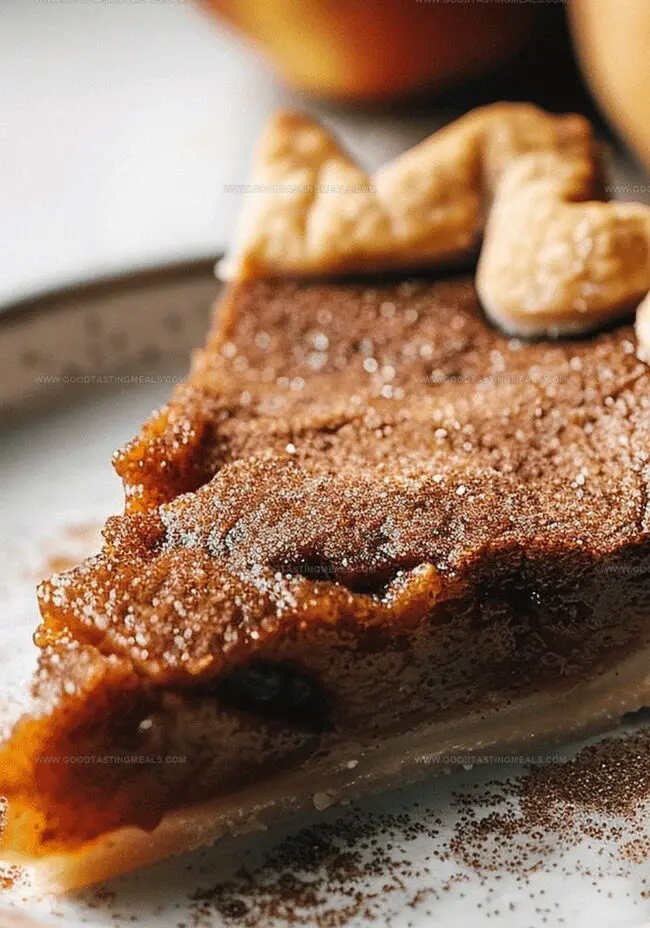
Homemade cinnamon sugar apple butter pie showcases classic American dessert traditions with rich seasonal flavors. Sweet caramelized apples and warm spices create a comforting slice you will savor to the last delicious crumb.
Ingredients
Scale
2 ½ cups (345 g) Bob’s Red Mill 1-to-1 Gluten Free Baking Flour
1 cup (220 g) unsalted butter, cold and cubed (European style preferred)
1 cup (270 g) apple butter
14 oz (397 g) sweetened condensed milk
3 large eggs
¼ cup (60 g) sour cream
¼ cup (50 g) dark brown sugar, packed
¼ cup ice water
1 ½ tbsps granulated sugar
1 tbsp sugar
1 tsp vanilla extract
1 tbsp Bob’s Red Mill 1-to-1 Gluten Free Baking Flour
¾ tsp ground cinnamon
½ tsp cinnamon
½ tsp salt
Homemade or store-bought whipped cream
Instructions
Dry Foundation: Thoroughly blend gluten-free flour, sugar, and salt in a large mixing bowl to create a uniform base for the pastry.
Butter Integration: Cut cold butter cubes into the flour mixture until it resembles coarse crumbs, quickly chilling if the butter softens.
Dough Formation: Gently fold in ice water and sour cream, kneading minimally until the dough coheres without overworking.
Dough Preparation: Partition the dough into two portions – a larger piece for the main crust and a smaller section for decorative elements. Wrap and refrigerate to firm up.
Crust Shaping: Roll out the primary dough on a flour-dusted surface, carefully transferring to the pie dish and sealing any potential fissures. Trim edges and crimp decoratively.
Protective Sealing: Brush the pie shell interior with egg white to create a moisture barrier, then briefly freeze to maintain structural integrity.
Oven Preparation: Heat the oven to 400°F. Execute a blind bake by covering the crust with parchment and ceramic weights, baking for 15 minutes. Remove weights and continue baking until golden.
Filling Composition: Whisk apple butter, eggs, brown sugar, flour, cinnamon, salt, sweetened condensed milk, and vanilla until achieving a smooth, homogeneous mixture.
Cinnamon Sugar Accent: Combine granulated sugar and ground cinnamon. Coat pastry leaves and sprinkle the mixture across the pie’s surface.
Baking Process: Pour the filling into the pre-baked shell. Initiate baking at 400°F for 10 minutes, then reduce to 350°F until the filling sets completely.
Cooling and Finishing: Allow the pie to cool at room temperature for 30 minutes, then refrigerate to solidify. Before serving, top with delicate whipped cream and arrange the cinnamon-coated pastry leaves as an elegant garnish.
Notes
Chill Dough Strategically: Refrigerate dough portions for at least 1 hour to prevent shrinkage and ensure a flaky, tender crust during baking.
Protect Pie Crust Wisely: Egg white barrier prevents soggy bottom by creating a moisture-resistant seal, maintaining the pastry’s crisp texture.
Master Blind Baking Technique: Pre-baking the crust with weights prevents bottom softening and ensures a perfectly crisp foundation for your apple butter filling.
Temperature Control Matters: Start with high heat to set the crust, then lower temperature to gently cook filling, preventing burning while achieving smooth, creamy consistency.
Focus: Studying how food affects health, learning about balanced diets, and understanding the nutritional needs of different people.
South African Chefs Academy, Cape Town
Program: Professional Culinary Arts Diploma
Focus: Practical cooking skills, focusing on healthy meal preparation and understanding various cooking methods.
Sophie Martin is the nutrition brain and feel-good foodie at Good Tasting Meals. With a degree in Human Nutrition from Stellenbosch University and chef training from the South African Chefs Academy, Sophie brings balance to the table, literally. She loves creating meals that are easy to make, great to eat, and good for your body too.
Her recipes are made for everyday living, with a little flair and a lot of heart. Sophie’s not here to count calories, she’s here to show you how fresh, simple food can fit into your life, taste amazing, and still be nourishing.


Sophie Martin
Co-Founder & Content Creator
Expertise
Education
Stellenbosch University, South Africa
South African Chefs Academy, Cape Town
Sophie Martin is the nutrition brain and feel-good foodie at Good Tasting Meals. With a degree in Human Nutrition from Stellenbosch University and chef training from the South African Chefs Academy, Sophie brings balance to the table, literally. She loves creating meals that are easy to make, great to eat, and good for your body too.
Her recipes are made for everyday living, with a little flair and a lot of heart. Sophie’s not here to count calories, she’s here to show you how fresh, simple food can fit into your life, taste amazing, and still be nourishing.