
Dreamy Butter Cookies: Melting Moments Recipe
Buttery, melt-in-your-mouth melting moments recipe dance across generations of baking memories.
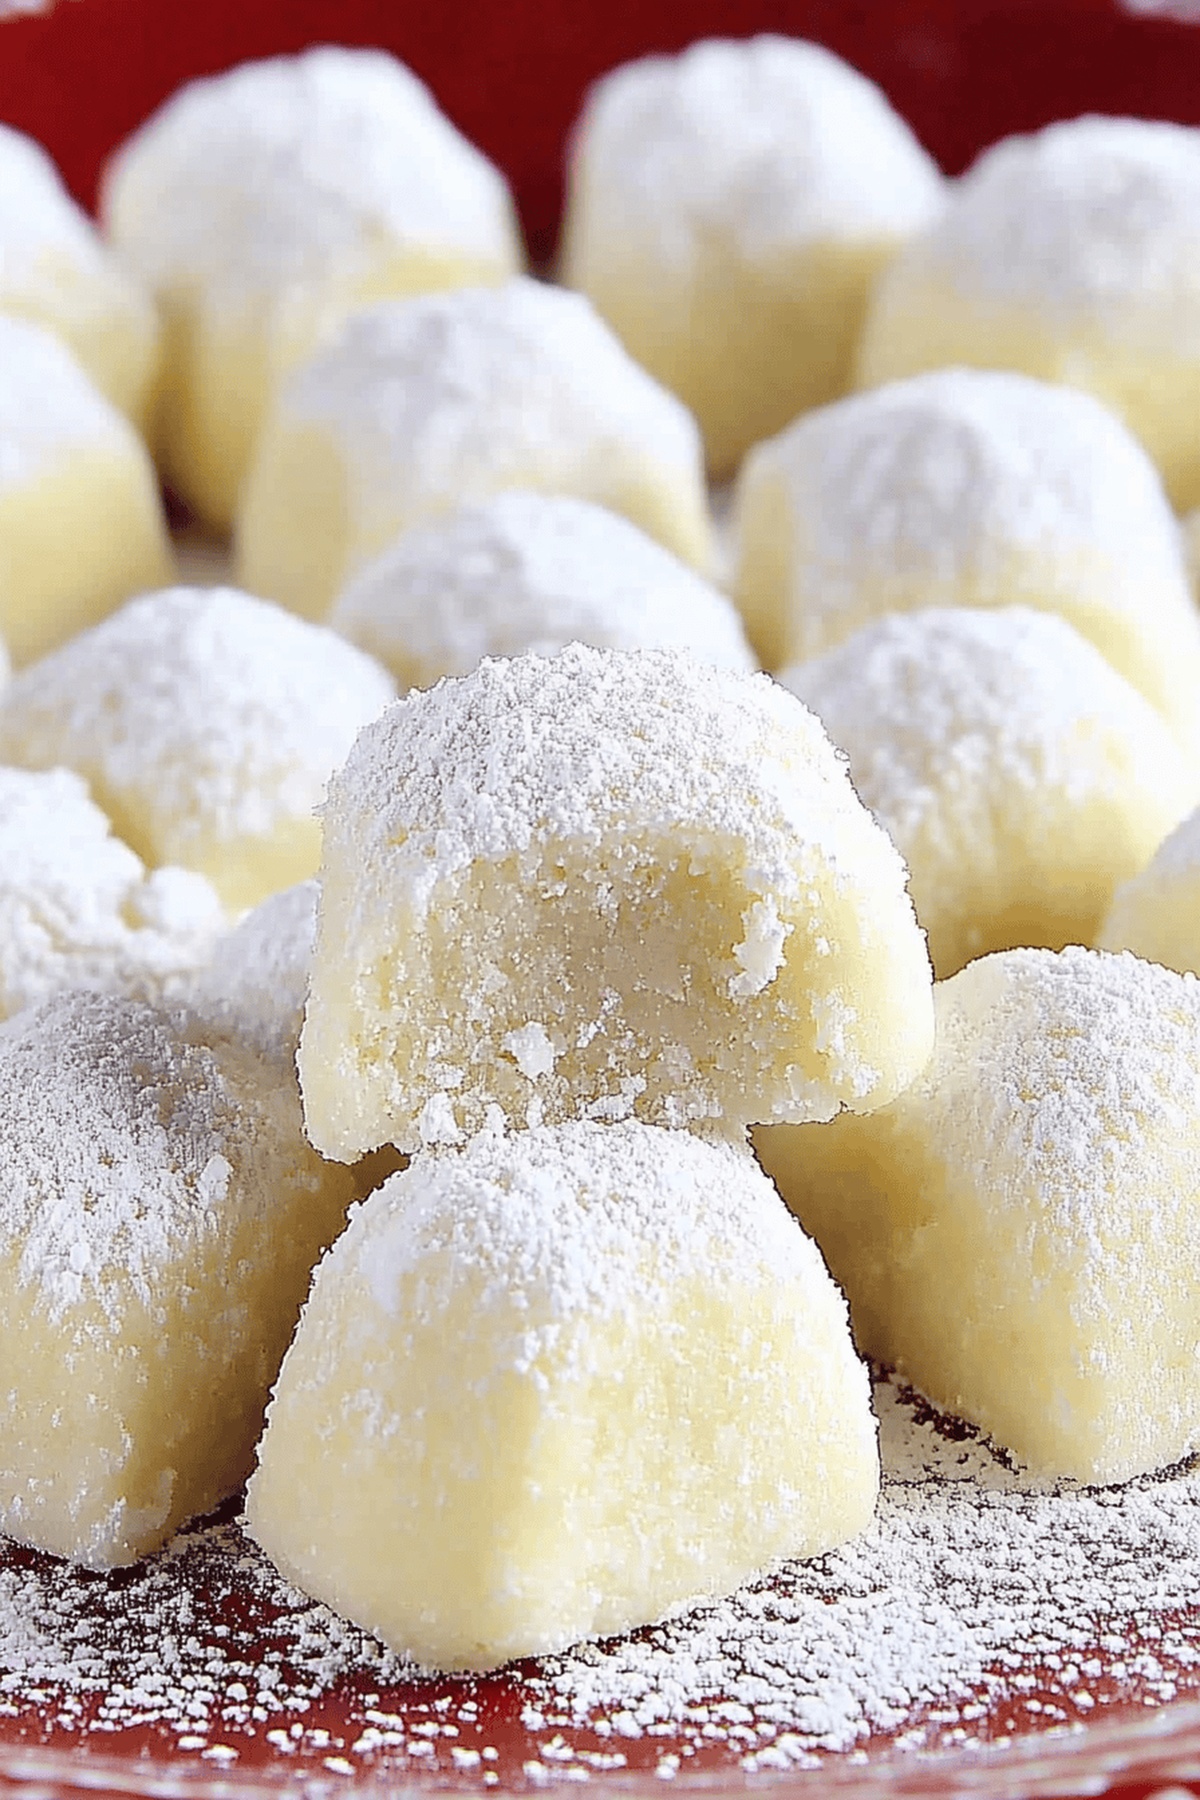
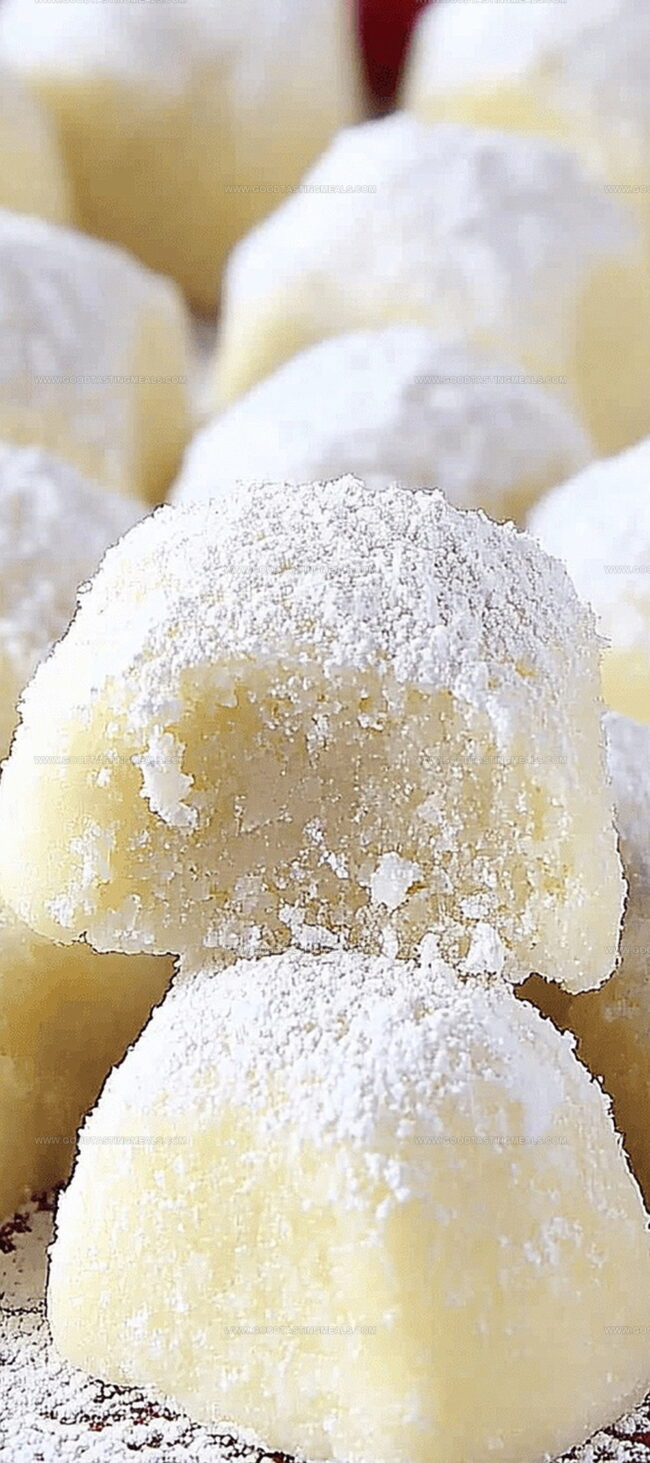
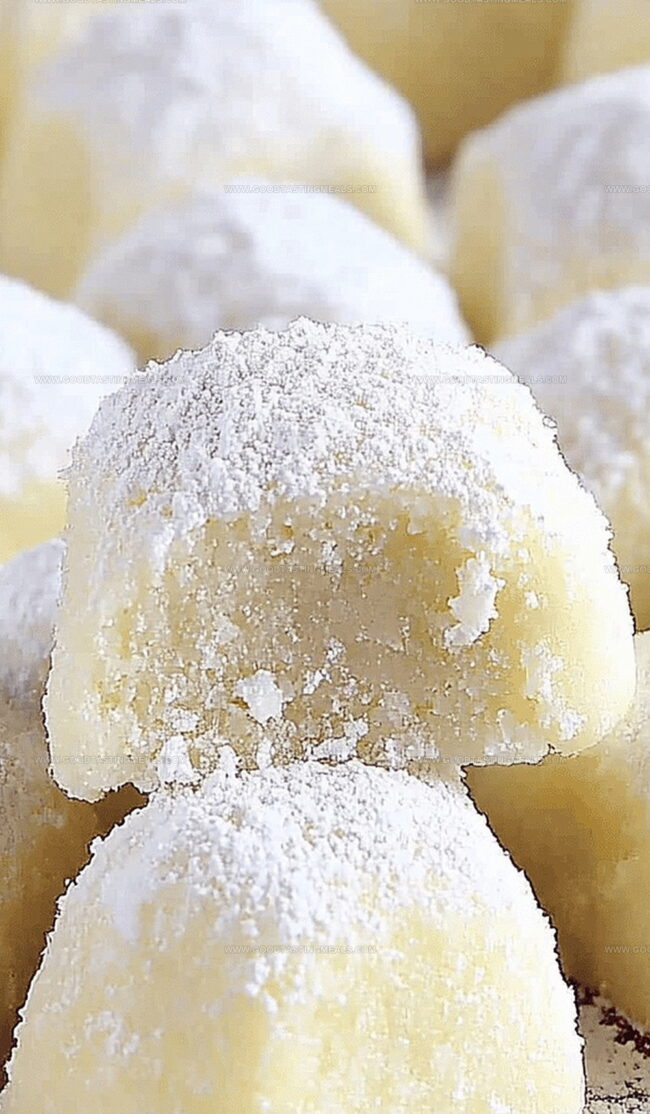
These delicate shortbread cookies promise pure bliss with every tender bite.
Soft and crumbly, they whisper sweet promises of comfort and indulgence.
Light as clouds and rich with vanilla essence, these delightful treats originate from classic Australian baking traditions.
Their gentle texture creates an irresistible moment of pure culinary happiness.
A simple yet elegant cookie that speaks directly to your sweet tooth’s deepest desires.
Let these melting moments become your next baking adventure and bring a touch of delectable magic to your kitchen.
Quick Recipe Overview
Melting Moments Cookie Ingredients
For Dry Ingredients:For Wet and Binding Ingredients:For Finishing and Coating:Tools for Baking Melting Moments
Instructions for Making Melting Moments
Cloud Kisses
Gather soft butter and silky sugar in a cozy mixing bowl. Whip them together until they create a dreamy, fluffy cloud that looks light as air.
Gently fold in the magical vanilla essence. Sprinkle in flour mixture like delicate snow, blending until the dough feels soft and tender.
Roll the tender mixture into gentle logs. Wrap them snugly in plastic and let them rest in the cool refrigerator for a peaceful hour.
Warm the kitchen oven to a gentle temperature. Slice the chilled logs into delicate rounds and place them on a paper-lined baking tray. Let them rest briefly before sliding into the warm embrace of the oven.
Bake until the edges turn a soft golden color. Once cooled, dust these tender treats with a whisper of powdered sugar, creating a delicate snow-like coating.
Store these delicate cloud kisses in a sealed container, layering with soft paper. They’ll stay fresh and enchanting for days of sweet moments.
Tips to Perfect Your Melting Moments Cookies
How to Serve Melting Moments with Tea
Keeping Melting Moments Soft and Sweet
Print
Heavenly Melting Moments
- Total Time: 2 hours
- Yield: 22 1x
Description
Classic Australian Melting Moments cookies showcase delicate shortbread sandwiched with zesty lemon cream. Delightful pastry crumbles gracefully while citrus filling provides elegant contrast for sweet treats you will savor.
Ingredients
- 1 cup (226 g) unsalted butter, room temperature
- 1 ½ cups (180 g) all-purpose flour
- 1 cup (120 g) powdered sugar, sifted (for topping)
- ½ cup (60 g) cornstarch (corn flour)
- ¼ cup (30 g) powdered sugar
- 1 tsp (5 ml) vanilla extract
- ¼ tsp (1.5 g) salt
Instructions
- Dry Ingredient Fusion: Whisk flour, cornstarch, and salt in a medium bowl until perfectly integrated, ensuring a smooth, even texture.
- Butter Transformation: Cream butter and powdered sugar using an electric mixer, whipping until the mixture becomes light, fluffy, and pale, creating a cloud-like consistency.
- Dough Development: Introduce vanilla extract and gently incorporate dry ingredients, mixing until a unified dough forms without overworking the delicate mixture.
- Dough Preparation: Shape the dough into uniform cylindrical logs approximately one inch thick, carefully wrapping in plastic film to maintain shape and protect from external moisture.
- Chilling Process: Refrigerate dough logs for a minimum of one hour, allowing flavors to meld and dough to solidify, enhancing the cookies’ structural integrity.
- Baking Preparation: Preheat oven to 350°F and line a baking sheet with parchment paper, creating an optimal baking environment.
- Cookie Formation: Slice chilled dough into half-inch medallions, arranging them methodically on the prepared baking sheet with strategic spacing to ensure even baking.
- Final Chill and Bake: Return the cookie-laden sheet to the refrigerator for a brief 30-minute cooling, then transfer directly to the preheated oven and bake for 8-10 minutes until edges turn delicately golden.
- Cooling and Finishing: Let cookies rest completely on the baking sheet, then elegantly dust with powdered sugar or completely coat in a delicate white layer.
- Storage: Carefully transfer cookies to an airtight container, layering with wax paper to preserve their tender texture for up to two weeks.
Notes
- Chill for Perfection: Refrigerating the dough twice ensures crisp, well-defined cookies with enhanced flavor development and prevents excessive spreading during baking.
- Gentle Mixing Matters: Avoid overmixing the dough to maintain a tender, melt-in-your-mouth texture that defines these delicate cookies.
- Watch the Baking Closely: Golden edges are the key indicator of perfectly baked Melting Moments; remove from oven promptly to prevent over-browning.
- Storage Secret: Use wax paper between layers when storing to keep cookies pristine and maintain their delicate, crumbly texture for up to two weeks.
- Prep Time: 20 minutes
- Cook Time: 10 minutes
- Category: Desserts, Snacks
- Method: Baking
- Cuisine: Australian
Nutrition
- Serving Size: 22
- Calories: 129
- Sugar: 6.4 g
- Sodium: 0.1 mg
- Fat: 9.5 g
- Saturated Fat: 5.8 g
- Unsaturated Fat: 3.7 g
- Trans Fat: 0 g
- Carbohydrates: 13.8 g
- Fiber: 0.2 g
- Protein: 1.4 g
- Cholesterol: 20 mg
Sophie Martin
Co-Founder & Content Creator
Expertise
Education
Stellenbosch University, South Africa
South African Chefs Academy, Cape Town
Sophie Martin is the nutrition brain and feel-good foodie at Good Tasting Meals. With a degree in Human Nutrition from Stellenbosch University and chef training from the South African Chefs Academy, Sophie brings balance to the table, literally. She loves creating meals that are easy to make, great to eat, and good for your body too.
Her recipes are made for everyday living, with a little flair and a lot of heart. Sophie’s not here to count calories, she’s here to show you how fresh, simple food can fit into your life, taste amazing, and still be nourishing.