

Playful Mini Red Velvet Cheesecake Recipe for Sweet Moments
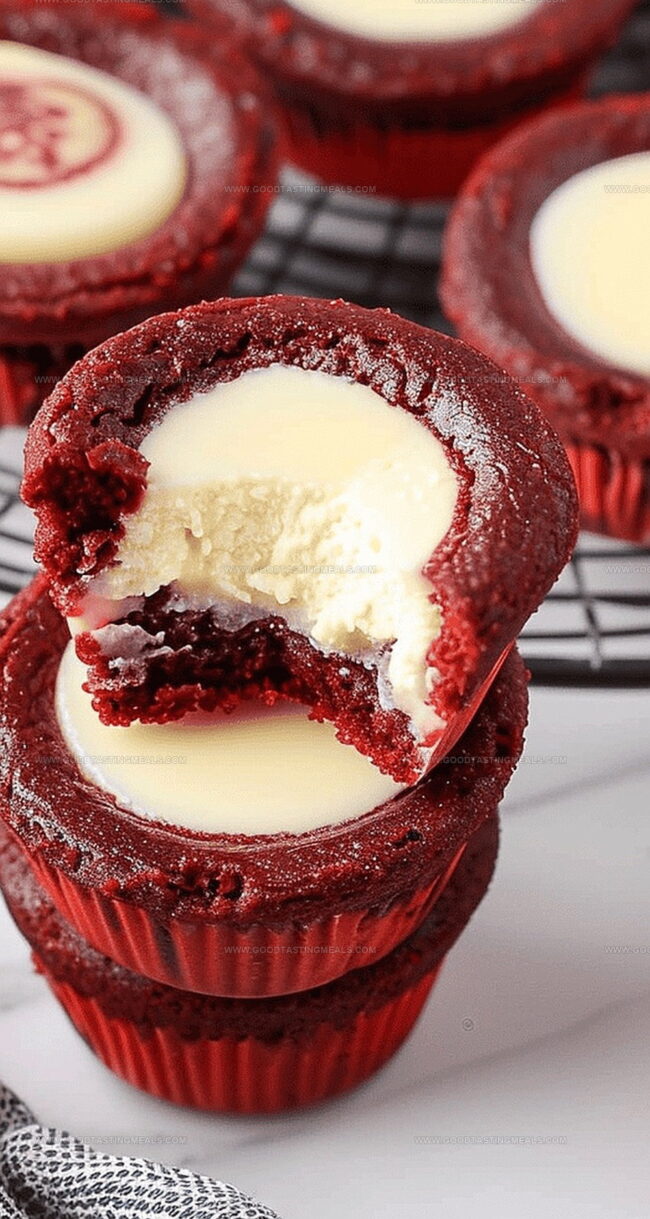
Decadent and velvety smooth, this mini red velvet cheesecake recipe brings a touch of indulgence to any dessert spread.
Rich cocoa undertones dance with the classic cream cheese filling, creating a luxurious treat that melts in your mouth.
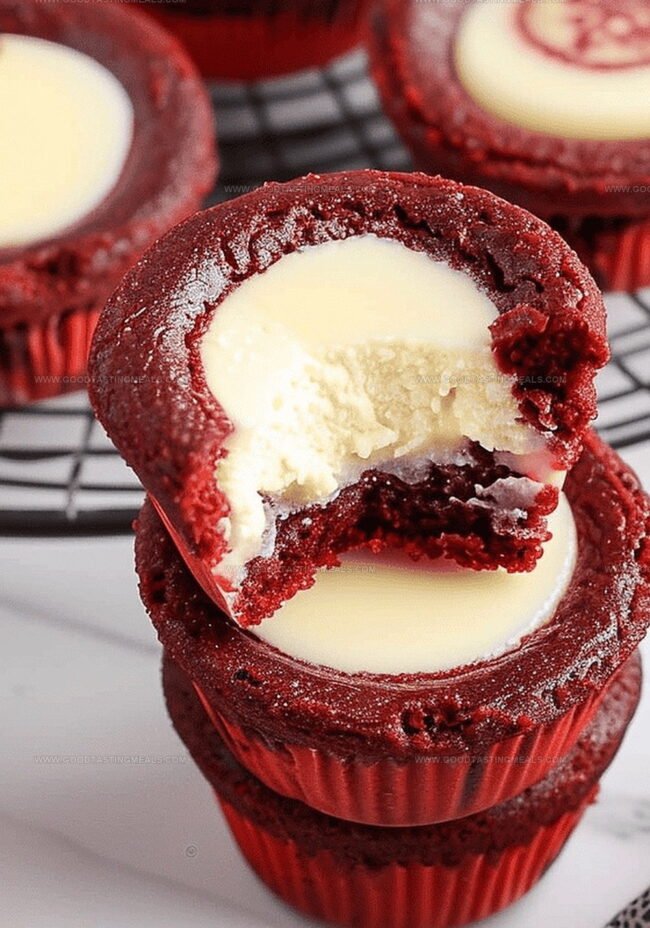
The vibrant red hue catches every eye, promising a delightful twist on traditional cheesecake.
Perfectly portioned mini desserts ensure everyone gets their own personal slice of heaven.
Each bite combines the tangy cream cheese with the subtle chocolate notes that define red velvet signature flavor.
These adorable individual cheesecakes are surprisingly simple to create, making them an ideal dessert for both novice and experienced bakers.
Serve these gems at your next gathering, and watch as they become the star of the dessert table.
Quick Recipe Overview
Gather These for Mini Red Velvet Cheesecake
For Red Velvet Base:For Cheesecake Filling:For Baking and Preparation:Mini Red Velvet Cheesecake: Equipment Musts
Bake Mini Red Velvet Cheesecake Step-by-Step
Warm up the oven and get your mini muffin pan ready with a light spray coating.
Mix cocoa and flour in a small bowl, creating a smooth powder base.
Combine butter, sugar, food coloring, vanilla, and eggs in a medium bowl until everything looks harmonious.
Gently fold dry ingredients into wet mixture, keeping the texture soft and light.
Whip cream cheese until silky smooth, then add sugar and vanilla for extra richness.
Carefully incorporate egg yolk into the cream cheese, ensuring a consistent texture.
Spoon a tablespoon of red velvet base into each muffin cavity, then pipe creamy cheese mixture on top.
Bake until edges look set and centers are slightly jiggly, about 8-9 minutes.
Let mini cheesecakes rest in the pan, then transfer to a wire rack for complete cooling.
Mini Red Velvet Cheesecake: Extra Tips to Try
Serving Mini Red Velvet Cheesecake at Its Best
Properly Store Mini Red Velvet Cheesecake
Print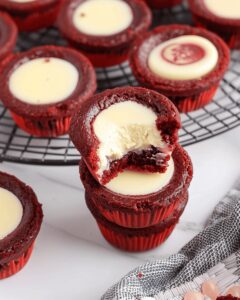
Heavenly Mini Red Velvet Cheesecake Recipe
- Total Time: 9 minutes
- Yield: 13 1x
Description
Red velvet cheesecake combines classic Southern charm with creamy indulgence. Rich chocolate notes and tangy cream cheese create a delightful dessert you’ll savor to the last delectable bite.
Ingredients
- 1 cup (240 ml) all-purpose flour
- 1¼ cups (250 g) granulated sugar
- 8 oz (226 g) cream cheese, softened
- ¾ cup (170 g) salted sweet cream butter, melted and cooled
- 2 large eggs, room temperature and beaten
- 1 large egg yolk
- ¼ cup + 1 tbsp (30 g) unsweetened cocoa powder
- 1 tbsp red gel food coloring (Sunny Side Up Bakery brand recommended)
- 2 tsp pure vanilla extract
- 1 tsp pure vanilla extract
- ¼ cup (50 g) granulated sugar
Instructions
- Preheat Preparation: Position oven rack at center and warm to 350°F (175°C), then lightly coat mini muffin pan with nonstick spray.
- Dry Ingredient Fusion: Whisk flour and cocoa powder in a mixing bowl, ensuring smooth, lump-free integration.
- Liquid Base Creation: Blend melted butter with sugar, introducing vibrant red food coloring, vanilla essence, and eggs, whisking until uniformly combined and brilliantly colored.
- Batter Formation: Delicately fold dry ingredients into liquid mixture, maintaining a velvety smooth consistency without overmixing.
- Cheesecake Filling Preparation: Utilize electric mixer to whip cream cheese at medium-high speed, transforming texture into silky perfection.
- Flavor Infusion: Integrate sugar and vanilla extract into cream cheese mixture, blending until achieving a luxuriously creamy composition.
- Final Filling Integration: Gently incorporate egg yolk, mixing until no yellow streaks remain, creating a pristine cheesecake base.
- Assembly Technique: Dispense one tablespoon red velvet base into each muffin cavity, then precisely pipe two teaspoons cheesecake filling into center.
- Baking Process: Position pan in preheated oven and bake for 8-9 minutes until filling sets with subtle wobble.
- Cooling Sequence: Extract from oven and allow mini cheesecakes to rest in pan for 20-30 minutes, enabling gradual temperature stabilization.
- Serving Preparation: Transfer cooled miniature desserts to wire rack, permitting complete temperature reduction before presentation.
Notes
- Optimize Mixing Technique: Avoid overmixing the batter to prevent tough, dense mini cheesecakes; fold ingredients gently to maintain a light, tender texture.
- Precise Temperature Control: Use room temperature ingredients to ensure smooth blending and consistent baking results; cold ingredients can cause lumpy or uneven texture.
- Piping Pro Tip: Use a piping bag or cut the corner of a resealable bag for clean, precise filling of muffin cavities; this creates uniform and professional-looking mini cheesecakes.
- Cooling Crucial Step: Let mini cheesecakes cool gradually in the pan to prevent cracking and ensure a smooth, creamy consistency; rushing the cooling process can lead to structural breakdown.
- Prep Time: 15 minutes
- Cook Time: 9 minutes
- Category: Desserts
- Method: Baking
- Cuisine: American
Nutrition
- Serving Size: 13
- Calories: 307
- Sugar: 23 g
- Sodium: 210 mg
- Fat: 17 g
- Saturated Fat: 10 g
- Unsaturated Fat: 5 g
- Trans Fat: 0 g
- Carbohydrates: 33 g
- Fiber: 1 g
- Protein: 4 g
- Cholesterol: 70 mg
Sophie Martin
Co-Founder & Content Creator
Expertise
Education
Stellenbosch University, South Africa
South African Chefs Academy, Cape Town
Sophie Martin is the nutrition brain and feel-good foodie at Good Tasting Meals. With a degree in Human Nutrition from Stellenbosch University and chef training from the South African Chefs Academy, Sophie brings balance to the table, literally. She loves creating meals that are easy to make, great to eat, and good for your body too.
Her recipes are made for everyday living, with a little flair and a lot of heart. Sophie’s not here to count calories, she’s here to show you how fresh, simple food can fit into your life, taste amazing, and still be nourishing.