
Sweet Cherry & Chocolate Flip Cake Recipe: A Dreamy Delight
Sweet, gooey cherries nestled in a rich chocolate cherry upside down cake recipe dance with decadence on your plate.
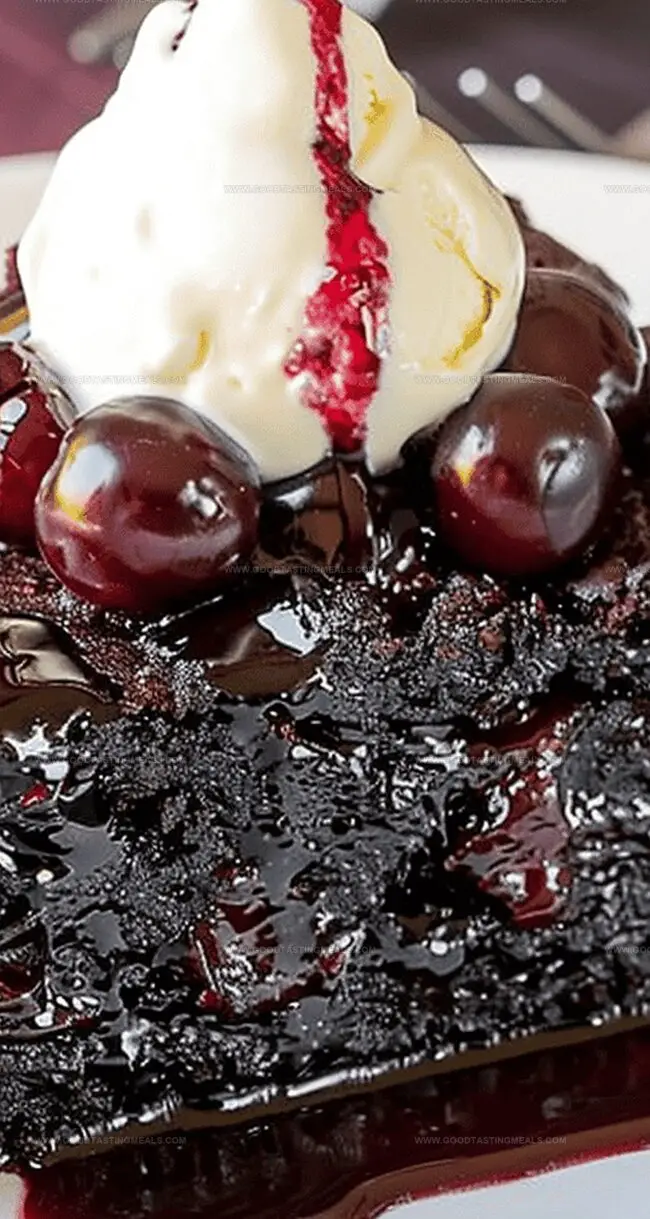
Bursts of fruity brightness peek through a velvety chocolate landscape that promises pure indulgence.
Dark, moist layers complement the bright, tangy cherries in a symphony of flavors that tantalize every taste bud.
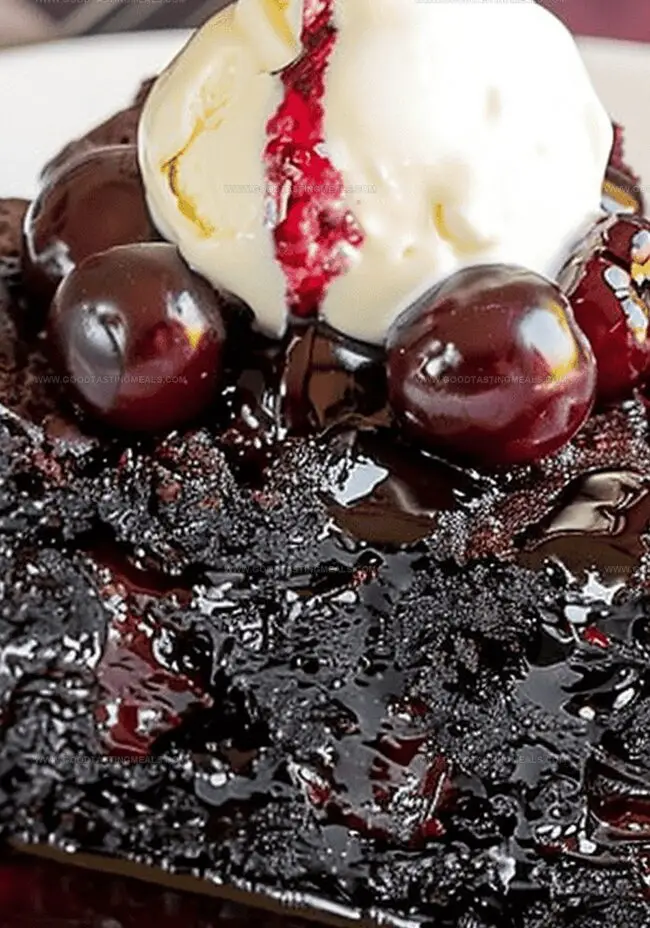
Each forkful promises a perfect balance between deep cocoa intensity and fresh fruit notes.
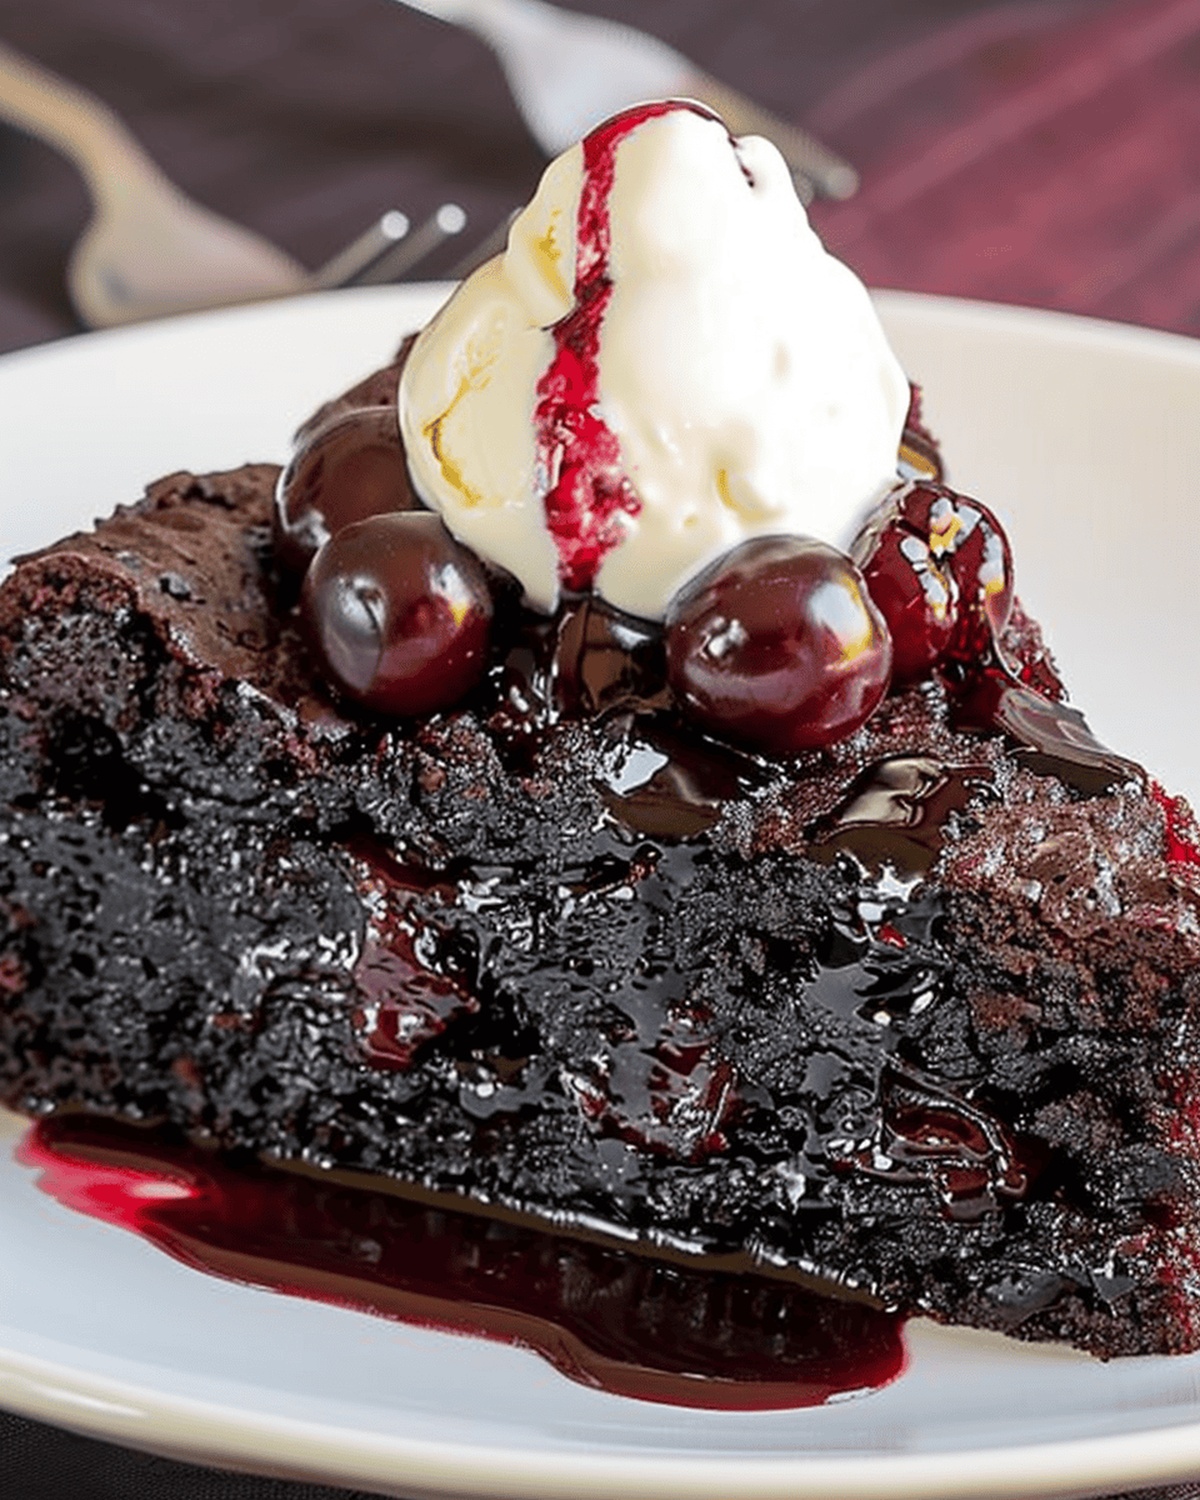
The cake emerges from the oven with a glossy, caramelized cherry topping that hints at the deliciousness waiting beneath.
Bakers and dessert lovers will adore this show-stopping treat that looks as stunning as it tastes.
Grab your mixing bowl and let’s turn ordinary ingredients into an extraordinary dessert that will have everyone asking for seconds.
Quick Recipe Overview
Ingredients That Go Into Chocolate Cherry Upside Down Cake
For Fruit Layer:For Cake Batter Base:For Finishing Touches:Tools You’ll Need for Chocolate Cherry Upside Down Cake
How to Bake Chocolate Cherry Upside Down Cake Step by Step
Cherry Chocolate Paradise
Sprinkle sugar-cornstarch mixture over fresh cherries, coating them gently. Spread these glistening gems across the bottom of your baking pan, creating a vibrant crimson landscape.
Blend chocolate ingredients in a mixing bowl, whisking until the mixture transforms into a silky, rich chocolate dream. The batter should flow like liquid velvet, promising decadent sweetness.
Slide the pan into a warm 350°F oven, letting the cherries and chocolate dance together for 30-35 minutes. Watch for the magical moment when a toothpick emerges clean, signaling cake perfection.
After a brief cooling pause, confidently flip the cake onto a serving plate. The cherries will peek through, creating a stunning canvas of deep red against rich chocolate brown.
Tips for the Best Chocolate Cherry Upside Down Cake Texture
Presentation Ideas for Chocolate Cherry Upside Down Cake
How to Keep Chocolate Cherry Upside Down Cake Fresh
Print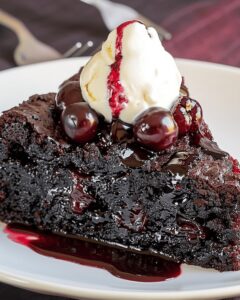
Luscious Chocolate Cherry Upside Down Cake
- Total Time: 55 minutes
- Yield: 9 1x
Description
Homemade chocolate cherry upside down cake delivers rich, moist layers complemented by sweet-tart cherry highlights. Dark chocolate and fresh cherries combine in a delightful dessert passionate bakers will savor.
Ingredients
- 2 cups (480 ml) pitted cherries (fresh or frozen)
- 2 eggs
- 1 cup (240 ml) sugar
- ½ cup (120 ml) soured milk
- ½ cup (120 ml) brewed black coffee
- 1 cup (120 g) all-purpose flour
- ¼ cup (60 ml) vegetable oil
- ⅓ cup (40 g) plus 1 tbsp cocoa
- ⅓ cup (67 g) sugar
- 1 tsp baking powder
- 1 tsp corn starch
- ½ tsp baking soda
- ½ tsp vanilla extract
- ¼ tsp salt
Instructions
- Preparation: Generously grease and flour a baking pan, lining the bottom with parchment paper to ensure effortless cake release.
- Cherry Coating: Whisk cornstarch and sugar in a mixing bowl, creating a delicate protective layer for the cherries. Gently fold pitted cherries into the mixture, ensuring even coverage. If using frozen cherries, allow them to thaw for 20 minutes.
- Cherry Arrangement: Spread the sugar-coated cherries in a uniform layer across the pan’s bottom, crafting a vibrant fruity foundation that will become the cake’s stunning top when inverted.
- Batter Creation: Combine all chocolate cake ingredients in a large mixing bowl, using an electric mixer to blend until the batter reaches a silky, smooth consistency with no lumps.
- Cake Assembly: Pour the chocolate batter over the cherry layer, carefully spreading it to completely cover the fruit, creating an even surface that will transform into a decadent dessert.
- Baking: Place the pan in a preheated oven and bake until the cake develops a rich, dark surface and a toothpick inserted into the center comes out clean, indicating perfect doneness.
- Finishing: Allow the cake to cool in the pan for 5 minutes, then confidently invert onto a serving plate, unveiling the glistening cherry topping in a dramatic reveal that showcases the cake’s beautiful design.
Notes
- Thaw Cherries Properly: If using frozen cherries, let them sit at room temperature for exactly 20 minutes to prevent excess moisture and maintain texture.
- Prevent Cake Sticking: Meticulously grease pan, dust with flour, and line bottom with parchment paper to ensure seamless cake release.
- Distribute Cherries Evenly: Spread sugar-coated cherries in a uniform layer to create a consistent, beautiful fruity foundation for the cake.
- Check Cake Doneness: Use the toothpick test – when inserted into the center, it should emerge clean with no wet batter, indicating perfect baking.
- Prep Time: 20 minutes
- Cook Time: 35 minutes
- Category: Desserts
- Method: Baking
- Cuisine: American
Nutrition
- Serving Size: 9
- Calories: 270
- Sugar: 25 g
- Sodium: 150 mg
- Fat: 10 g
- Saturated Fat: 1.5 g
- Unsaturated Fat: 8 g
- Trans Fat: 0 g
- Carbohydrates: 41 g
- Fiber: 2 g
- Protein: 4 g
- Cholesterol: 50 mg
Sophie Martin
Co-Founder & Content Creator
Expertise
Education
Stellenbosch University, South Africa
South African Chefs Academy, Cape Town
Sophie Martin is the nutrition brain and feel-good foodie at Good Tasting Meals. With a degree in Human Nutrition from Stellenbosch University and chef training from the South African Chefs Academy, Sophie brings balance to the table, literally. She loves creating meals that are easy to make, great to eat, and good for your body too.
Her recipes are made for everyday living, with a little flair and a lot of heart. Sophie’s not here to count calories, she’s here to show you how fresh, simple food can fit into your life, taste amazing, and still be nourishing.