
Fluffy Chocolate Protein Cake Recipe: Sweet Fitness Treat
Baking a delectable chocolate protein cake sparks joy for fitness enthusiasts and dessert lovers alike.
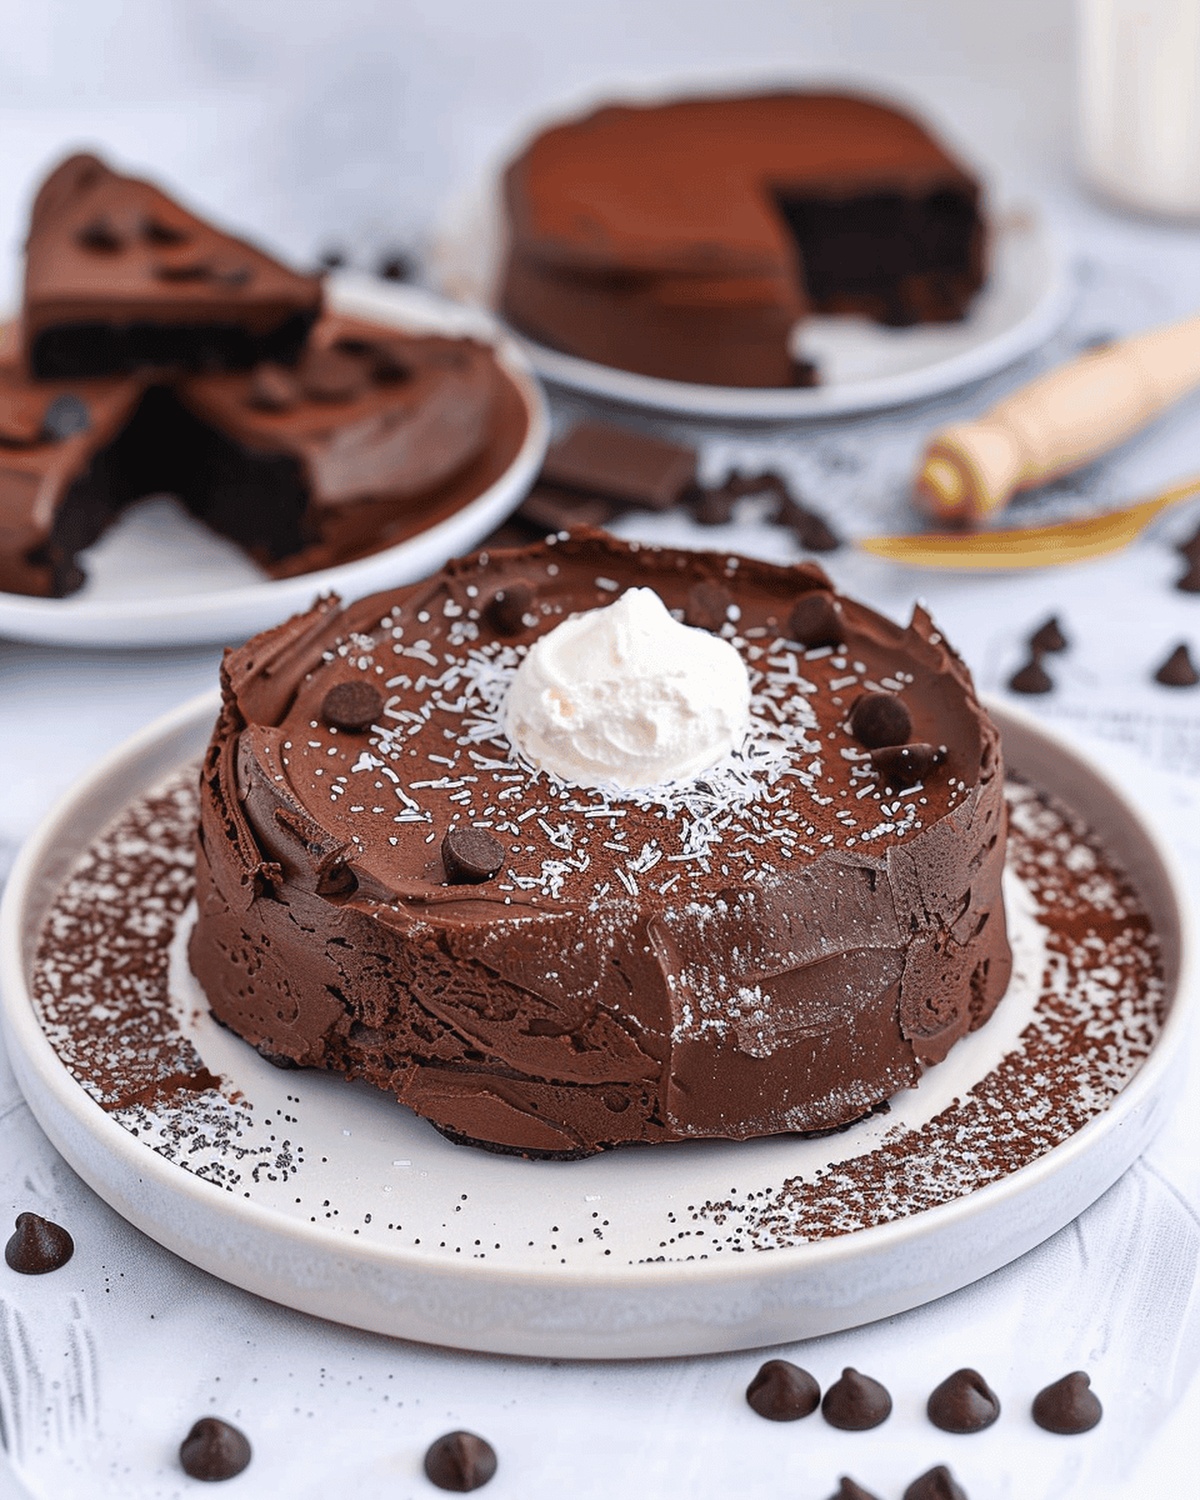
This protein-packed chocolate cake delivers a rich, decadent experience without compromising nutritional goals.
Fitness aficionados will savor every moist, chocolatey bite that seamlessly blends indulgence with health-conscious ingredients.
Each slice packs a powerful protein punch while satisfying sweet tooth cravings.
The recipe combines simple pantry staples with high-quality protein powder for a guilt-free treat that doesn’t skimp on flavor.
chocolate lovers can now enjoy a dessert that nourishes muscles and delights taste buds.
You’ll fall in love with this show-stopping cake that proves healthy eating can be absolutely delicious.
Quick Recipe Overview
Chocolate Protein Cake: What Goes Inside
For Wet Ingredients:For Dry Base Ingredients:For Leavening and Binding:Must-Have Equipment for Protein Cake
How to Make Chocolate Protein Cake
Create a clean, organized kitchen area with all necessary baking equipment ready. Select a medium-sized cake pan and line it with parchment paper for easy removal.
Combine eggs and Greek yogurt in a large mixing bowl, whisking until the mixture becomes smooth and creamy. The texture should be light and uniform.
Gently incorporate oat flour, protein powder, cocoa powder, and baking powder into the wet mixture. Stir carefully to prevent lumps and ensure even distribution.
Slowly introduce milk into the batter, stirring continuously. Adjust liquid amount to achieve a smooth, pourable consistency that’s not too thick or runny.
Transfer the batter into the prepared pan, spreading it evenly. Place in a preheated oven at 175ºC for approximately 22 minutes. Check doneness by inserting a toothpick – it should come out clean.
Allow the cake to cool completely before removing from the pan. This helps maintain its structure and enhances the overall texture. Slice and enjoy your protein-packed chocolate treat.
Pro Tips for Protein Cake Perfection
Serving Chocolate Protein Cake Creatively
How to Keep Protein Cake Moist
Print
Mouthwatering Chocolate Protein Cake Recipe
- Total Time: 35 minutes
- Yield: 9 1x
Description
Rich chocolate protein cake delivers a guilt-free dessert experience that satisfies sweet cravings. Healthy ingredients blend seamlessly, providing protein-packed nutrition you can enjoy without compromise.
Ingredients
- 1 egg
- 120 g (4.2 oz) nonfat Greek yogurt
- 50 g (1.8 oz) chocolate-flavored protein powder
- 50 g (1.8 oz) oat flour (or preferred flour)
- 20 g (0.7 oz) cocoa powder
- 0.75 tsp baking powder
- 60 to 180 mL (2 to 6 fl oz) milk of choice
- Sweetener of choice, to taste (if using unflavored protein powder)
Instructions
- Preparation: Grease a round cake pan and line the bottom with parchment paper to facilitate effortless cake extraction.
- Mixing Base: Whisk eggs and Greek yogurt in a large bowl until achieving a silky, homogeneous blend with no residual lumps.
- Dry Ingredient Integration: Sift oat flour, protein powder, cocoa powder, and baking powder directly into the wet mixture, ensuring smooth incorporation without clumping.
- Liquid Harmonization: Gradually pour milk into the batter, stirring consistently to create a luxurious, pourable consistency reminiscent of classic cake texture.
- Batter Refinement: Adjust liquid quantity to achieve an ideal flow – the mixture should cascade smoothly without being excessively thin or dense.
- Pan Transfer: Delicately pour the chocolate-infused batter into the prepared pan, using a spatula to distribute evenly and gently tap to eliminate potential air pockets.
- Baking Process: Place the pan in a preheated oven, maintaining a consistent temperature to ensure uniform cooking and optimal rise.
- Doneness Check: Bake until the cake surface springs back when lightly pressed and a toothpick emerges clean, indicating perfect internal cooking.
- Cooling Phase: Allow the cake to cool completely within the pan, which helps stabilize its structure and prevent potential crumbling.
- Serving Preparation: Carefully release the cake from the pan, slice into desired portions, and serve at ambient temperature for optimal flavor and texture.
Notes
- Prevent Lumpy Batter: Sift dry ingredients thoroughly and whisk wet ingredients completely to ensure a smooth, lump-free cake texture.
- Moisture Management: Watch batter consistency carefully, adding milk gradually to achieve perfect pourable thickness without becoming too runny or dense.
- Precise Baking Technique: Tap pan after pouring batter to eliminate air bubbles and ensure even, uniform cake structure.
- Cooling is Crucial: Allow cake to cool entirely inside the pan to maintain structural integrity and prevent crumbling when removing.
- Prep Time: 10 minutes
- Cook Time: 20-25 minutes
- Category: Breakfast, Snacks, Desserts
- Method: Baking
- Cuisine: American
Nutrition
- Serving Size: 9
- Calories: 147
- Sugar: 2 g
- Sodium: 70 mg
- Fat: 2 g
- Saturated Fat: 1 g
- Unsaturated Fat: 1 g
- Trans Fat: 0 g
- Carbohydrates: 20 g
- Fiber: 2 g
- Protein: 14 g
- Cholesterol: 62 mg
Sophie Martin
Co-Founder & Content Creator
Expertise
Education
Stellenbosch University, South Africa
South African Chefs Academy, Cape Town
Sophie Martin is the nutrition brain and feel-good foodie at Good Tasting Meals. With a degree in Human Nutrition from Stellenbosch University and chef training from the South African Chefs Academy, Sophie brings balance to the table, literally. She loves creating meals that are easy to make, great to eat, and good for your body too.
Her recipes are made for everyday living, with a little flair and a lot of heart. Sophie’s not here to count calories, she’s here to show you how fresh, simple food can fit into your life, taste amazing, and still be nourishing.