No-Bake Cookie Butter Blossoms Recipe

No-Bake Cookie Butter Blossoms Recipe for Beginners

No-bake cookie butter blossoms combine pure indulgence with minimal kitchen effort.

Sweet, creamy treats emerge from simple ingredients that reimagine ordinary dessert experiences.

Decadent morsels blend rich, spiced flavors with smooth, velvety textures that dance across your palate.

These delightful confections bypass traditional baking methods, offering quick satisfaction without heating up your kitchen.

Crunchy and soft elements interplay, creating a sensational contrast that delights dessert enthusiasts.

Minimal preparation skills guarantee success, making these blossoms accessible for bakers of all experience levels.

Tempting aromas and irresistible charm await those ready to craft these delectable sweets.

  • Effortless Sweet Treat: These no-bake cookie butter blossoms require minimal cooking skills, making them perfect for novice bakers or busy dessert lovers who want a quick, delicious result.
  • Irresistible Texture Combo: The crispy Rice Krispies provide a delightful crunch that contrasts beautifully with the smooth, creamy cookie butter and the soft chocolate kiss, creating a multi-dimensional sensory experience.
  • Speedy Dessert Solution: With just a few simple steps and no oven required, these cookies come together in minutes, offering a fast and satisfying sweet treat for unexpected guests or sudden sugar cravings.
  • Playful Flavor Fusion: The unique blend of cookie butter's rich, spiced notes with the classic chocolate kiss creates a surprisingly delightful flavor combination that will intrigue and delight taste buds.
Cookie Base:
  • Cookie Spread: A rich, creamy spread made from speculoos cookies that provides the primary flavor and binding agent for the no-bake cookies.
  • Corn Syrup: Adds sweetness and helps create a smooth, glossy texture that holds the cookie balls together.
  • Rice Krispies: Provides a delightful crispy crunch and helps create structure for the cookie balls.
Chocolate Topping:
  • Chocolate Kisses: Classic chocolate candies that create a delicious centerpiece and add a smooth chocolate element to the no-bake cookies.
Additional Ingredient:
  • Waxed Paper: Essential for preventing the cookie balls from sticking and allowing them to set properly.

Step-by-Step for No-Bake Treat Assembly

Step 1: Combine Cookie Spread and Corn Syrup

Place cookie spread and corn syrup in the saucepan. Melt them together over low heat, stirring continuously until they create a smooth, glossy mixture.

Step 2: Add Crispy Cereal

Remove the saucepan from heat. Pour in Rice Krispies cereal and gently stir until every single piece is evenly coated with the sweet mixture.

Step 3: Shape Delightful Cookie Bites

Using a spoon, scoop out small portions of the mixture. Roll them into perfect round balls and place each one carefully on waxed paper.

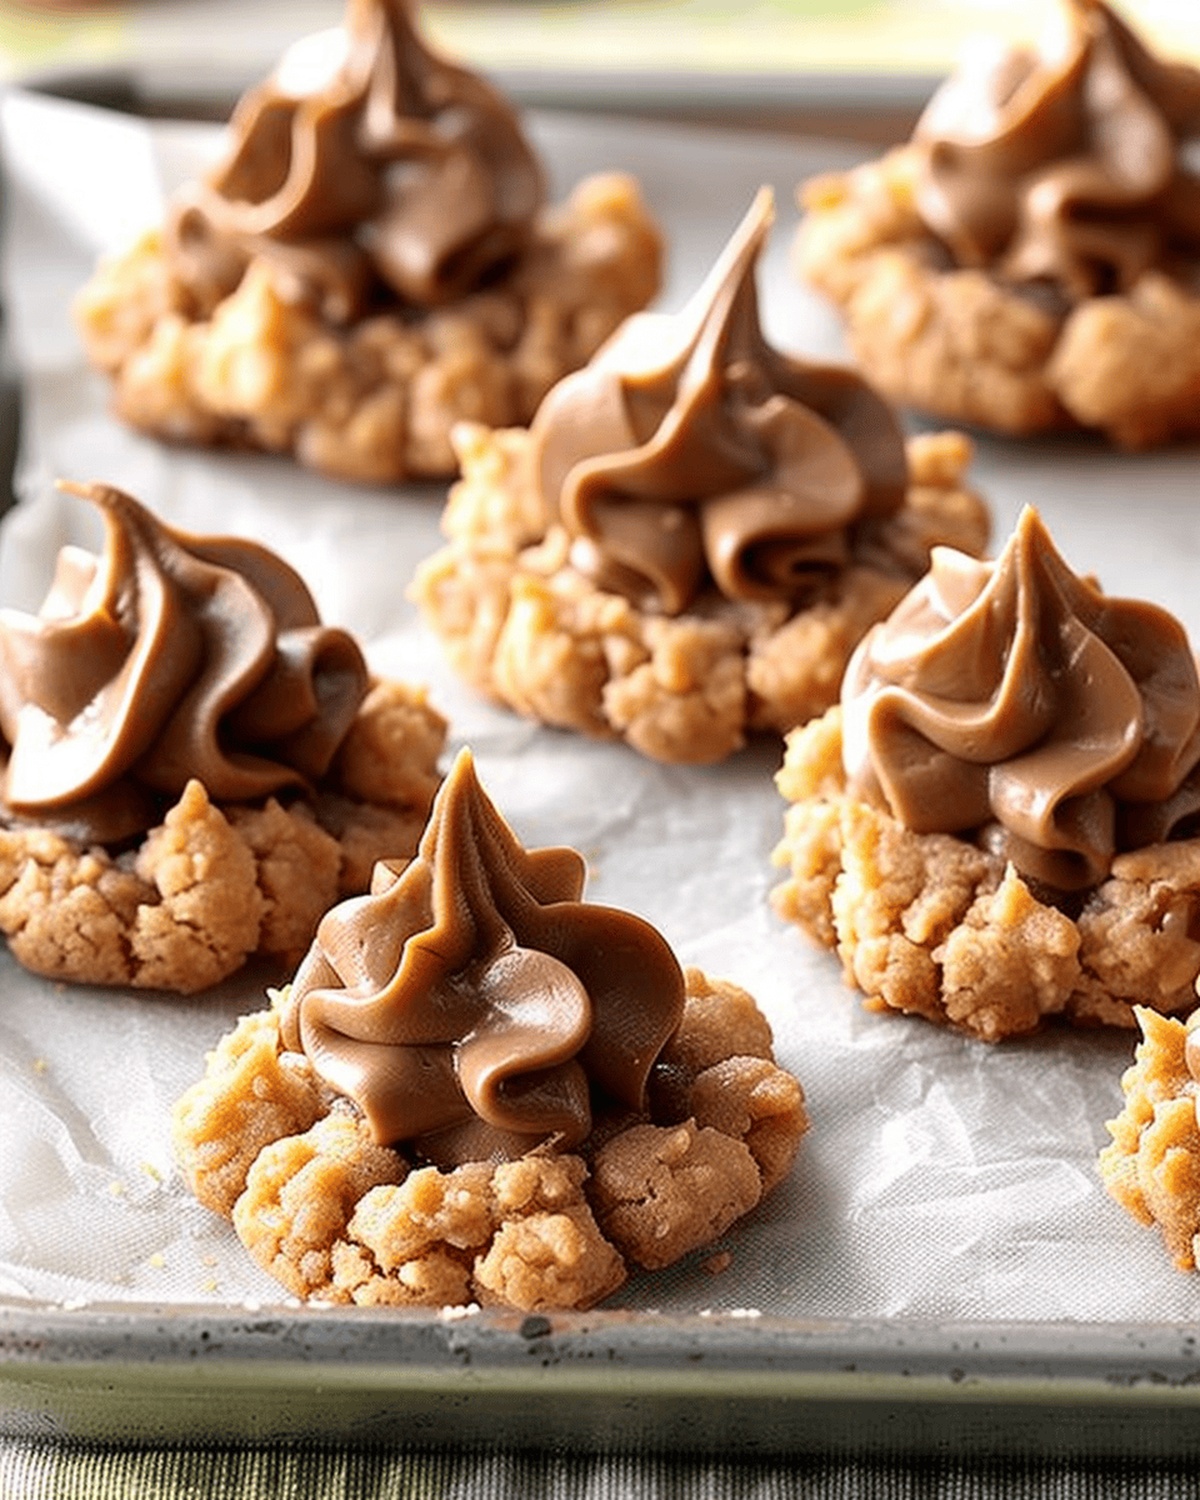
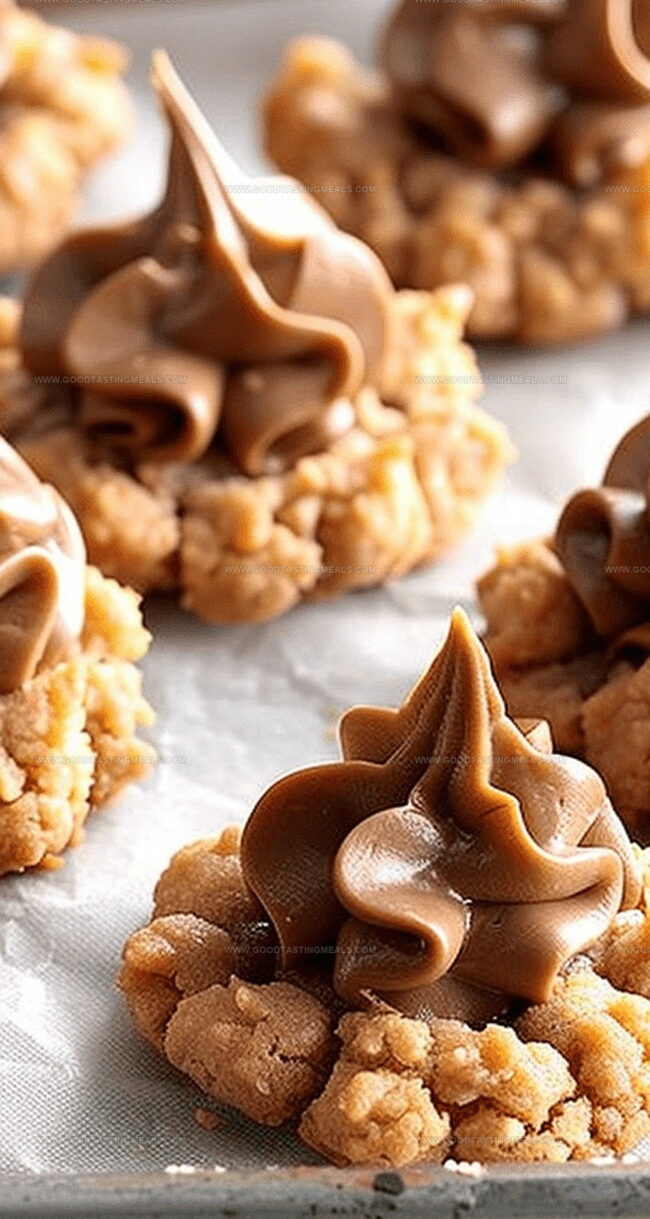
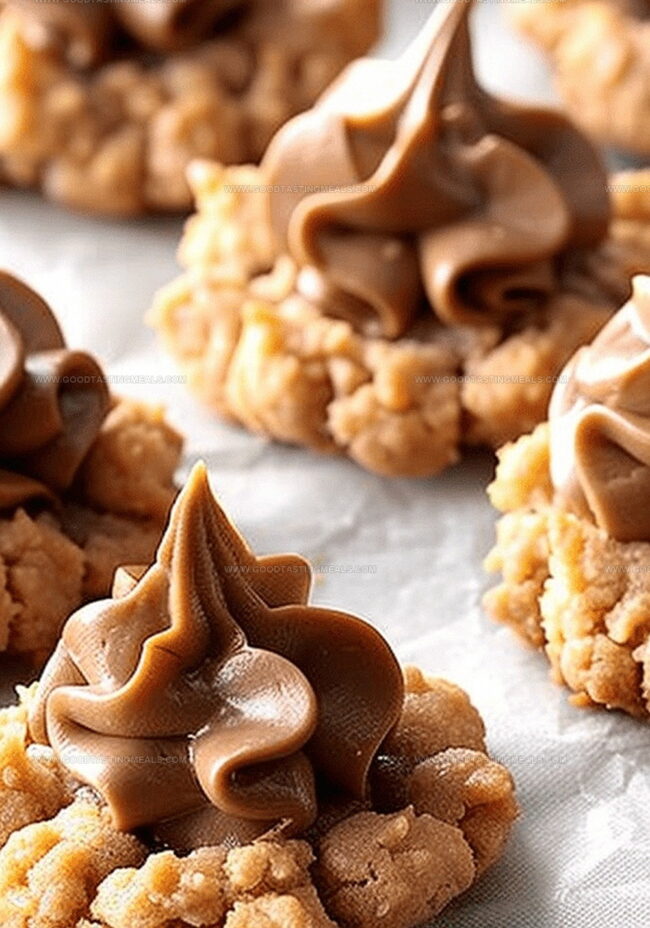
Step 4: Top with Chocolate Kisses

While the cookie balls are still warm, gently press a chocolate kiss into the center of each ball. The residual heat will help the kiss stick perfectly.

Step 5: Let Cookies Set

Allow the no-bake cookie butter blossoms to cool and set at room temperature. The chocolate kiss will firm up, creating a delicious treat that’s ready to enjoy.

Tips to Keep Blossoms from Getting Sticky

  • Smooth Spreading Technique: Use a lightly greased tablespoon to easily shape cookie balls without sticking.
  • Kiss Placement Pro: Press chocolate kisses gently but firmly into warm cookie balls to ensure they stick perfectly.
  • Temperature Control: Work quickly while mixture is warm to create uniform, easy-to-shape cookies.
  • Surface Preparation: Line your work surface with waxed paper to prevent sticking and make cleanup a breeze.
  • Texture Tip: Crush Rice Krispies slightly before mixing for an extra crispy, more integrated texture in your cookie balls.

Chill and Store These Cookies Like a Pro

  • Refrigeration: Store these delightful treats in an airtight container, layered between parchment paper, and keep chilled for up to 5 days. Separation prevents the kisses from sticking together and maintains their perfect texture.
  • Freezing: Carefully wrap individual cookies in plastic wrap, then place in a freezer-safe container. Frozen cookie butter blossoms will stay fresh for 2-3 weeks, ready to enjoy whenever a sweet craving strikes.
  • Reheating: Let frozen cookies thaw at room temperature for 15-20 minutes before serving. Avoid microwaving to preserve the kiss's smooth chocolate and the cookie's delicate crispness.
  • Pair with Creamy Espresso: Complement the sweet cookie butter blossoms with a rich, smooth espresso shot that cuts through the dessert's richness and enhances its nutty undertones.
  • Serve with Cold Milk: Create a classic childhood-style treat by serving these no-bake cookies alongside a chilled glass of whole milk, which perfectly balances the sweet and crunchy texture.
  • Match with Caramel Liqueur: Elevate the dessert experience by offering a small glass of caramel-flavored liqueur that mirrors the cookie butter's warm, indulgent flavor profile and adds a sophisticated adult twist.
  • Accompany with Vanilla Chai: Sip on a smooth, spiced vanilla chai tea that harmonizes with the cookie's sweet notes and provides a warming contrast to the crisp Rice Krispies texture.

New Flavor Centers for Blossoms

  • Cookie Butter Crunch Bars: Press the mixture into a lined baking pan instead of forming balls, creating a sharper, more slice-able treat with extra crispy texture.
  • Chocolate Drizzle Edition: Melt dark or milk chocolate and generously drizzle over the completed cookie blossom for added richness and visual appeal.
  • Nutty Cookie Spread Bites: Incorporate chopped almonds or pecans into the mixture before shaping for extra crunch and nutty depth of flavor.
  • Sprinkle Celebration Version: Roll the cookie butter balls in colorful sprinkles before adding the chocolate kiss for a festive, kid-friendly presentation.
Print
clock clock iconcutlery cutlery iconflag flag iconfolder folder iconinstagram instagram iconpinterest pinterest iconfacebook facebook iconprint print iconsquares squares iconheart heart iconheart solid heart solid icon
No-Bake Cookie Butter Blossoms Recipe

No-Bake Cookie Butter Blossoms Recipe


5 Stars 4 Stars 3 Stars 2 Stars 1 Star

4.6 from 27 reviews

  • Total Time: 15 minutes
  • Yield: 16 1x

Description

Sweet cookie butter blossoms redefine dessert simplicity with minimal ingredients and zero oven time. Chocolate kiss centers nestled in creamy cookie butter cookies promise pure indulgence you cannot resist.


Ingredients

Scale

Main Ingredients:

  • 3 cups Rice Krispies
  • 1 cup Biscoff creamy cookie spread
  • 32 milk chocolate kisses

Supporting Ingredients:

  • ½ cup corn syrup

Instructions

  1. In a generously sized saucepan, gently combine cookie butter and light corn syrup over low heat, stirring continuously until the mixture becomes smooth and fully integrated.
  2. Remove the saucepan from heat source and fold in Rice Krispies cereal, ensuring each crisp morsel is thoroughly coated with the rich, creamy mixture.
  3. Using a tablespoon (15 milliliters) measure, carefully form uniform round balls from the mixture, placing each one delicately onto waxed or parchment paper.
  4. While the cookie balls are still warm and pliable, swiftly press a chocolate kiss into the center of each sphere, creating a delightful indentation.
  5. Allow the no-bake treats to rest and solidify at room temperature for approximately 15-20 minutes, permitting the chocolate kiss to adhere and the cookie butter base to set completely.

Notes

  • Perfectly chill the cookie butter mixture for easier handling when shaping into balls.
  • Use room temperature chocolate kisses to prevent cracking when pressing into warm cookies.
  • Line your work surface with parchment paper for quick cleanup and easy cookie removal.
  • Create uniform cookies by using a small cookie scoop or measuring tablespoon for consistent sizing.
  • Store these no-bake treats in an airtight container at room temperature for up to 5 days.
  • Cool completely before storing to maintain the ideal texture and prevent sticking.
  • Prep Time: 10 minutes
  • Cook Time: 5 minutes
  • Category: Desserts, Snacks
  • Method: Simmering
  • Cuisine: American

Nutrition

  • Serving Size: 16
  • Calories: 280 kcal
  • Sugar: 22 g
  • Sodium: 95 mg
  • Fat: 16 g
  • Saturated Fat: 8 g
  • Unsaturated Fat: 6 g
  • Trans Fat: 0 g
  • Carbohydrates: 34 g
  • Fiber: 1 g
  • Protein: 3 g
  • Cholesterol: 5 mg
Liam O'Brien

Liam O’Brien

Founder & Recipe Developer

Expertise

  • Traditional Irish Dishes
  • Farm-to-Table Cooking
  • Recipe Creation
  • Teaching Cooking Skills
  • Sustainable Food Practices

Education

Dublin Institute of Technology (now Technological University Dublin)

  • Program: Bachelor of Arts in Culinary Arts
  • Focus: Hands-on training in cooking techniques, kitchen management, and exploring both Irish and international cuisines.

Ballymaloe Cookery School, County Cork, Ireland

  • Program: 12-Week Certificate Course
  • Focus: Farm-to-table cooking, emphasizing the use of fresh, local ingredients and traditional cooking methods.

Liam O’Brien is the co-founder and kitchen soul behind Good Tasting Meals, a chef who believes that cooking shouldn’t feel stressful or complicated.

He earned his culinary stripes at Technological University Dublin and polished his farm-to-table skills at Ballymaloe Cookery School. With over 15 years flipping pans and stirring up stories, Liam has worked in family cafés, bustling bistros, and everything in between.

At Good Tasting Meals, Liam brings you recipes that feel like home: cozy, simple, and full of flavor.

Leave a Reply

Your email address will not be published. Required fields are marked *

Recipe rating 5 Stars 4 Stars 3 Stars 2 Stars 1 Star