
The Dreamiest No-Churn Chocolate Ice Cream Recipe for Beginners
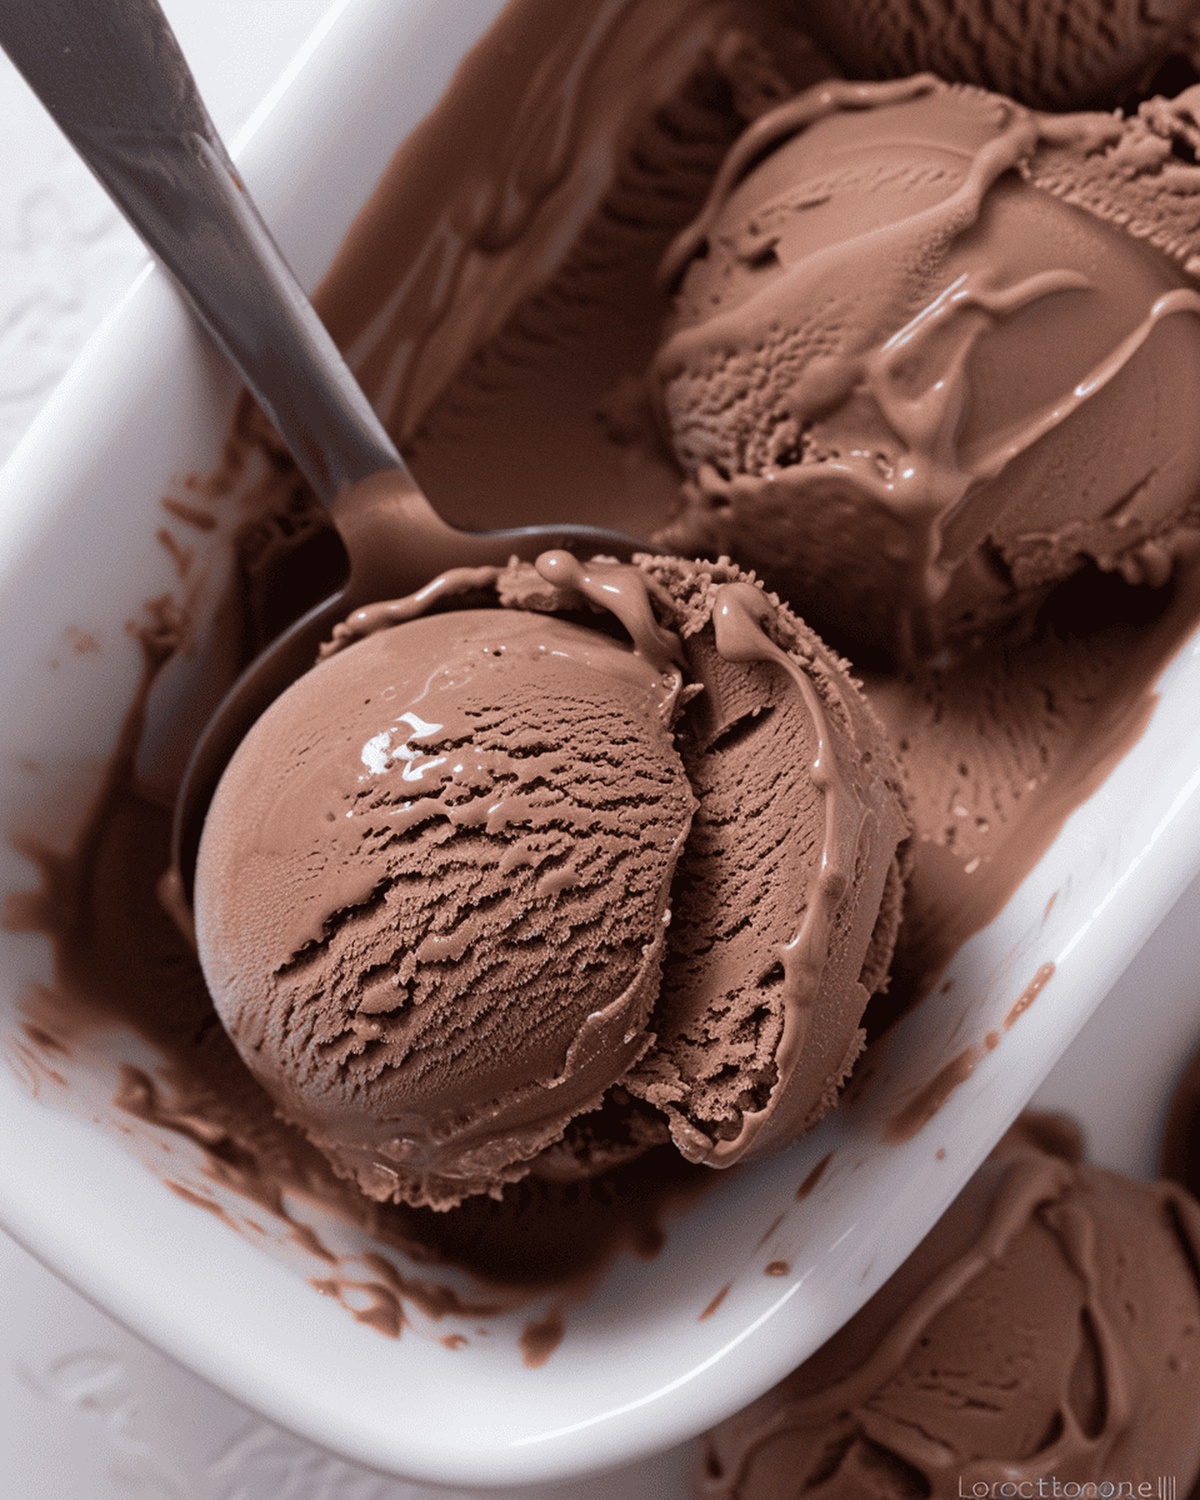
Creamy no-churn chocolate ice cream enhances ordinary dessert moments into pure indulgence.
Rich chocolate flavors dance across taste buds with surprising smoothness and elegant simplicity.
Sweet dreams come alive through this effortless recipe that requires minimal kitchen skills.
Forget complicated techniques and complex equipment that typically intimidate home cooks.
Remarkable textures emerge from just a few basic ingredients blended with clever precision.
Professional pastry chefs would appreciate how easily this dessert comes together without traditional churning methods.
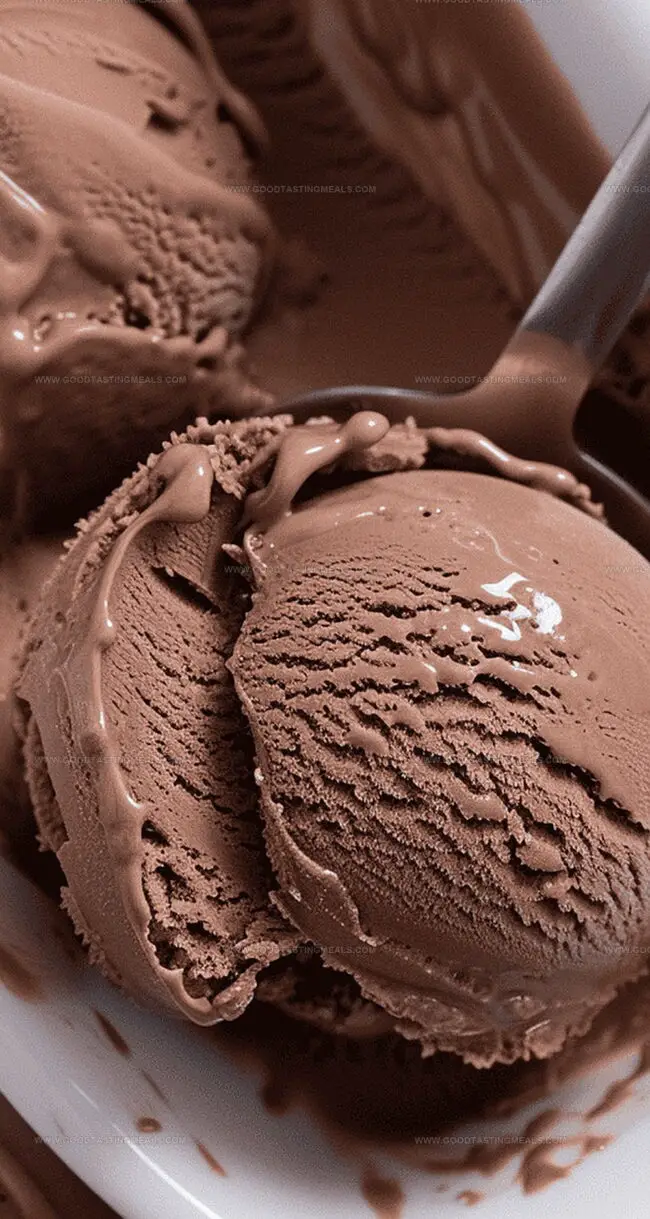
Smooth, luxurious chocolate promises a delightful treat that feels simultaneously sophisticated and comforting.
No-Churn Chocolate Ice Cream that’s Smooth and Bold
Ingredient Lineup for No-Churn Chocolate Ice Cream
Base Ingredients:Chocolate Flavor Ingredients:Seasoning Ingredients:Steps to Make No-Churn Chocolate Ice Cream
Step 1: Whip the Cream
Use an electric hand mixer on medium speed to beat the cream until stiff peaks form in a large mixing bowl. The cream should stand up in thick, sturdy peaks when you lift the mixer.
Step 2: Create the Ice Cream Base
Add the following ingredients to the whipped cream:Gently mix on low speed or fold with a spatula until all ingredients are perfectly combined.
Step 3: Prepare for Freezing
Transfer the creamy mixture into a loaf pan or 2-quart baking dish, spreading it evenly with a spatula.
Step 4: Freeze and Serve
Place the pan in the freezer and let it sit until the ice cream becomes firm, typically 4-6 hours or overnight.
Step 5: Soften Before Enjoying
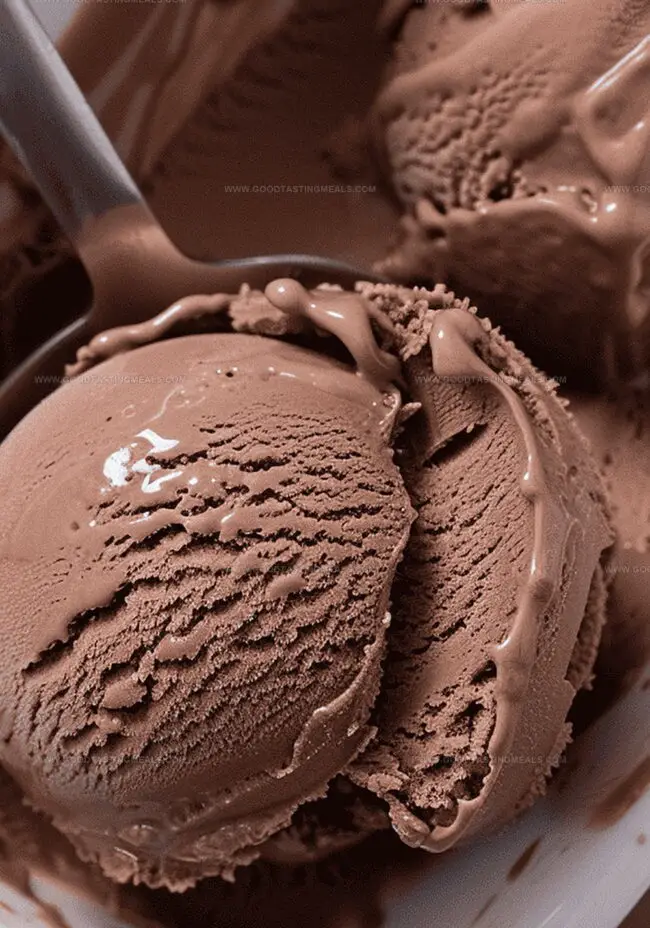
Remove the ice cream from the freezer and let it sit at room temperature for 15-20 minutes before scooping. This helps create a smooth, creamy texture that melts perfectly on your tongue.
Pro Tip: For extra indulgence, drizzle additional chocolate sauce on top or sprinkle with chocolate shavings before serving.
Tips for Better No-Churn Chocolate Ice Cream
Keep Your Ice Cream Fresh with These Tips
What Goes Well with No-Churn Chocolate Ice Cream
Flavor Variations for No-Churn Chocolate Ice Cream
Print
No-Churn Chocolate Ice Cream Recipe
- Total Time: 6 hours 5 minutes
- Yield: 4 1x
Description
Chocolate lovers rejoice with this creamy, indulgent no-churn chocolate ice cream that brings Italian dessert magic home. Rich chocolate flavor and silky smooth texture will transport you to sweet bliss without complicated techniques or an ice cream machine.
Ingredients
Main Ingredients:
- 2 cups heavy whipping cream
- 1 14-ounce (300 milliliters) can sweetened condensed milk
Flavor Enhancers:
- ¼ cup chocolate fudge sauce
- 2 tablespoons cocoa powder
- 1 tablespoon vanilla
Seasoning:
- 1 pinch salt (optional)
Instructions
- Whip heavy cream (354 milliliters or 12 fluid ounces) in a spacious mixing vessel using an electric hand mixer at medium velocity until it develops sturdy, upright peaks with a glossy texture.
- Gently introduce sweetened condensed milk, rich chocolate sauce, unsweetened cocoa powder, pure vanilla extract, and a pinch of kosher salt into the whipped cream.
- Blend the ingredients using low-speed mixing or delicately fold with a silicone spatula until the mixture achieves a uniform, velvety consistency without overmixing.
- Transfer the luxurious chocolate cream mixture into a standard 9-inch (23-centimeter) loaf pan or a 2-quart (1.9-liter) ceramic baking dish, ensuring an even surface.
- Place the container in the freezer and allow the mixture to solidify completely, typically requiring 4-6 hours or preferably overnight for optimal texture and flavor development.
- When ready to serve, remove the ice cream from the freezer and let it rest at ambient temperature for approximately 15-20 minutes, which will soften the dessert and enhance its creamy mouthfeel.
Notes
- Skip whisking egg yolks or heating custard with this simple no-churn method that saves time and reduces kitchen cleanup.
- Achieve ultra-creamy texture without an ice cream machine by whipping heavy cream to create light, airy base.
- Store leftovers in an airtight container for up to two weeks, ensuring consistent deliciousness throughout storage period.
- Use high-quality cocoa powder and chocolate sauce for deeper, richer chocolate flavor that elevates the entire dessert.
- Room temperature resting is crucial for scoopable consistency, preventing icy or rock-hard texture when serving.
- Customize by adding mix-ins like chopped nuts, chocolate chips, or swirls of caramel during final mixing stage for personalized treat.
- Prep Time: 5 minutes
- Cook Time: 6 hours
- Category: Desserts, Snacks
- Method: Blending
- Cuisine: American
Nutrition
- Serving Size: 4
- Calories: 455 kcal
- Sugar: 32 g
- Sodium: 95 mg
- Fat: 32 g
- Saturated Fat: 20 g
- Unsaturated Fat: 10 g
- Trans Fat: 0.5 g
- Carbohydrates: 36 g
- Fiber: 1 g
- Protein: 6 g
- Cholesterol: 120 mg
Liam O’Brien
Founder & Recipe Developer
Expertise
Education
Dublin Institute of Technology (now Technological University Dublin)
Ballymaloe Cookery School, County Cork, Ireland
Liam O’Brien is the co-founder and kitchen soul behind Good Tasting Meals, a chef who believes that cooking shouldn’t feel stressful or complicated.
He earned his culinary stripes at Technological University Dublin and polished his farm-to-table skills at Ballymaloe Cookery School. With over 15 years flipping pans and stirring up stories, Liam has worked in family cafés, bustling bistros, and everything in between.
At Good Tasting Meals, Liam brings you recipes that feel like home: cozy, simple, and full of flavor.