
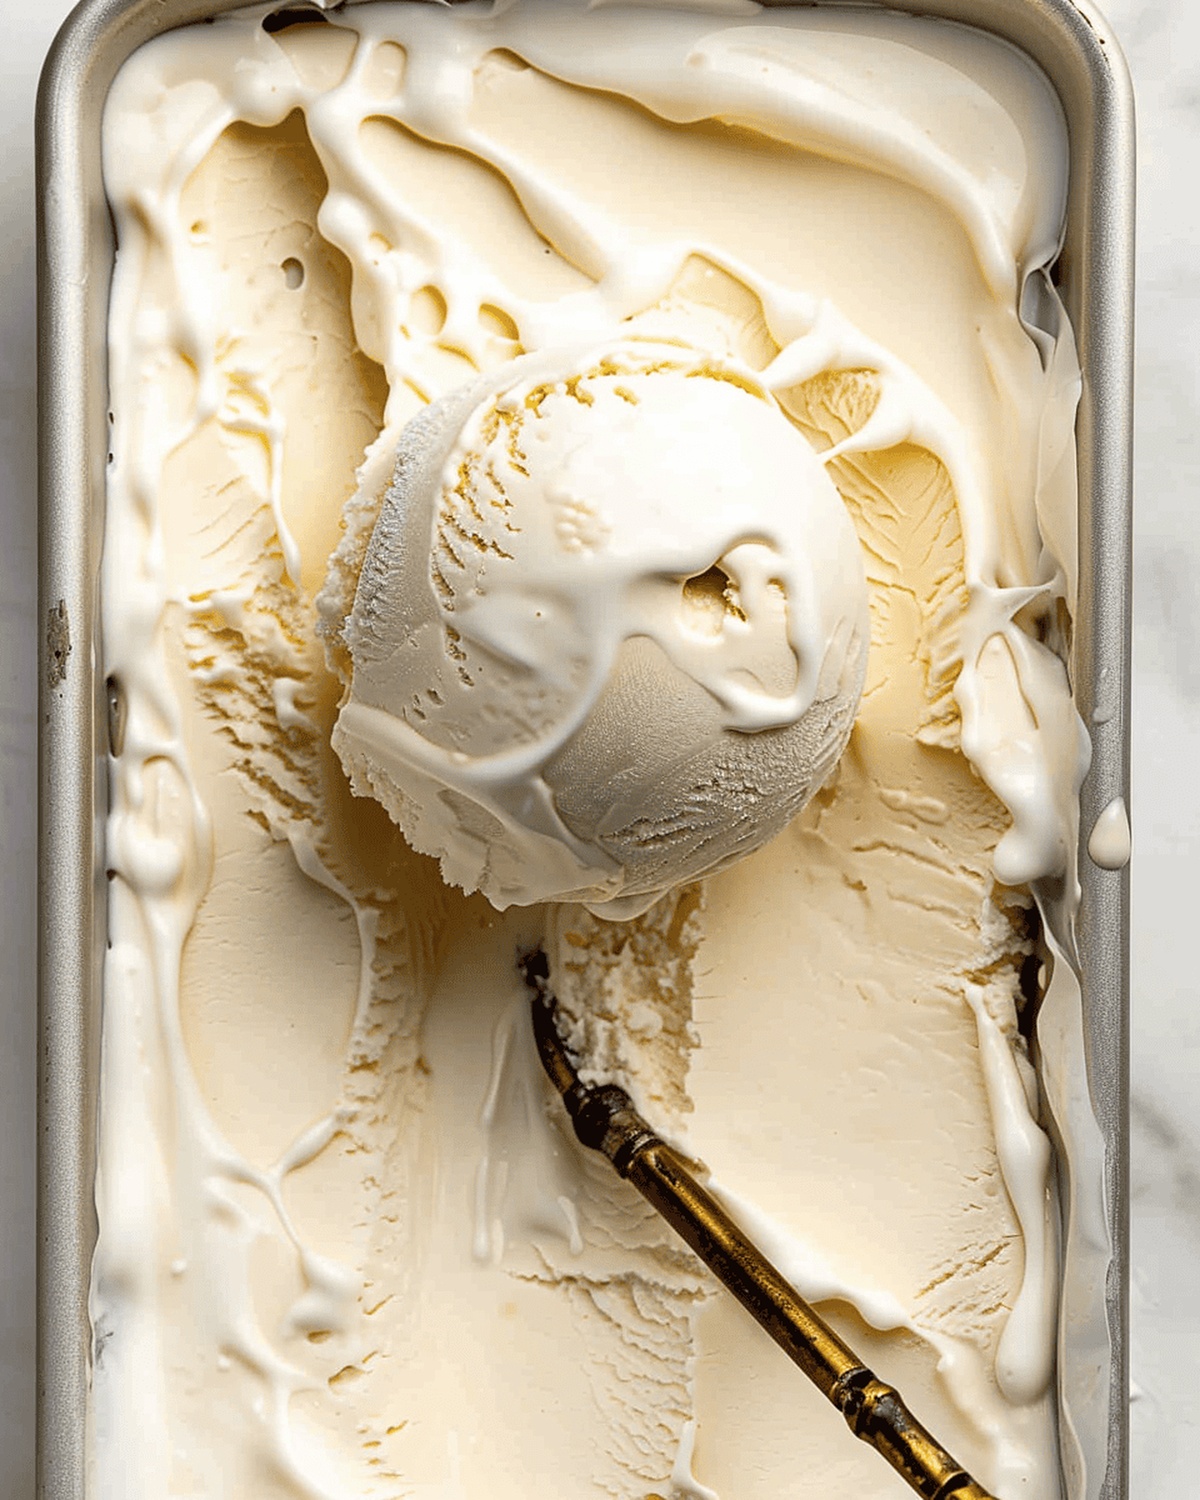
Creamy No-Churn Ice Cream Recipe: Simple Summer Sweetness
Cold, creamy no-churn ice cream revolutionizes ordinary ingredients into a magical dessert without complicated machinery.
Traditional methods require special equipment, but this technique simplifies the entire process dramatically.
Smooth, rich textures emerge from just a few household staples combined with strategic mixing techniques.
Home cooks can easily master this delightful treat that looks and tastes like professional confectionery.
Sweet homemade goodness comes together faster than most people expect, eliminating complex churning steps entirely.
The best part involves minimal effort and maximum satisfaction for anyone craving a refreshing summer indulgence.
Whisking, folding, and freezing create a luxurious dessert that rivals any store-bought alternative.
No-Churn Ice Cream That’s Rich and Creamy
Ingredients for the Smoothest No-Churn Ice Cream
Base Ingredients:Optional Mix-Ins:Flavor Enhancers:How to Whip Up No-Churn Ice Cream at Home
Step 1: Whip Up Fluffy Clouds
Pour heavy whipping cream into a large mixing bowl.
Using an electric mixer, whip the cream until stiff peaks form.
Watch carefully to avoid over-whipping.
The cream should stand firmly when beaters are lifted.
Step 2: Blend Silky Smooth Base
In a separate large bowl, pour sweetened condensed milk.
Add vanilla extract and gently stir.
Carefully fold whipped cream into condensed milk mixture.
Use gentle circular motions to maintain airiness.
Step 3: Create Your Signature Flavor
Select your favorite mix-ins.
Softly incorporate chosen ingredients into ice cream base.
Suggestions include chocolate chunks, crushed cookies, or fresh fruits.
Step 4: Freeze Into Creamy Perfection
Transfer mixture into freezer-safe container.
Smooth top with spatula for even freezing.
Cover tightly with lid or plastic wrap.
Freeze for 6-8 hours until wonderfully solid.
Let sit at room temperature for 5 minutes before serving.
Enjoy your homemade frozen delight!
Tips to Get That Perfect No-Churn Texture
Best Practices for Storing No-Churn Ice Cream
Pairing Ideas for Your Homemade No-Churn Ice Cream
Flavor Spins on No-Churn Ice Cream to Try
Print
No-Churn Ice Cream Recipe
- Total Time: 20 minutes
- Yield: 4 1x
Description
Creamy Italian no-churn ice cream delivers sweet summer comfort without complicated techniques. Rich condensed milk and whipped cream blend into silky perfection, letting you indulge in homemade dessert magic with minimal effort.
Ingredients
Main Ingredients:
- 2 cups (473 ml) heavy whipping cream
- 14 ounces (397 grams) sweetened condensed milk
Flavor and Enhancers:
- 1 teaspoon (5 ml) vanilla extract
Instructions
- Prepare a spacious mixing vessel and employ an electric whisk to transform the heavy cream into a billowy, structured cloud with defined peaks, ensuring the texture remains delicate and not overly stiffened.
- In a separate mixing bowl, infuse the sweetened condensed milk with aromatic vanilla extract, creating a smooth, fragrant base for the dessert.
- Delicately incorporate the whipped cream into the condensed milk mixture using soft, sweeping folding motions, preserving the airiness and preventing deflation of the mixture.
- For enhanced flavor complexity, introduce complementary elements like crushed chocolate sandwich cookies, scattered dark chocolate fragments, or diced seasonal berries, gently folding them throughout the creamy foundation.
- Select a freezer-compatible container with a secure seal, carefully transferring the velvety mixture and smoothing the surface to ensure even freezing.
- Hermetically seal the container using a tight-fitting lid or multiple layers of plastic wrap to prevent crystallization and preserve the ice cream’s luxurious texture.
- Position the container in the coldest section of the freezer, allowing the mixture to solidify and develop its rich, creamy consistency over approximately 4-6 hours or until perfectly set.
Notes
- Whipping cream to the right consistency is crucial for achieving a smooth, creamy texture that defines this no-churn ice cream.
- Folding techniques matter more than mixing, as gentle incorporation preserves the airy volume and prevents deflating the whipped cream.
- Freezing time is flexible, but a minimum of 4-6 hours ensures the perfect scoopable consistency without ice crystals.
- Customize your dessert by adding favorite mix-ins like crushed cookies, chocolate chips, or fresh fruit during the folding stage.
- Use an airtight container to prevent freezer burn and maintain the ice cream’s delicate texture and flavor.
- Room temperature ingredients help create a smoother base and make the whipping process easier and more effective.
- Prep Time: 20 minutes
- Cook Time: 0 minutes
- Category: Desserts, Snacks
- Method: Blending
- Cuisine: American
Nutrition
- Serving Size: 4
- Calories: 450
- Sugar: 38 g
- Sodium: 70 mg
- Fat: 36 g
- Saturated Fat: 23 g
- Unsaturated Fat: 10 g
- Trans Fat: 0 g
- Carbohydrates: 37 g
- Fiber: 0 g
- Protein: 4 g
- Cholesterol: 100 mg
Liam O’Brien
Founder & Recipe Developer
Expertise
Education
Dublin Institute of Technology (now Technological University Dublin)
Ballymaloe Cookery School, County Cork, Ireland
Liam O’Brien is the co-founder and kitchen soul behind Good Tasting Meals, a chef who believes that cooking shouldn’t feel stressful or complicated.
He earned his culinary stripes at Technological University Dublin and polished his farm-to-table skills at Ballymaloe Cookery School. With over 15 years flipping pans and stirring up stories, Liam has worked in family cafés, bustling bistros, and everything in between.
At Good Tasting Meals, Liam brings you recipes that feel like home: cozy, simple, and full of flavor.