
Fluffy Buttery Garlic Naan Bread Recipe That Melts Hearts
Warm, pillowy naan bread with buttery garlic goodness beckons from your kitchen, promising an irresistible culinary adventure.
This homemade buttery garlic naan bread recipe will transport you straight to the vibrant streets of India.
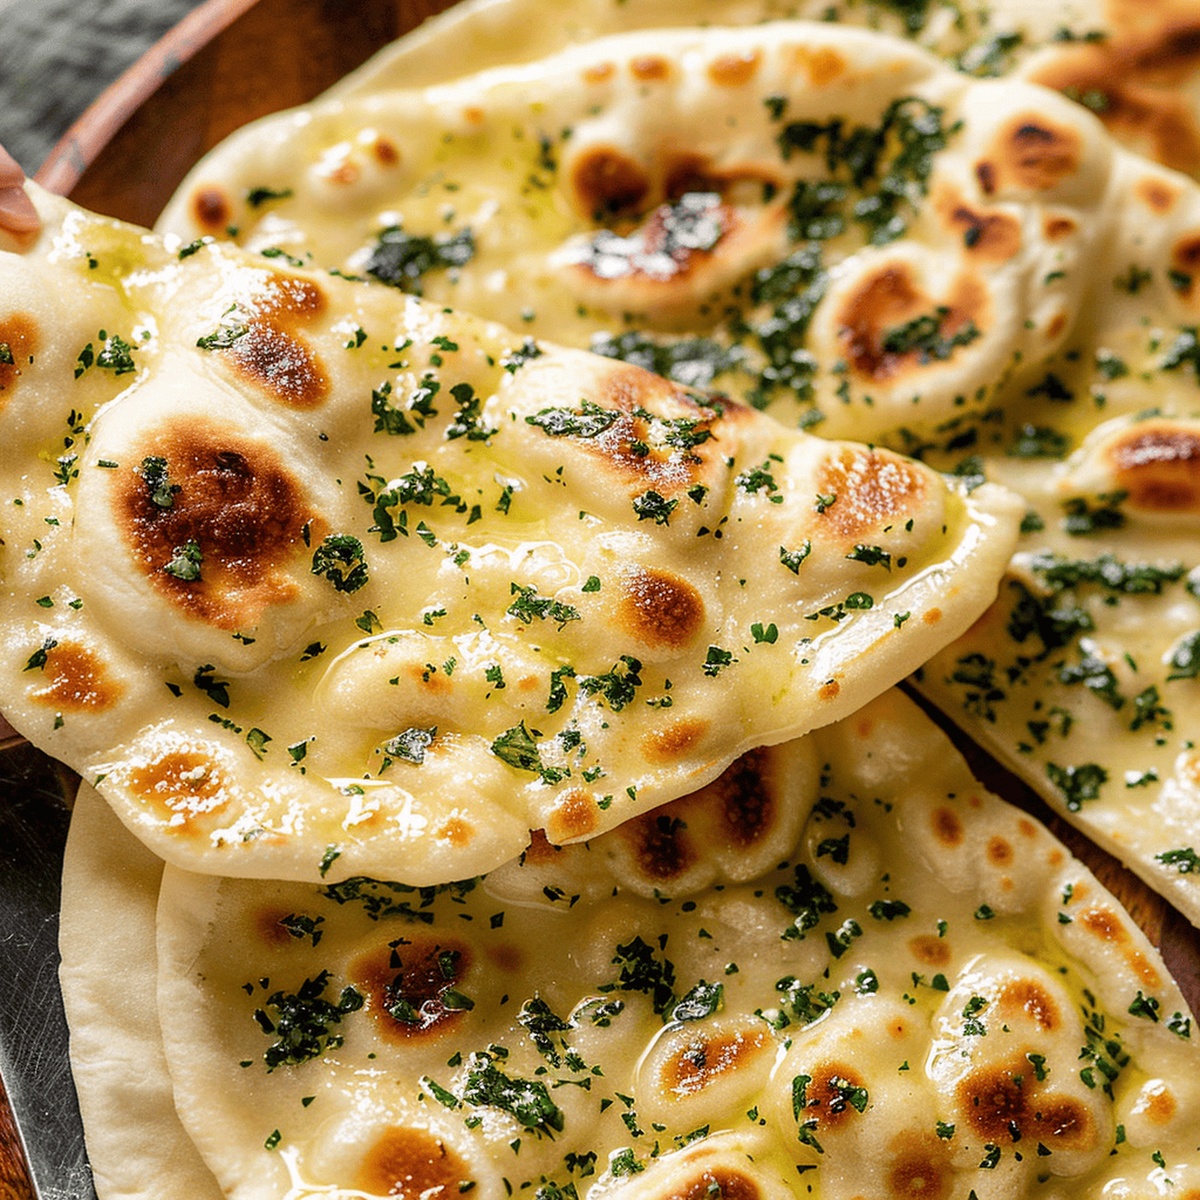
Soft, pillowy dough meets rich, aromatic garlic that melts perfectly into every golden surface.
Each bite promises a delectable journey of flavors that dance across your palate with delightful complexity.
Crafting these naan breads is simpler than you might expect, requiring just a few basic ingredients and some passionate cooking.
The magic happens when butter and minced garlic combine to create an absolutely mouthwatering accompaniment to any meal.
Get ready to elevate your dining experience with this incredibly delicious bread that will have everyone asking for seconds.
Quick Recipe Overview
Prep Time:
Naan Bread Ingredients with a Garlic Kick
For Yeast Activation:For Dough Foundation:For Moisture and Flavor Enrichment:For Finishing Touch:Tools to Make Buttery Garlic Naan
How to Cook Buttery Garlic Naan at Home
Warm water combined with sugar helps awaken the yeast. Let the mixture sit quietly until small bubbles dance across the surface, signaling the yeast is ready to work its magic.
Blend the activated yeast with creamy dairy, fragrant garlic, and dry ingredients. Stir until everything comes together into a soft, promising mixture that hints at the deliciousness to come.
Gently work the dough on a lightly dusted surface. Knead with care, feeling the texture change from sticky to smooth and elastic. The dough should become soft and supple under your hands.
Place the dough in a cozy, lightly oiled bowl. Cover and let it relax in a warm spot, allowing the yeast to work its wonders. Watch as the dough grows and becomes puffy and light.
Divide the puffy dough into roughly equal portions. Roll each piece into a gentle oval, creating thin, pillowy rounds that will soon transform into golden, crispy naan.
Heat a heavy skillet until it radiates warmth. Carefully place each naan, watching it bubble and rise. Flip when golden spots appear, creating a beautiful, slightly charred surface that speaks of home cooking.
Brush the warm naan with a mixture of melted butter and minced garlic. Sprinkle with fresh herbs for a burst of color and flavor that elevates the bread from simple to spectacular.
Naan Bread Tips for Big Flavor
What to Serve with Buttery Garlic Naan
Storage Advice for Homemade Naan
Print
Pillowy Garlic Naan Bread Recipe
- Total Time: 0 hours
- Yield: 9 1x
Description
Savory garlic naan bread emerges as a delightful companion to Indian cuisine, offering rich flavors from Northern India. Warm flatbread seasoned with aromatic garlic will transport you directly to authentic culinary traditions.
Ingredients
- 4 cups (946 ml) plain flour
- ¾ cup (177 ml) warm milk
- ¾ cup (170 g) Greek yogurt
- ¼ cup (60 ml) warm water
- ¼ cup (60 ml) vegetable oil
- 3 tbsps (45 ml) butter, melted
- 2 tbsps (30 ml) vegetable oil (for cooking)
- 2 cloves garlic, minced (for butter topping)
- 2 cloves garlic, minced
- 1 ½ tsps active dry yeast
- 1 tsp baking powder
- 1 tsp salt
- 1 tsp fresh cilantro, chopped
- 2 tsps granulated sugar
Instructions
- Yeast Activation: Whisk warm water, sugar, and yeast in a mixing bowl until the mixture becomes frothy and aromatic, signaling yeast activation after 7-10 minutes.
- Dough Preparation: Combine activated yeast with milk, yogurt, oil, minced garlic, flour, baking powder, and salt. Fold ingredients until a cohesive, slightly sticky dough emerges, ensuring all components are thoroughly integrated.
- Kneading Process: Transfer dough to a lightly floured surface and knead methodically using the heel of your palm. Work the dough for 4-6 minutes to develop elasticity and create a smooth, uniform texture.
- First Rise: Coat the mixing bowl with oil, return the dough, and cover with a damp cloth. Allow the dough to rest in a draft-free area until it doubles in volume, approximately 60-75 minutes.
- Shaping and Rolling: Deflate the risen dough and divide into 10 equal portions. Shape each into a smooth ball, then roll out into elongated ovals approximately ⅛ inch thick using a rolling pin.
- Cooking Technique: Preheat a cast iron skillet to medium-high heat. Lightly grease the surface and cook each naan for 1-2 minutes per side, watching for bubbling and golden-brown char marks.
- Finishing Touch: Immediately brush cooked naans with garlic-infused butter and sprinkle with freshly chopped cilantro or parsley. Wrap in a clean kitchen towel to preserve warmth and softness, creating a delectable, restaurant-quality bread.
Notes
- Yeast Activation Tip: Ensure water temperature is between 100-110°F for optimal yeast performance, preventing killing or under-activation.
- Dough Consistency Check: Aim for a slightly tacky texture that springs back when gently pressed, indicating proper hydration and kneading.
- Heat Management Crucial: Use medium-high heat to achieve signature charred spots without burning the naan’s delicate surface.
- Butter Brushing Secret: Apply garlic-infused butter immediately after cooking to maximize flavor absorption and create a glossy, irresistible finish.
- Cook Time: 0 minutes
- Category: Snacks, Dinner
- Method: Frying
- Cuisine: Indian
Nutrition
- Serving Size: 9
- Calories: 202
- Sugar: 1.5 g
- Sodium: 215 mg
- Fat: 8 g
- Saturated Fat: 3 g
- Unsaturated Fat: 4 g
- Trans Fat: 0 g
- Carbohydrates: 28 g
- Fiber: 1 g
- Protein: 5 g
- Cholesterol: 15 mg
Sophie Martin
Co-Founder & Content Creator
Expertise
Education
Stellenbosch University, South Africa
South African Chefs Academy, Cape Town
Sophie Martin is the nutrition brain and feel-good foodie at Good Tasting Meals. With a degree in Human Nutrition from Stellenbosch University and chef training from the South African Chefs Academy, Sophie brings balance to the table, literally. She loves creating meals that are easy to make, great to eat, and good for your body too.
Her recipes are made for everyday living, with a little flair and a lot of heart. Sophie’s not here to count calories, she’s here to show you how fresh, simple food can fit into your life, taste amazing, and still be nourishing.