

Cheesy Puff Pastry Garlic Bread Roll-ups Recipe
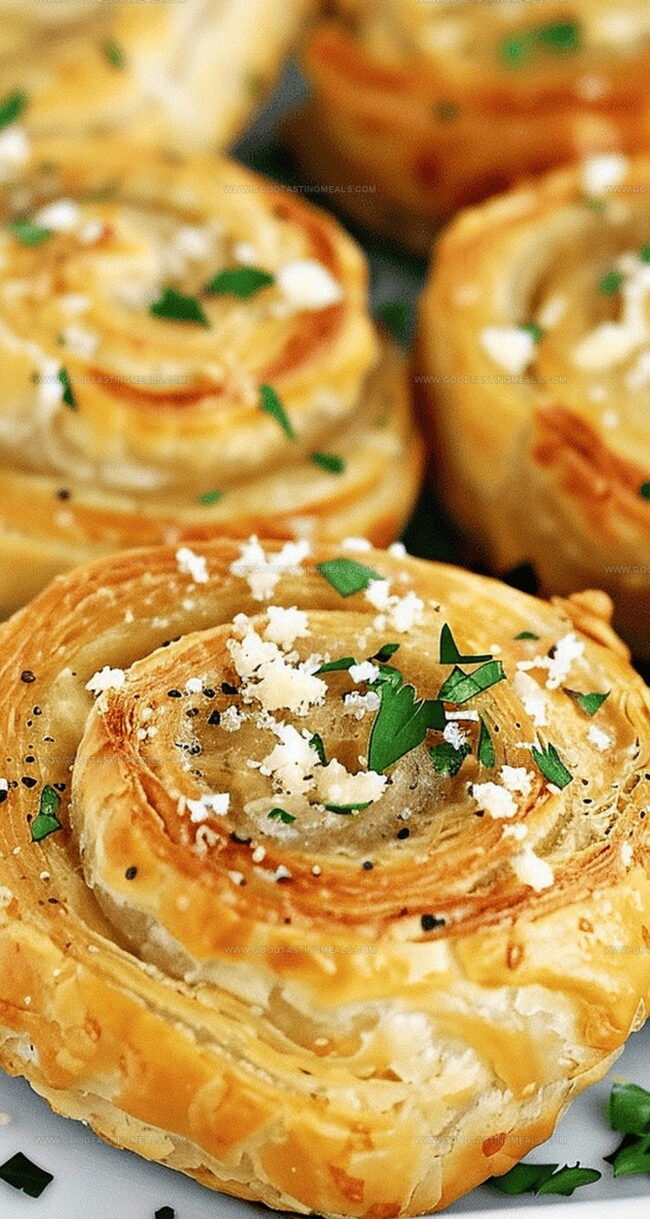
Puff pastry garlic bread roll-ups craft ordinary bread into a culinary adventure that tantalizes taste buds with their flaky, golden exterior.
Crisp layers of buttery pastry embrace a rich, aromatic garlic filling that promises pure comfort.
Elegant yet simple, these delectable rolls bring restaurant-quality appetizers directly to your kitchen with minimal effort.
Delicate spirals promise to impress guests and family alike, elevating any meal from ordinary to extraordinary.
Soft, warm interiors contrast beautifully with the crackly, crisp pastry shell, creating a textural experience that delights the senses.
Professional chefs and home cooks share a secret weapon in these irresistible rolls that blend classic techniques with modern flair.
Versatile and crowd-pleasing, they work perfectly as a side dish, party snack, or impromptu indulgence.
Puff Pastry Garlic Bread Roll-ups With a Buttery Crunch
Ingredients for Golden Garlic Bread Roll-ups
Pastry Base:Flavor Enhancers:Seasoning:How to Wrap and Bake These Garlic Roll-ups
Step 1: Prepare Garlic Butter Mixture
In a mixing bowl, combine:Blend ingredients until smooth and well incorporated.
Step 2: Prepare Pastry Base
Dust work surface with flour. Gently unfold thawed puff pastry sheet. Roll out pastry if needed to create an even surface. Spread three-quarters of the prepared garlic butter mixture evenly across entire pastry sheet.
Step 3: Form Pastry Roll
Carefully roll the pastry sheet into a tight log shape. Wrap roll completely in plastic wrap. Refrigerate for 20-30 minutes to firm up and enhance flavor development.
Step 4: Preheat Cooking Equipment
Set oven to 400°F (200°C). Line large baking sheet with parchment paper. Alternatively, lightly grease baking sheet with additional butter.
Step 5: Slice and Arrange Rolls
Remove chilled pastry roll from refrigerator. Using a sharp knife, slice roll into 1-inch thick sections. Place rolls on prepared baking sheet, maintaining 1-2 inches of spacing between each piece. Brush roll tops with remaining garlic butter mixture.
Step 6: Bake and Finish
Bake rolls in preheated oven for approximately 20 minutes. Look for golden brown color and puffy texture. Optional: Brush with additional butter after removing from oven. Serve warm and enjoy immediately.
Tips to Keep Your Garlic Roll-ups Crisp
Garlic Bread Roll-ups: Store and Reheat Without Sogging
What to Dip or Serve With Garlic Bread Roll-ups
Variations on Garlic Bread Roll-ups You’ll Want to Try
Print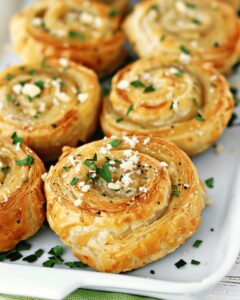
Puff Pastry Garlic Bread Roll-ups Recipe
- Total Time: 35 minutes
- Yield: 4 1x
Description
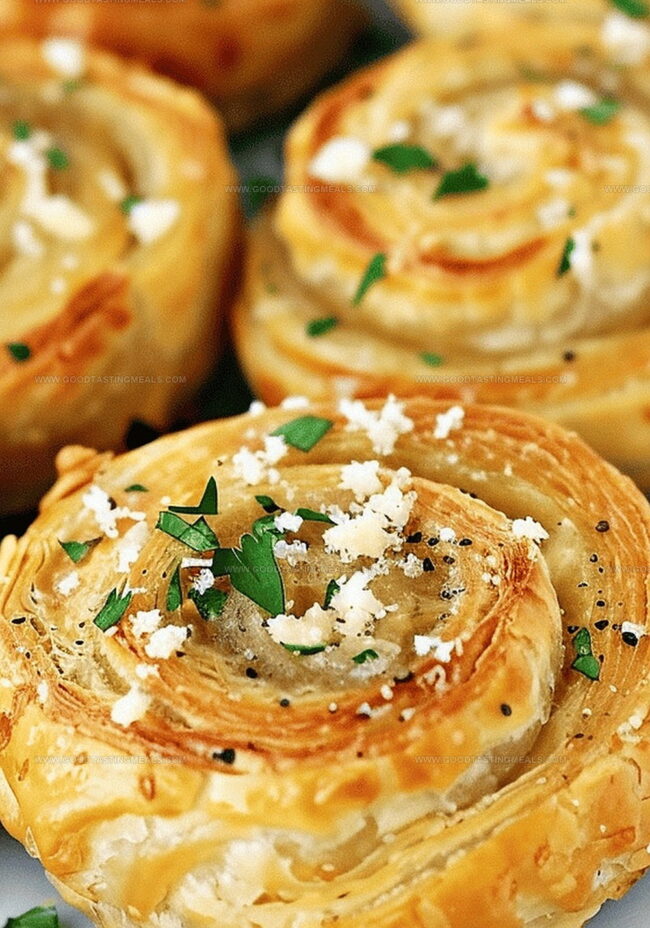
Savory puff pastry garlic bread roll-ups deliver irresistible Italian-inspired comfort with crispy, golden edges and rich garlic-herb filling. Cheese lovers and pastry enthusiasts will delight in these elegant appetizers that promise maximum flavor in every delectable bite.
Ingredients
Main Ingredients:
- 1 puff pastry sheet (9×9-inch), thawed
- 5 tablespoons (75 milliliters) softened butter
- 2 tablespoons (30 milliliters) minced garlic
Herbs and Seasonings:
- 1 tablespoon (15 milliliters) chopped fresh parsley
- 1 tablespoon (15 milliliters) grated Parmesan cheese
Instructions
- Prepare a fragrant garlic-herb butter blend by thoroughly whisking minced garlic, chopped parsley, and grated Parmesan into softened butter until uniformly combined.
- Dust a clean countertop with a light layer of flour and carefully unfurl the thawed puff pastry sheet, gently smoothing out any creases with a rolling pin if necessary.
- Generously spread approximately three-quarters of the aromatic butter mixture across the entire pastry surface, ensuring an even distribution of herbs and garlic.
- Carefully roll the pastry sheet into a compact, tight log, maintaining consistent pressure to create a uniform shape.
- Wrap the pastry log securely in plastic film and transfer to the refrigerator for 20-30 minutes, allowing it to firm and develop enhanced flavor profiles.
- Preheat the oven to 400°F and prepare a baking sheet by lining it with parchment paper or lightly greasing with residual butter.
- Extract the chilled pastry log and slice into precise one-inch thick rounds using a sharp knife, arranging them methodically on the prepared baking sheet with slight spacing between each roll.
- Delicately brush the pastry rolls’ surfaces with the remaining garlic-herb butter, enhancing their potential for golden, crispy exteriors.
- Bake in the preheated oven for approximately 20 minutes, monitoring until the rolls transform into beautifully puffed, golden-brown delicacies.
- Optional: Apply a final light butter glaze immediately after removing from the oven for enhanced flavor and sheen. Serve warm and enjoy the aromatic, flaky treats.
Notes
- Chill the pastry log before slicing to ensure clean, precise cuts and maintain the roll’s shape during baking.
- Use room temperature butter for easier mixing and smooth spreading across the puff pastry sheet.
- Space rolls generously on the baking sheet to allow proper air circulation and even browning.
- Fresh garlic provides the most intense flavor, but pre-minced garlic works as a convenient alternative.
- Pat the pastry sheet gently when rolling to prevent stretching and potential tearing.
- Brush rolls with extra butter after baking for a glossy, rich finish that enhances overall taste and appearance.
- Prep Time: 15 minutes
- Cook Time: 20 minutes
- Category: Appetizer, Snacks
- Method: Baking
- Cuisine: Italian
Nutrition
- Serving Size: 4
- Calories: 350
- Sugar: 1g
- Sodium: 250mg
- Fat: 28g
- Saturated Fat: 17g
- Unsaturated Fat: 11g
- Trans Fat: 0g
- Carbohydrates: 26g
- Fiber: 1g
- Protein: 4g
- Cholesterol: 60mg
Liam O’Brien
Founder & Recipe Developer
Expertise
Education
Dublin Institute of Technology (now Technological University Dublin)
Ballymaloe Cookery School, County Cork, Ireland
Liam O’Brien is the co-founder and kitchen soul behind Good Tasting Meals, a chef who believes that cooking shouldn’t feel stressful or complicated.
He earned his culinary stripes at Technological University Dublin and polished his farm-to-table skills at Ballymaloe Cookery School. With over 15 years flipping pans and stirring up stories, Liam has worked in family cafés, bustling bistros, and everything in between.
At Good Tasting Meals, Liam brings you recipes that feel like home: cozy, simple, and full of flavor.