
Fluffy Homemade Artisan Rolls Recipe: Bakery-Fresh Magic
Warm, crusty artisan rolls send waves of comfort through any kitchen, filling the air with an irresistible aroma that beckons everyone closer.
These hand-crafted breads promise a rustic charm that store-bought versions can never match.
Baking artisan rolls at home connects you with centuries-old bread-making traditions and simple ingredients.
Each golden-brown roll emerges from the oven with a crisp exterior and tender, pillowy center that melts in your mouth.
The process might seem intimidating, but with a few expert techniques, you can create bakery-quality bread right on your countertop.
Perfectly imperfect and bursting with flavor, these rolls will become your new weekend baking obsession.
Roll up your sleeves and get ready to transform your bread game with this straightforward, delicious recipe.
Quick Recipe Overview
What Goes in Artisan Rolls
For Base Ingredients:For Preparation Ingredients:For Optional Storage Ingredients:Essential Tools for Artisan Rolls
Instructions for Artisan Rolls Dough
Overnight Bread Wonderland
Mix flour, salt, and yeast in a spacious bowl. Create a center well and pour water, blending with a spatula until fully combined. The mixture will appear wet and messy – this is perfect. Cover and let rest at room temperature for 10-12 hours.
After resting, the dough will look bubbly and slightly chaotic with a puffy surface.
Cover a baking sheet with parchment paper. Heat oven to 425°F.
Sprinkle flour generously across your work area. Transfer dough onto the surface, coating it thoroughly with flour using gentle movements.
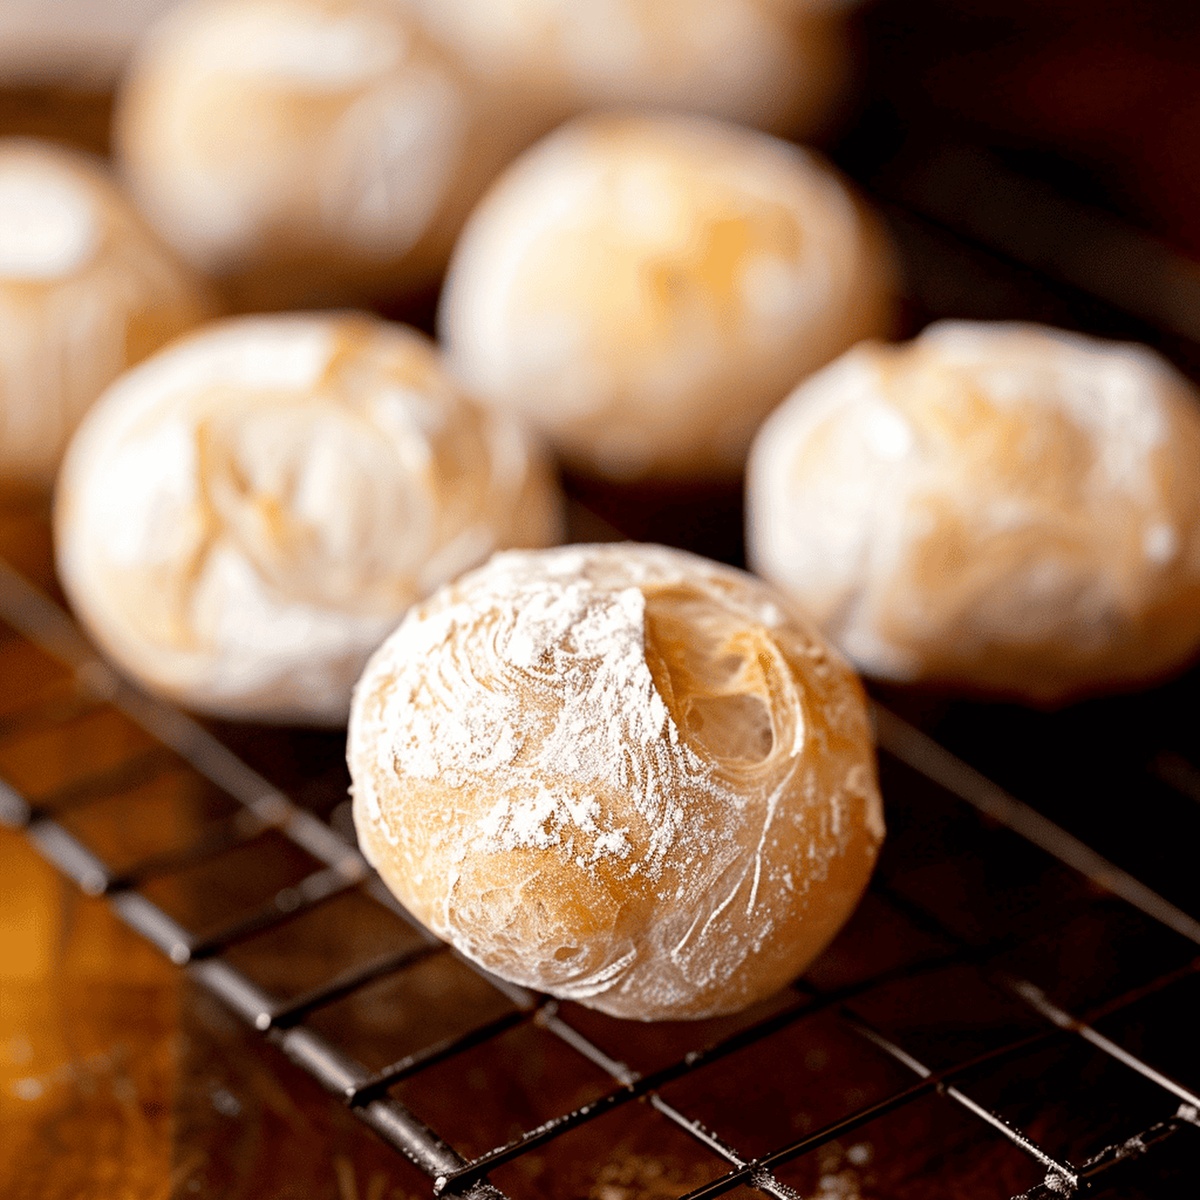
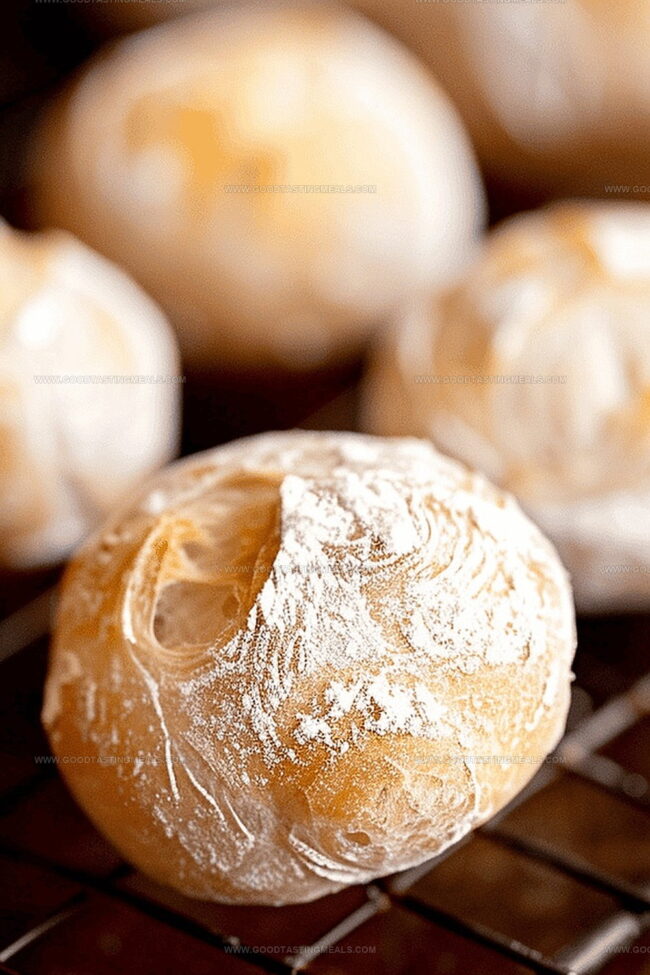
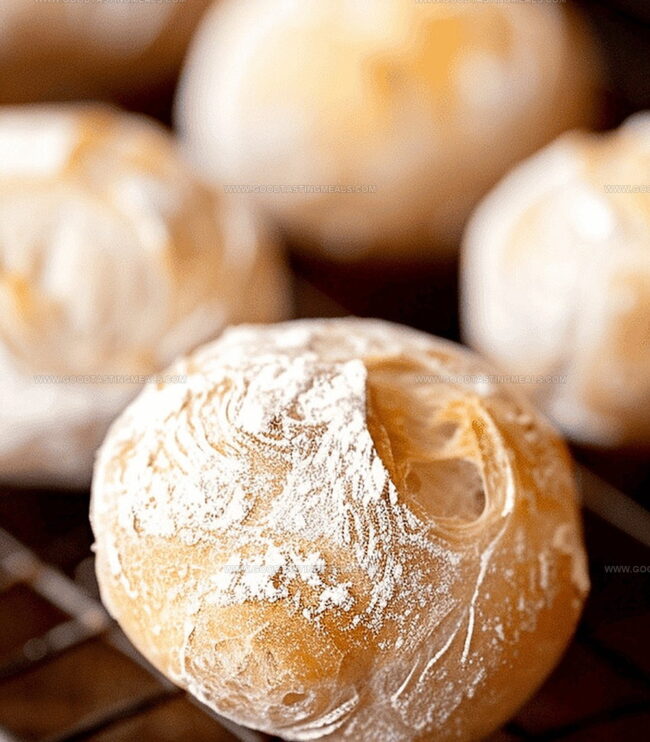
Separate dough into 12-16 portions. Shape each into a round ball by pulling edges underneath and creating a smooth top. Place on prepared pan with pinched side facing upward. Allow rolls to rest for 20 minutes.
When baked, the rolls will dramatically transform, becoming beautifully golden and unexpectedly puffy.
Slide pan into oven. Bake for 15 minutes, rotate, then continue baking 5 more minutes until rich golden brown. Transfer to cooling rack.
For advance preparation, freeze rolls after initial cooling. When ready to serve, thaw and reheat at 325°F for 10-12 minutes.
Artisan Rolls: Expert Tweaks and Changes
How to Serve Artisan Rolls Right
Artisan Rolls: Prep and Storage Wisdom
Print
Rustic Artisan Rolls
- Total Time: 10 hours 35min
- Yield: 13 1x
Description
Homemade artisan rolls blend rustic Italian bread techniques with modern baking passion. Crisp crusts and airy interiors invite home cooks to savor fresh, warm comfort straight from their kitchen ovens.
Ingredients
- 4 cups (960 ml) bread flour
- 2 cups (480 ml) room-temperature tap water
- 1 teaspoon (5 ml) active dry yeast
- 2 teaspoons (10 ml) kosher salt
Instructions
- Preparation: Merge bread flour, salt, and yeast in a mixing bowl. Create a central well and introduce water. Blend ingredients thoroughly with a sturdy spatula until a cohesive, slightly tacky dough forms. Cover with plastic wrap and allow natural fermentation at room temperature for 10-12 hours.
- Dough Development: After fermentation, the dough will exhibit a bubbly, expanded surface with distinctive fermentation characteristics. Generously flour a work surface and gently transfer the dough, coating it with flour using a bench scraper.
- Shaping: Divide the dough into 12-16 consistent portions. Shape each segment by tucking edges underneath to create smooth, rounded rolls. Position rolls pinched-side upward on a parchment-lined baking sheet, maintaining a rustic aesthetic. Let rest for 20 minutes.
- Oven Preparation: Preheat oven to 425ºF. The resting rolls might appear slightly deflated but will dramatically transform during baking.
- Baking Process: Slide the baking sheet into the preheated oven. Bake for 15 minutes, rotate the pan, then continue baking for an additional 5 minutes until achieving a rich golden color. Immediately transfer rolls to a cooling rack.
- Storage and Reheating: For advanced preparation, remove rolls when pale golden. Cool completely, then freeze individually. Once solidified, transfer to a freezer bag. To serve, thaw and reheat at 325˚F for 10-12 minutes to restore optimal freshness and texture.
Notes
- Master Fermentation Timing: Allow 10-12 hours for slow, cool fermentation to develop complex flavor profiles and create signature artisan texture.
- Flour Dusting Technique: Liberally coat work surface and dough to prevent sticking and achieve professional-level handling without tearing delicate dough structure.
- Shape with Precision: Tuck dough edges underneath when forming rolls to create smooth, rounded exterior and ensure consistent, professional-looking bread presentation.
- Strategic Freezing Method: Individually freeze par-baked rolls to maintain quality, enabling convenient fresh-baked bread preparation anytime without compromising taste or texture.
- Prep Time: 15min
- Cook Time: 0 minutes
- Category: Snacks, Dinner
- Method: Baking
- Cuisine: Global
Nutrition
- Serving Size: 13
- Calories: 140
- Sugar: 0 g
- Sodium: 160 mg
- Fat: 0.5 g
- Saturated Fat: 0 g
- Unsaturated Fat: 0.5 g
- Trans Fat: 0 g
- Carbohydrates: 29 g
- Fiber: 1 g
- Protein: 4 g
- Cholesterol: 0 mg
Sophie Martin
Co-Founder & Content Creator
Expertise
Education
Stellenbosch University, South Africa
South African Chefs Academy, Cape Town
Sophie Martin is the nutrition brain and feel-good foodie at Good Tasting Meals. With a degree in Human Nutrition from Stellenbosch University and chef training from the South African Chefs Academy, Sophie brings balance to the table, literally. She loves creating meals that are easy to make, great to eat, and good for your body too.
Her recipes are made for everyday living, with a little flair and a lot of heart. Sophie’s not here to count calories, she’s here to show you how fresh, simple food can fit into your life, taste amazing, and still be nourishing.