
Dreamy Russian Honey Cake Recipe: Sweet Layered Delight
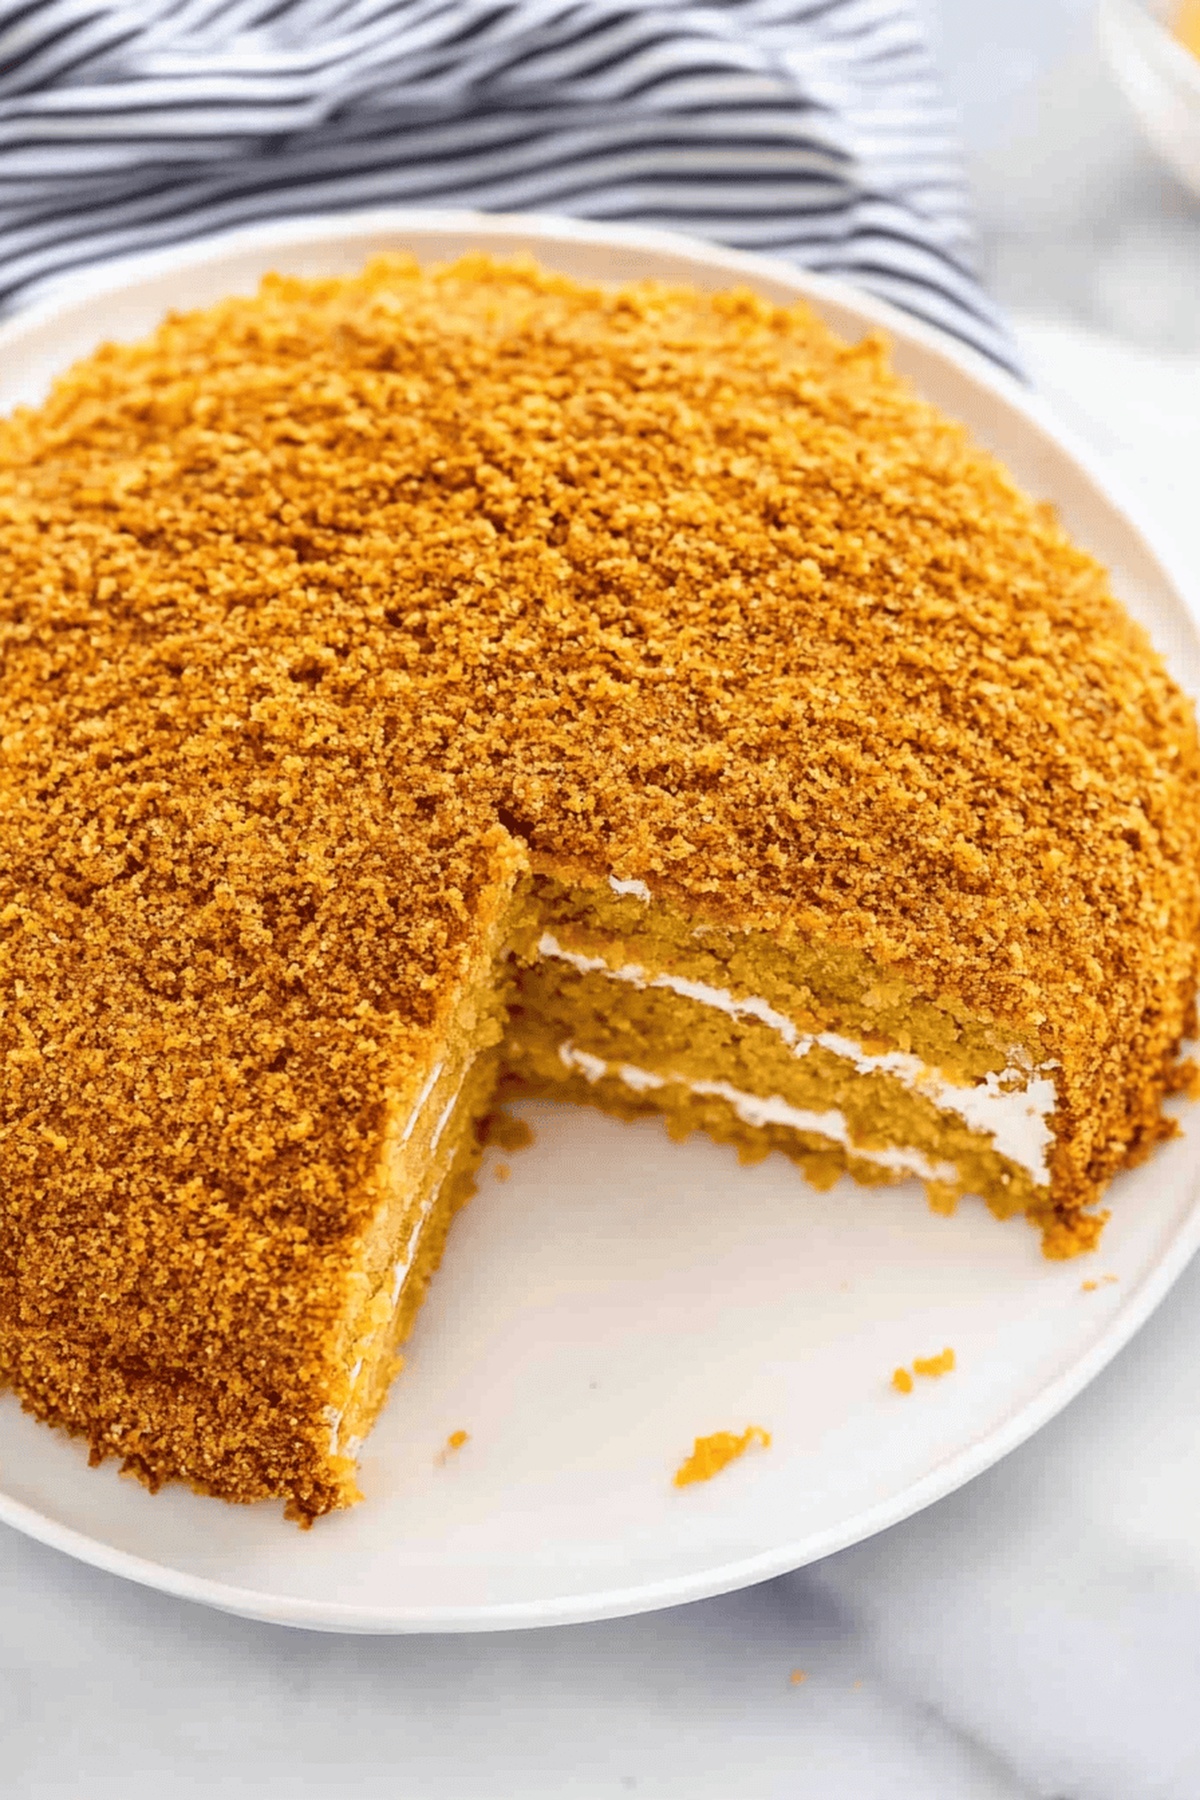
Sweet layers of golden sponge and rich, creamy frosting make this Russian honey cake a decadent dessert that melts in your mouth.
Traditionally known as medovik, this cake has delighted generations with its delicate, honeyed charm.
Bakers across russia have perfected this intricate layered treat over centuries, creating a culinary masterpiece that balances delicate sweetness with complex textures.
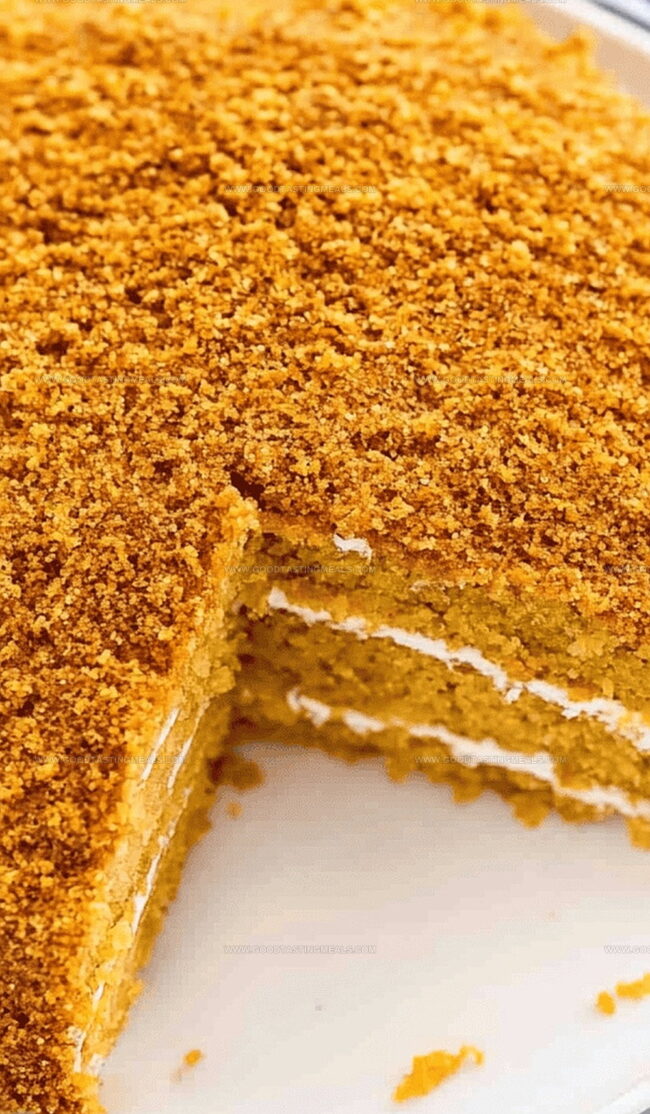
Each thin cake layer gets brushed with honey, creating a delectable contrast between crisp edges and soft, moist interiors.
The caramelized honey notes dance across your palate, promising a truly memorable experience.
Crafted with patience and love, this cake stands as a testament to russia’s rich culinary heritage.
Dive into this luxurious dessert and savor every delightful bite.
Quick Recipe Overview
Russian Honey Cake Ingredient Guide
For Cake Layers:For Frosting:For Decoration:Tools That Help You Layer Russian Honey Cake
How to Make Russian Honey Cake at Home
Warm up the kitchen oven and prepare a large baking sheet with parchment paper for creating delicate cake layers.
Blend eggs and golden honey into a smooth, silky base that will create the cake’s signature rich taste.
Activate the baking soda with a splash of vinegar, then fold into the honey mixture with flour until a light, airy batter forms.
Spread the batter super thin across parchment paper, ensuring each layer is delicate and uniform.
Carefully bake each gossamer-thin layer until edges turn golden, creating multiple delicate sheets.
Once cooled, trim the cake layers into perfect circles, saving scraps for a delightful decorative touch.
Whip together a luscious cream mixture that will bind the layers and create a dreamy, smooth coating.
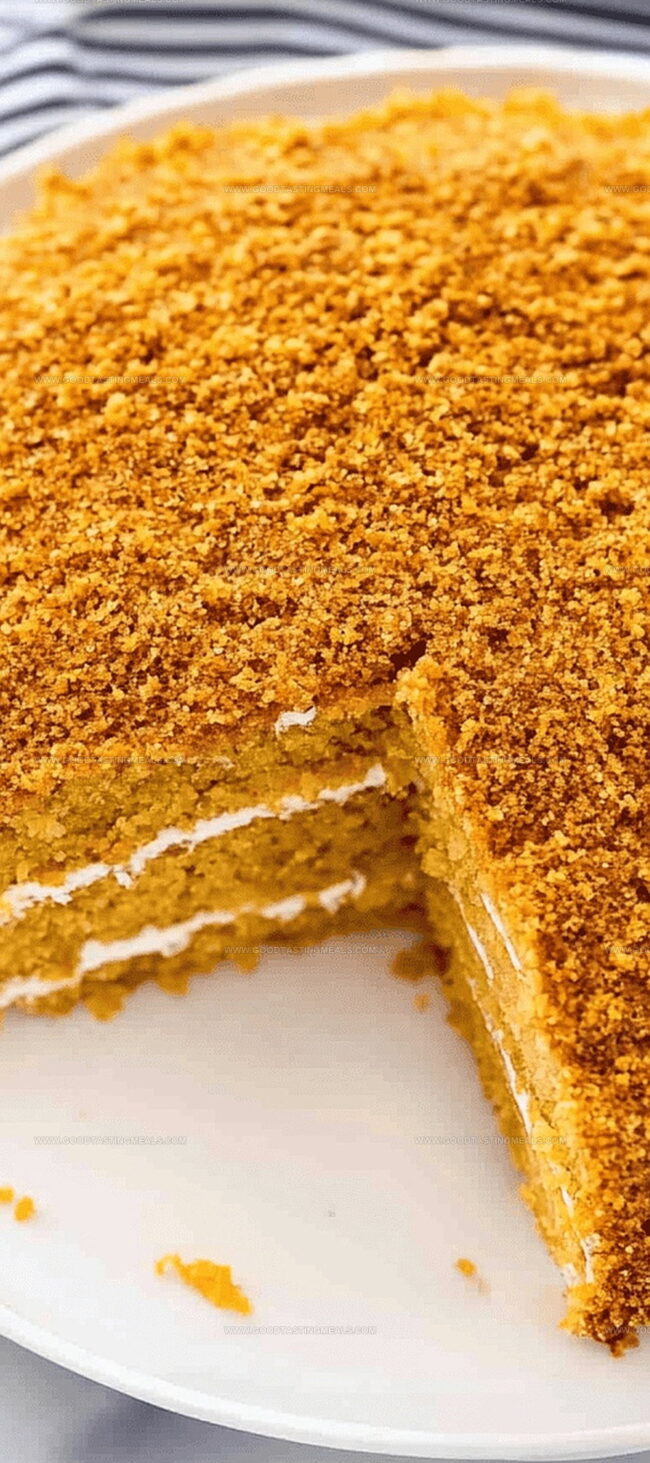
Stack the layers generously, spreading frosting between each delicate sheet and covering the entire cake.
Sprinkle the reserved cake crumbs around the sides and top, adding texture and visual appeal.
Chill the cake to allow flavors to harmonize, transforming it into a sublime dessert ready to be enjoyed.
Flavor Secrets for an Unforgettable Honey Cake
Serve Russian Honey Cake with Tea or Coffee
Storing Russian Honey Cake Without Losing Moisture
Print
Rustic Russian Honey Cake
- Total Time: 50 minutes
- Yield: 13 1x
Description
Medovik, a classic Russian honey cake, weaves layers of delicate sweetness through caramelized honey and tender pastry. Bakers craft this intricate dessert with patience, inviting you to savor each delicate, honeyed bite.
Ingredients
- 1 cup clover honey
- 3 eggs
- 2 cups all-purpose flour
- 2 teaspoons baking soda
- 1 tablespoon (15 ml) white distilled vinegar
- 8 oz (226 g) Cool Whip (thawed)
- 1 cup (240 ml) sour cream (Daisy brand)
Instructions
- Preparation: Preheat oven to 350°F (175°C) and line an inverted baking sheet with parchment paper, creating a smooth workspace for delicate cake layers.
- Batter Creation: Vigorously whisk eggs and honey until light and fluffy, then activate baking soda with white distilled vinegar, folding into the mixture along with flour to form a uniform batter.
- Layer Baking: Spread thin, even batter layers across parchment paper, baking each for approximately 7 minutes until achieving 4 golden, paper-thin cake sheets.
- Layer Preparation: Once cooled, carefully remove layers from parchment and use a plate as a guide to cut 2 precise circles from each sheet, reserving scraps for later decoration.
- Frosting Development: Blend Cool Whip and sour cream until achieving a smooth, creamy consistency that will bind the cake layers together.
- Cake Assembly: Stack circular layers, generously spreading frosting between each, creating a tall and elegant cake structure.
- Finishing Touch: Completely cover the cake’s exterior with remaining frosting, then delicately sprinkle reserved cake crumbs across the surface for a rustic, textured appearance.
- Chilling: Refrigerate the assembled cake for a minimum of one hour, allowing flavors to harmonize and frosting to set perfectly before serving.
Notes
- Precision Matters: Spread batter extremely thin for authentic paper-like layers, using an offset spatula for even coverage.
- Temperature Control: Monitor oven closely during baking, as thin layers can quickly burn and require exact 7-minute timing.
- Cooling Technique: Let cake layers cool completely before handling to prevent cracking and ensure structural integrity.
- Crumb Coating Tip: Chill cake briefly after initial frosting to create a smooth, professional-looking final exterior when adding decorative cake crumbs.
- Prep Time: 20 minutes
- Cook Time: 30 minutes
- Category: Desserts
- Method: Baking
- Cuisine: Russian
Nutrition
- Serving Size: 13
- Calories: 210
- Sugar: 16 g
- Sodium: 80 mg
- Fat: 8 g
- Saturated Fat: 3 g
- Unsaturated Fat: 4 g
- Trans Fat: 0 g
- Carbohydrates: 30 g
- Fiber: 1 g
- Protein: 4 g
- Cholesterol: 45 mg
Sophie Martin
Co-Founder & Content Creator
Expertise
Education
Stellenbosch University, South Africa
South African Chefs Academy, Cape Town
Sophie Martin is the nutrition brain and feel-good foodie at Good Tasting Meals. With a degree in Human Nutrition from Stellenbosch University and chef training from the South African Chefs Academy, Sophie brings balance to the table, literally. She loves creating meals that are easy to make, great to eat, and good for your body too.
Her recipes are made for everyday living, with a little flair and a lot of heart. Sophie’s not here to count calories, she’s here to show you how fresh, simple food can fit into your life, taste amazing, and still be nourishing.