

Dreamy No-Bake Cherry Cheesecake Jars Recipe for Sweethearts
Summer’s sweet embrace calls for a no-bake cherry cheesecake jars recipe that melts hearts with each creamy spoonful.
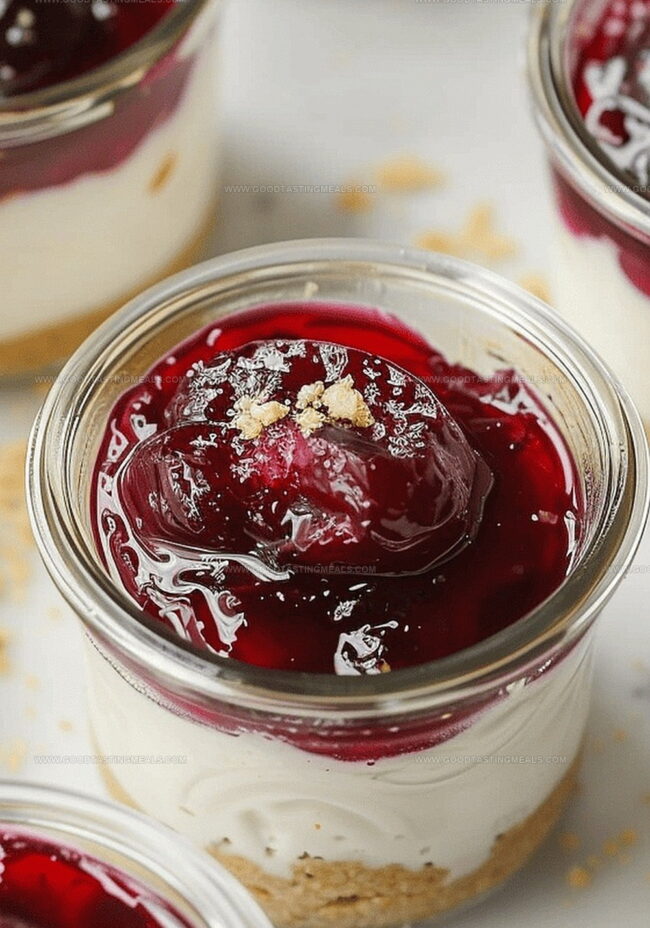
Layered desserts have never looked more irresistible than these charming individual treats.
Silky cream cheese blends perfectly with tangy cherries, creating a dessert that feels both luxurious and effortless.
These jars pack a delightful punch of flavor without ever touching an oven.
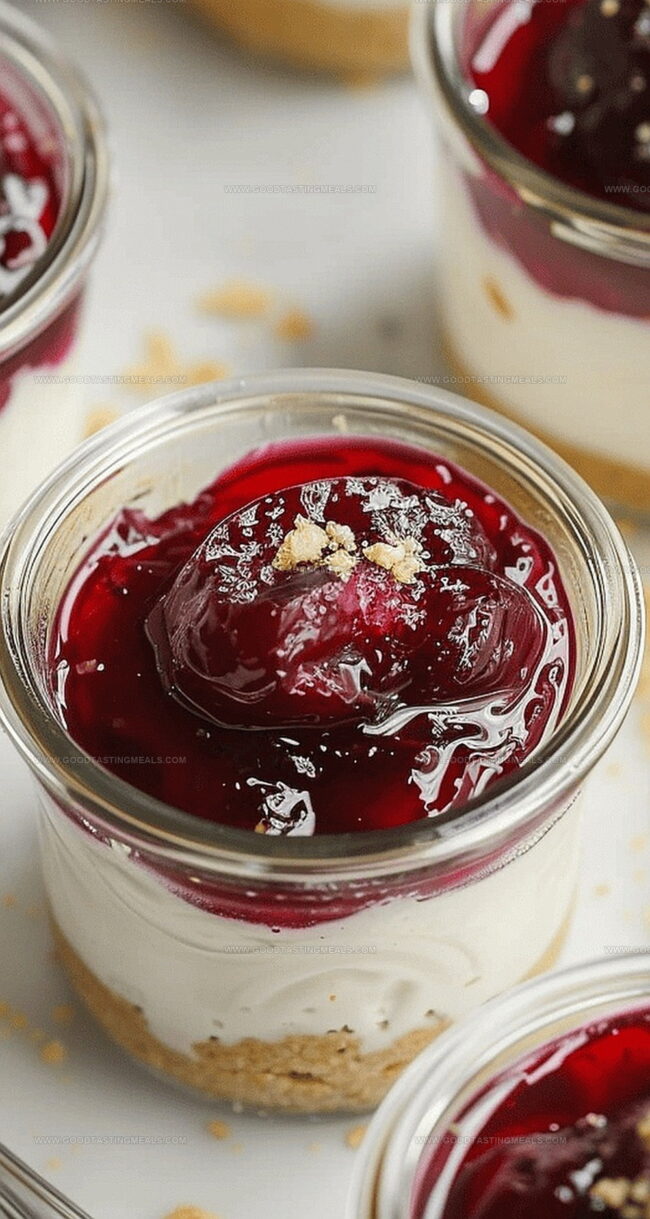
Rich, velvety cheesecake mingles with bright cherry compote in a dessert that screams casual elegance.
The cool, smooth texture promises instant refreshment on warm afternoons.
Grab a spoon and dive into this simple yet spectacular summer sensation that’ll have everyone asking for seconds.
Quick Recipe Overview
Ingredients for No-Bake Cherry Cheesecake Jars
For Cherry Topping:For Cheesecake Filling:For Graham Cracker Crust:Tools You’ll Need for Cheesecake Jars with Cherry Topping
How to Build No-Bake Cherry Cheesecake Jars
Fresh, juicy cherries transform into a luscious sauce that brings vibrant color and tangy sweetness to this dreamy dessert. The cherries simmer gently with maple syrup, creating a rich, glossy topping that perfectly complements the creamy cheesecake base.
Soft cream cheese blends seamlessly with smooth Greek yogurt, creating a cloud-like filling that’s both light and indulgent. A touch of maple syrup and bright lemon juice elevates the flavor profile, making each spoonful a delightful experience.
Graham cracker crumbs melted with butter form a delectable foundation that adds irresistible texture and a warm, toasty note to the dessert. This crisp layer provides a perfect contrast to the silky cheesecake filling.
Carefully build your dessert by first creating a firm graham cracker base in each mason jar. Gently pour the creamy cheesecake mixture over the crust, then crown with the vibrant cherry sauce. Chill for an hour to let the flavors meld and the texture set perfectly.
Flavor Additions for Cherry Cheesecake Jars
Serving No-Bake Cheesecake Jars in Style
Storing Cheesecake Jars for Dessert Prep
Print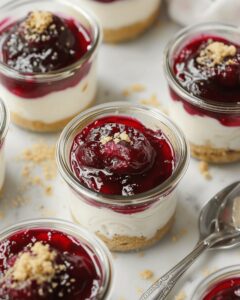
Silky Cherry Cheesecake Jars
- Total Time: 25 minutes
- Yield: 5 1x
Description
Cool no-bake cherry cheesecake jars provide creamy dessert perfection for summer gatherings. Layered graham cracker crumbs, smooth cream cheese, and fresh cherry compote create an irresistible treat you can quickly enjoy.
Ingredients
- 1 cup cherries, pitted and halved
- 4 oz (113 g) cream cheese, softened
- ⅔ cup Greek yogurt, plain full-fat
- 3 tbsps (45 ml) maple syrup, pure
- ½ cup graham cracker crumbs
- 2–3 tbsps (30–45 ml) butter, melted
- 2 tbsps (30 ml) lemon juice, fresh
- 1 tsp (5 ml) water
- 1 tsp (5 g) cornstarch
Instructions
- Cherry Sauce Preparation: Combine cherries, maple syrup, lemon juice, water, and cornstarch in a saucepan, simmering over medium heat until the mixture transforms into a thick, glossy compote. Let the sauce cool completely to intensify its flavor profile.
- Cheesecake Filling Creation: Blend softened cream cheese, Greek yogurt, maple syrup, and lemon juice using an electric mixer until achieving a velvety smooth consistency. Chill the mixture to enhance its creamy texture and firmness.
- Graham Cracker Base Construction: Merge melted butter with finely ground graham cracker crumbs until the mixture resembles damp sand. Distribute the crumb base evenly across mason jars, pressing firmly to create a compact foundation.
- Layering and Assembly: Carefully spread the chilled cheesecake filling over the graham cracker base, ensuring a uniform surface. Tap the jars gently to eliminate air pockets and settle the layer.
- Final Touches and Chilling: Generously top each jar with the cooled cherry sauce, creating a vibrant and enticing finish. Refrigerate for at least an hour to allow flavors to meld and achieve optimal texture, or serve immediately for a more casual dessert experience.
Notes
- Prevent Lumpy Filling: Ensure cream cheese is at room temperature and mix thoroughly to achieve a silky, smooth texture without clumps.
- Master Cherry Sauce Consistency: Stir constantly while simmering to prevent burning and create a glossy, thick compote that won’t separate.
- Crust Packing Technique: Press graham cracker mixture firmly but gently into jar bottoms to create a stable, compact base that won’t crumble.
- Chilling is Crucial: Refrigerate jars for at least one hour to allow flavors to develop and help the cheesecake layer set perfectly.
- Prep Time: 15 minutes
- Cook Time: 10 minutes
- Category: Desserts, Snacks
- Method: Simmering
- Cuisine: American
Nutrition
- Serving Size: 5
- Calories: 325
- Sugar: 14 g
- Sodium: 150 mg
- Fat: 18 g
- Saturated Fat: 10 g
- Unsaturated Fat: 8 g
- Trans Fat: 0 g
- Carbohydrates: 36 g
- Fiber: 1 g
- Protein: 6 g
- Cholesterol: 40 mg
Sophie Martin
Co-Founder & Content Creator
Expertise
Education
Stellenbosch University, South Africa
South African Chefs Academy, Cape Town
Sophie Martin is the nutrition brain and feel-good foodie at Good Tasting Meals. With a degree in Human Nutrition from Stellenbosch University and chef training from the South African Chefs Academy, Sophie brings balance to the table, literally. She loves creating meals that are easy to make, great to eat, and good for your body too.
Her recipes are made for everyday living, with a little flair and a lot of heart. Sophie’s not here to count calories, she’s here to show you how fresh, simple food can fit into your life, taste amazing, and still be nourishing.