

Simple & Sweet: Homemade Custard Recipe for Every Chef
When whipping up an easy custard recipe, magic happens in your kitchen with just a few simple ingredients.
Creamy, smooth, and utterly delightful, this dessert promises pure indulgence.
Traditional custards might seem intimidating, but not this version.
Each spoonful melts with rich, silky perfection that will make you feel like a professional pastry chef.
The secret lies in precise mixing and gentle cooking techniques.
Whisking eggs, milk, and sugar creates a luxurious base that’s both comforting and elegant.
Dive into this classic dessert that turns ordinary moments into sweet celebrations.
Quick Recipe Overview
Easy Custard Recipe: What You’ll Need
For Base Liquid:For Binding and Sweetening:For Flavor and Stabilization:Tools for Homemade Custard
Custard-Making Directions
Gently combine cream and milk in a saucepan, heating until tiny bubbles dance around the edges. Watch the liquid carefully, letting it sing with gentle warmth without boiling.
In a separate bowl, whisk egg yolks with honey and vanilla until smooth and silky. Gradually introduce hot cream into the egg mixture, stirring constantly to create a harmonious blend.
Return the combined mixture to the saucepan, stirring lovingly over soft heat. The liquid will transform into a luxurious, velvety custard that thickens with patience and care.
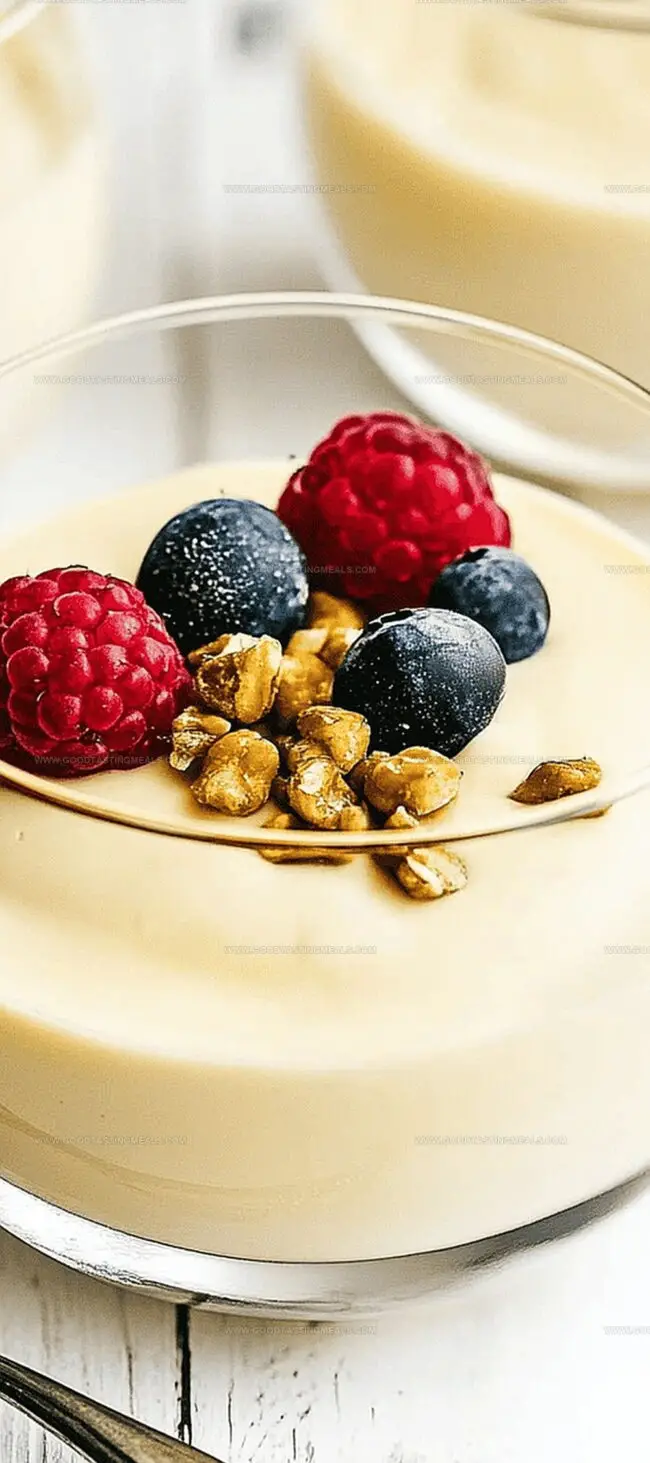
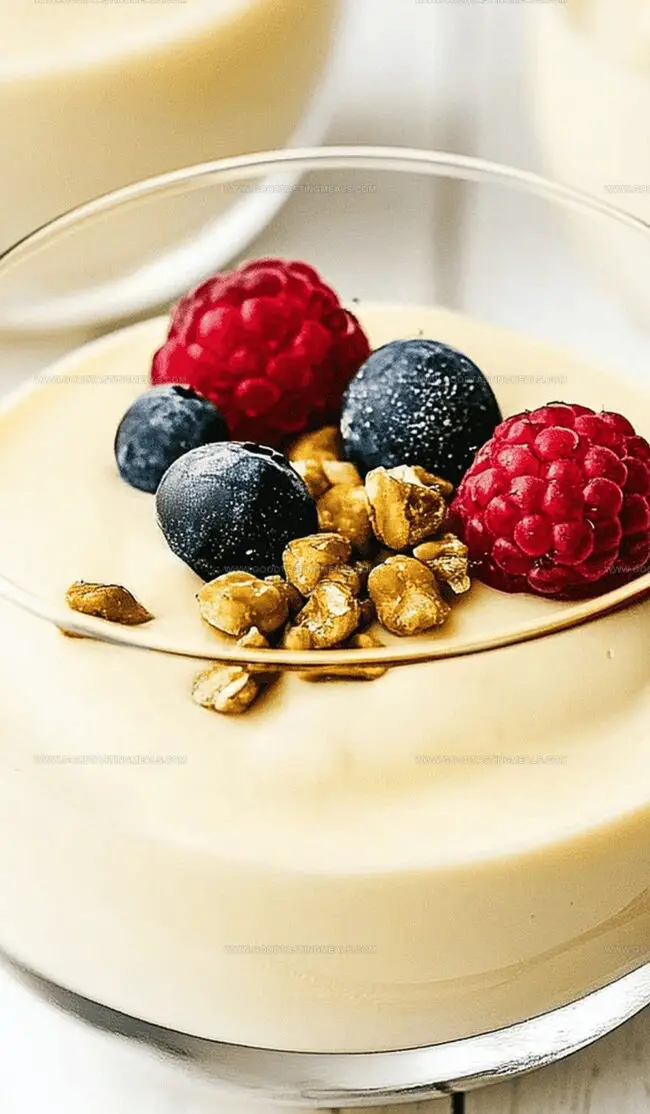
Let the custard cool and decide its destiny. Enjoy it warm and flowing over desserts, or chill it in the refrigerator until it becomes a cool, smooth treat. For an elegant presentation, spoon the custard into delicate glasses and garnish with a sprinkle of imagination.
Tips to Master Custard Texture
Serving Your Homemade Custard
How to Store Custard Properly
Print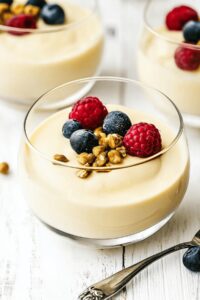
Silky Custard Recipe
- Total Time: 15 minutes (plus chilling time if served cold)
- Yield: 5 1x
Description
Homemade classic custard delights dessert enthusiasts with its silky smooth texture and rich flavor profile. Creamy ingredients blend perfectly, offering a simple yet elegant treat that satisfies sweet cravings and connects you to traditional culinary comfort.
Ingredients
- 5 egg yolks (large)
- 1 cup (240 ml) heavy cream
- 1 cup (240 ml) whole milk
- 2 tsp cornstarch, arrowroot powder, or tapioca flour
- 2 tbsps honey
- 1 tsp vanilla extract
Instructions
- Milk Infusion: Gently heat cream and milk in a saucepan until tiny bubbles emerge around the edges, creating an aromatic base for the custard.
- Egg Blend Preparation: Whisk egg yolks with honey, cornstarch, and vanilla extract into a smooth, golden mixture that will form the custard’s rich foundation.
- Tempering Process: Slowly incorporate hot cream into the egg mixture while whisking continuously, preventing curdling and ensuring a silky, uniform texture.
- Thickening Stage: Return the blended mixture to the saucepan, stirring methodically over low heat until it thickens and coats the back of a spoon, developing a luxurious pudding-like consistency.
- Cooling and Setting: Remove from heat and let the custard cool slightly, recognizing that it will continue to firm up as the temperature drops. For warm serving, spoon directly over desserts; for chilled preparation, transfer to a bowl and cover the surface with plastic wrap, pressing directly onto the mixture to prevent skin formation.
- Chilling and Serving: Refrigerate for at least 4 hours or overnight to allow flavors to meld. When ready, portion the chilled custard into serving glasses, presenting a smooth, creamy dessert that promises pure indulgence.
Notes
- Prevent Curdling: Whisk continuously and pour hot cream slowly into egg mixture to maintain smooth texture and avoid lumpy custard.
- Temperature Control: Use low heat when cooking to prevent eggs from scrambling and ensure a silky, creamy consistency.
- Skin Prevention: Cover custard directly with plastic wrap touching the surface to stop skin formation during cooling and chilling.
- Storage Strategy: Refrigerate for minimum 4 hours to allow flavors to develop and achieve perfect spoonable texture, keeping fresh for up to 3 days in sealed container.
- Prep Time: 10 minutes
- Cook Time: 5 minutes
- Category: Desserts
- Method: Simmering
- Cuisine: French
Nutrition
- Serving Size: 5
- Calories: 252
- Sugar: 8 g
- Sodium: 60 mg
- Fat: 18 g
- Saturated Fat: 10 g
- Unsaturated Fat: 7 g
- Trans Fat: 0 g
- Carbohydrates: 22 g
- Fiber: 0 g
- Protein: 6 g
- Cholesterol: 186 mg
Sophie Martin
Co-Founder & Content Creator
Expertise
Education
Stellenbosch University, South Africa
South African Chefs Academy, Cape Town
Sophie Martin is the nutrition brain and feel-good foodie at Good Tasting Meals. With a degree in Human Nutrition from Stellenbosch University and chef training from the South African Chefs Academy, Sophie brings balance to the table, literally. She loves creating meals that are easy to make, great to eat, and good for your body too.
Her recipes are made for everyday living, with a little flair and a lot of heart. Sophie’s not here to count calories, she’s here to show you how fresh, simple food can fit into your life, taste amazing, and still be nourishing.