
Silky Pistachio Cream Pie Recipe: A Sweet Nutty Dream
Creamy desserts have a magical way of stealing the spotlight, and this pistachio cream pie recipe proves exactly why.
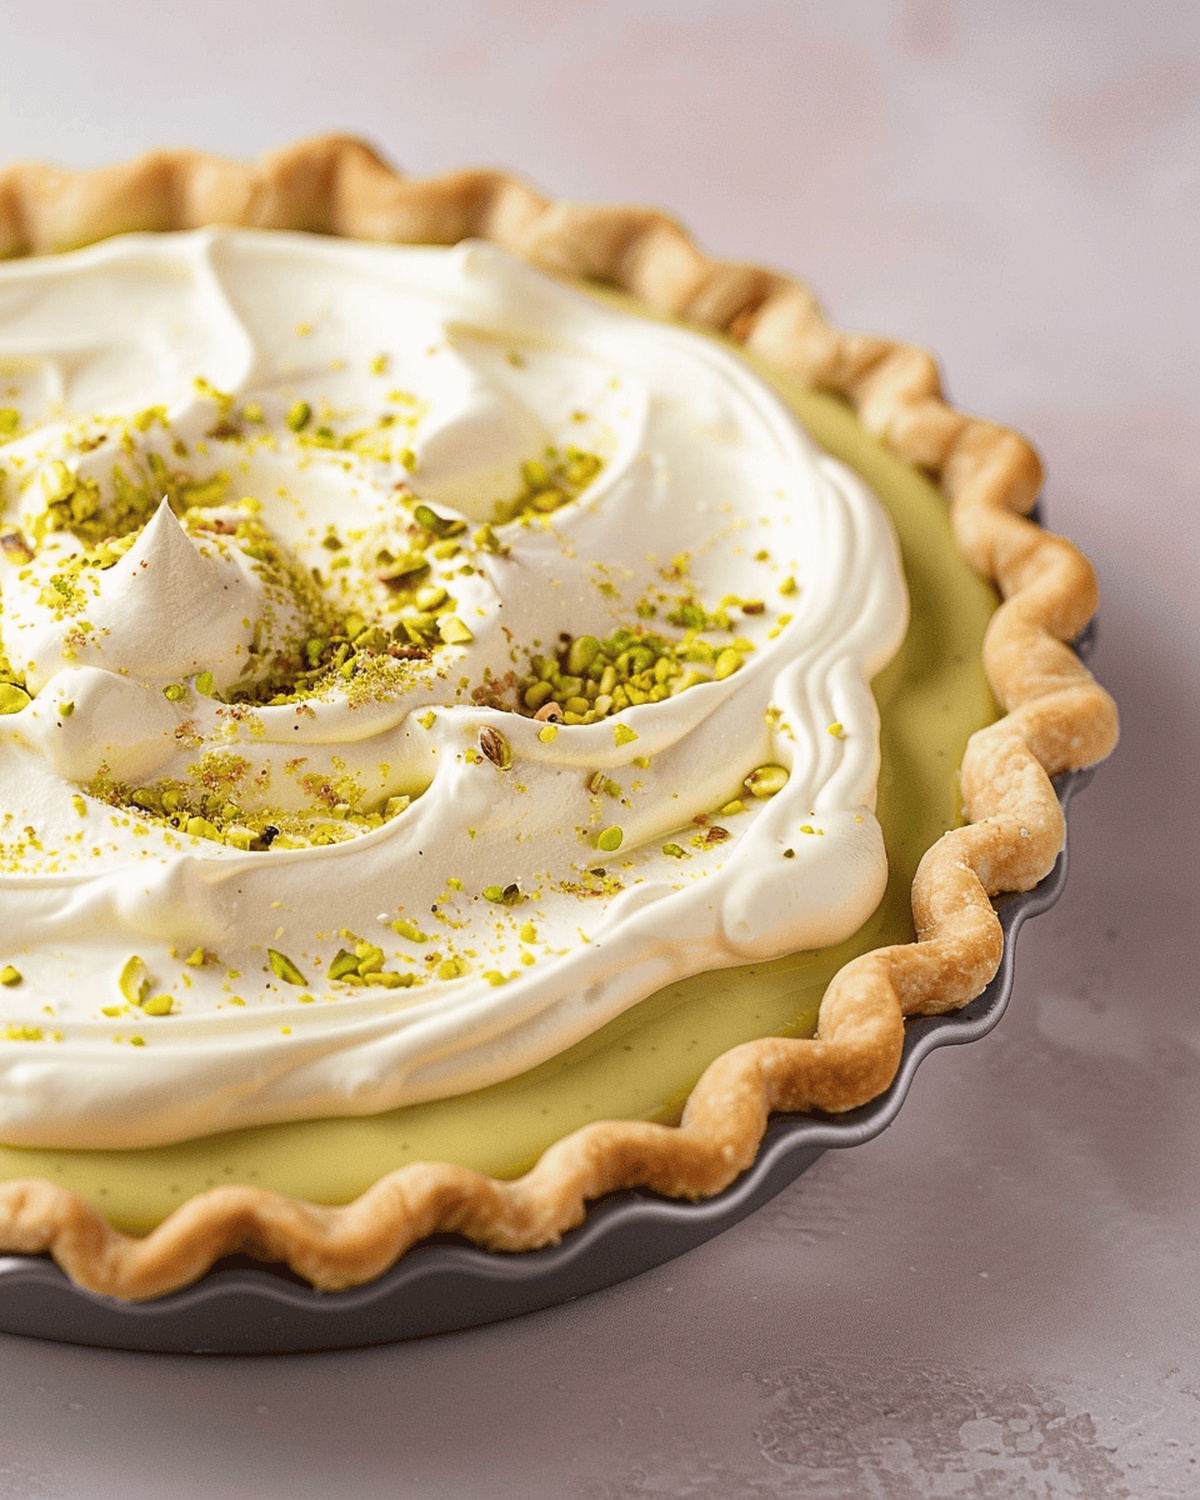
Rich, velvety, and packed with nutty goodness, this pie delivers a decadent experience that surprises and delights.
Green-hued and dreamy, the silky filling promises a flavor journey unlike any ordinary dessert.
Every forkful combines smooth custard with the distinctive crunch of fresh pistachios.
The buttery graham cracker crust provides a perfect foundation for this luxurious treat.
Each slice promises a moment of pure indulgence that transports you straight to dessert heaven.
Dive into this recipe and treat yourself to a slice of pure pistachio perfection.
Quick Recipe Overview
What You’ll Need for Pistachio Cream Pie
For The Flaky Foundation:For The Creamy Pistachio Heart:For The Cloud-Like Topping:Pistachio Cream Pie Essentials and Tools
Baking Your Pistachio Cream Pie
Create a delicate pastry base using flour, sugar, and butter in a food processor. The mixture should resemble soft pebbles with a delicate texture.
Roll out the dough into a circular shape, gently draping it into a pie plate. Crimp the edges and poke small holes in the bottom. Chill the crust to ensure a perfect structure.
Bake the crust until golden and crisp, using pie weights to maintain its shape. The goal is a perfectly structured shell ready for its creamy filling.
Transform raw pistachios into a rich, smooth butter by blending until oils release and create a luxurious paste. This becomes the heart of the pie’s unique flavor.
Combine pistachio butter with eggs, milk, and sweet seasonings in a pot. Cook slowly, stirring continuously until the mixture thickens into a silky pudding-like consistency.
Pour the pistachio filling into the baked crust, allowing it to cool naturally. Refrigerate for several hours to develop deep, rich flavors.
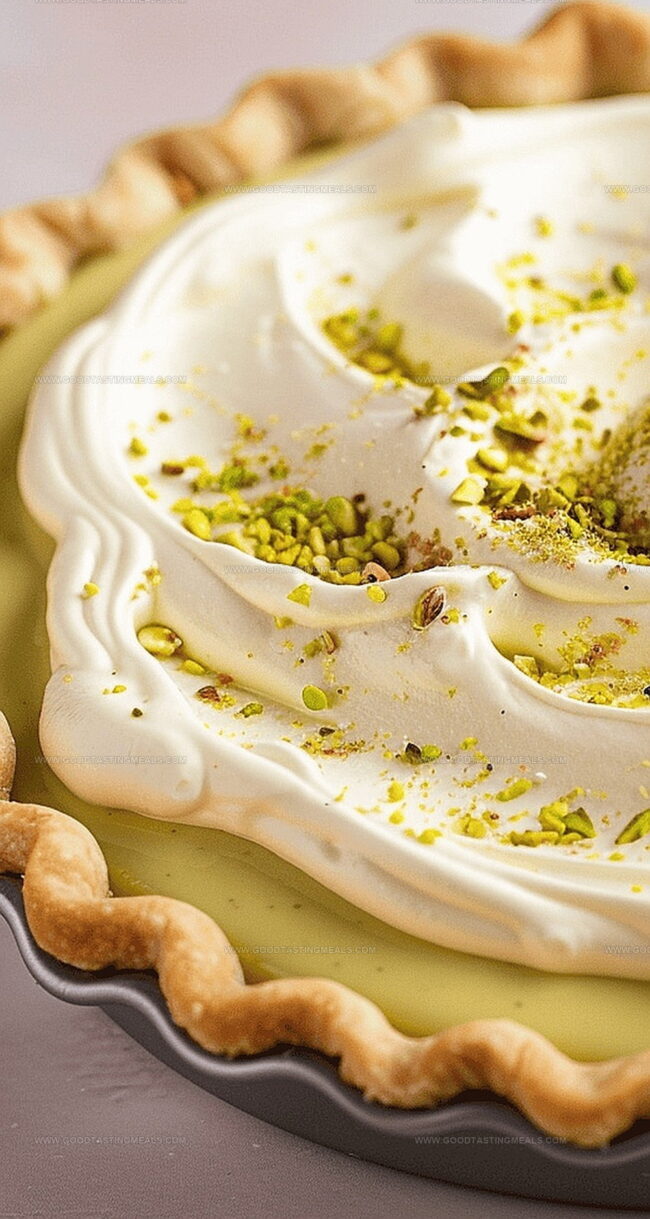
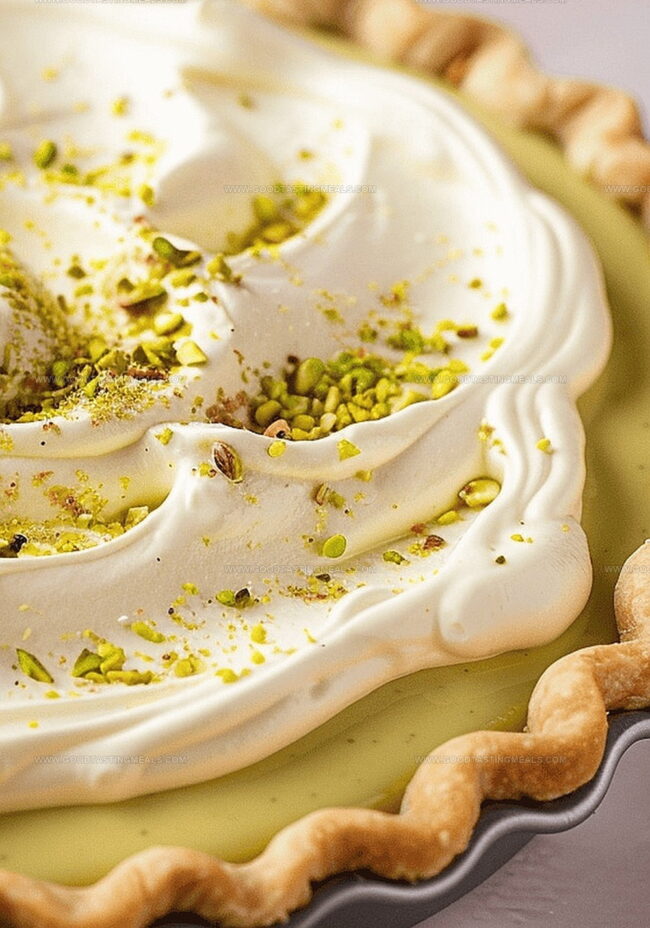
Whip cream cheese and heavy cream into a light, airy topping. Spread generously over the chilled pie, creating a cloud-like finish.
Sprinkle chopped pistachios across the top for a beautiful and crunchy garnish. Serve chilled and enjoy the layers of nutty, creamy delight.
Pistachio Cream Pie: Variations to Try
When and How to Serve Pistachio Cream Pie
Store Your Pistachio Cream Pie Like a Pro
Print
Silky Pistachio Cream Pie Recipe
- Total Time: 3 hours 55 minutes
- Yield: 9 1x
Description
Creamy pistachio cream pie offers a luxurious dessert experience from Mediterranean kitchens. Rich nutty flavors and silky smooth texture invite you to savor each delightful bite.
Ingredients
- 1 cup (140 grams) raw shelled unsalted pistachios
- 3 cups (680 grams) milk
- 3 large eggs
- ¾ cup (150 grams) granulated sugar
- 1 ½ cups (180 grams) all-purpose flour
- ½ cup (113 grams) unsalted butter
- 1 large egg
- ¼ cup (30 grams) powdered sugar
- ½ tsp salt
- 3 tbsps (21 grams) cornstarch
- ½ tsp (3 grams) coarse kosher salt
- 1 tsp almond extract
- 2 tbsps (30 grams) unsalted butter
- 1 cup (230 grams) heavy cream
- 2 tbsps (30 grams) cream cheese, softened
- 2 tbsps (30 grams) granulated sugar (optional)
- ¼ tsp vanilla extract (optional)
Instructions
- Crust Preparation: Pulse flour, powdered sugar, and salt in a food processor. Incorporate cold butter until mixture resembles coarse crumbs, then add egg and process into a cohesive dough ball.
- Crust Shaping: Roll out dough on a flour-dusted surface, transfer to pie plate, trim edges, and crimp decoratively. Pierce bottom with fork and freeze for 15 minutes to stabilize.
- Initial Baking: Preheat oven to 375°F. Line crust with parchment, fill with pie weights, and bake for 20 minutes. Remove weights and continue baking for 10 more minutes until golden, then cool completely.
- Pistachio Butter Creation: Process pistachios in food processor for 5-10 minutes until transformed into a smooth, oily paste, scraping sides as needed.
- Filling Preparation: Combine sugar, cornstarch, and salt in a saucepan. Whisk in eggs, pistachio butter, and milk. Cook over medium heat, stirring constantly until mixture thickens and bubbles dramatically, about 8 minutes.
- Filling Refinement: Strain pudding through a fine mesh sieve, then fold in butter and almond extract until silky smooth. Pour into prepared crust and refrigerate for minimum 3 hours.
- Cream Topping: Whip cream cheese with sugar and vanilla until creamy. Gradually add heavy cream, beating until soft peaks form. Spread delicately over chilled pie and garnish with chopped pistachios.
- Final Chilling: Refrigerate pie until serving, maintaining freshness for up to 24 hours.
Notes
- Chill Butter Strategically: Cut cold butter into small cubes before incorporating into flour mixture for optimal flaky crust texture.
- Handle Dough Gently: Minimal handling prevents tough pastry; overworking develops gluten and creates dense crust.
- Monitor Pudding Closely: Constant stirring prevents scorching and ensures smooth, lump-free filling consistency.
- Whip Cream Precisely: Beat cream just until soft peaks form to maintain stable, airy topping without becoming grainy or over-whipped.
- Prep Time: 25 minutes
- Cook Time: 30 minutes
- Category: Desserts
- Method: Baking
- Cuisine: American
Nutrition
- Serving Size: 9
- Calories: 420
- Sugar: 28 g
- Sodium: 180 mg
- Fat: 27 g
- Saturated Fat: 16 g
- Unsaturated Fat: 10 g
- Trans Fat: 1 g
- Carbohydrates: 38 g
- Fiber: 2 g
- Protein: 6 g
- Cholesterol: 110 mg
Sophie Martin
Co-Founder & Content Creator
Expertise
Education
Stellenbosch University, South Africa
South African Chefs Academy, Cape Town
Sophie Martin is the nutrition brain and feel-good foodie at Good Tasting Meals. With a degree in Human Nutrition from Stellenbosch University and chef training from the South African Chefs Academy, Sophie brings balance to the table, literally. She loves creating meals that are easy to make, great to eat, and good for your body too.
Her recipes are made for everyday living, with a little flair and a lot of heart. Sophie’s not here to count calories, she’s here to show you how fresh, simple food can fit into your life, taste amazing, and still be nourishing.