

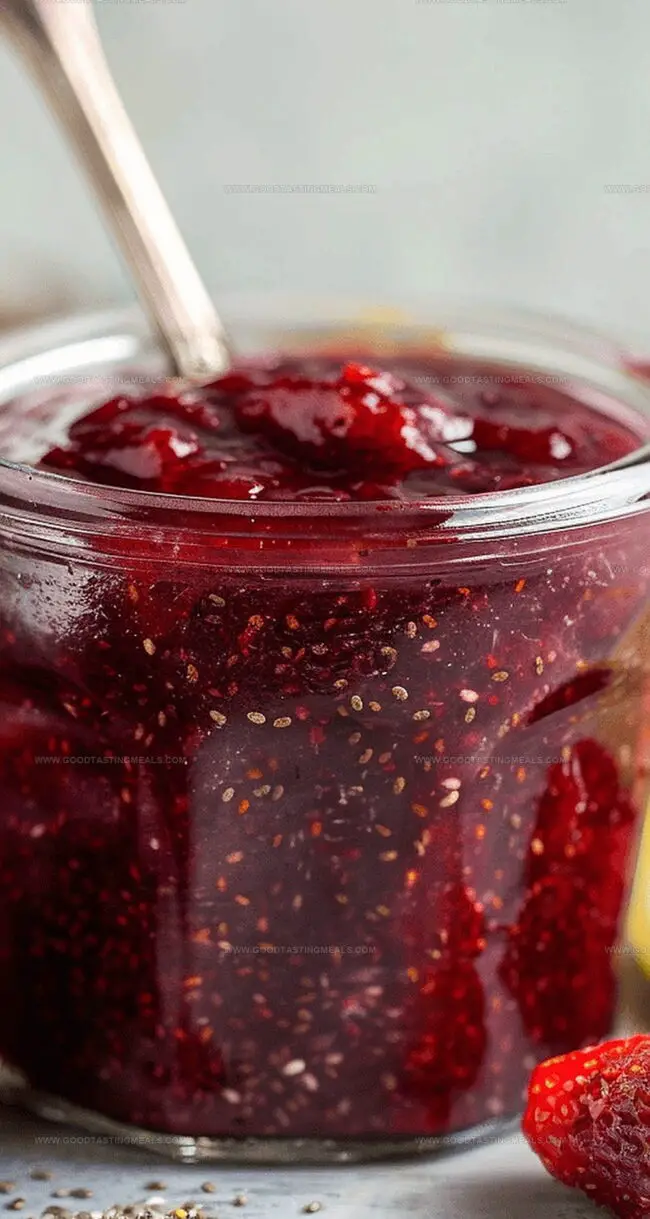
Homemade Chia Seed Jam Recipe: Nature’s Sweet Delight
Summer’s bounty bursts with flavor in this simple chia seed jam recipe that turns ripe berries into a delightful spread.
Forget store-bought preserves and their endless additives.
Packed with nutrients and natural sweetness, this homemade jam comes together in minutes with just a few ingredients.
The vibrant colors and intense fruit flavors will make your breakfast toast sing with joy.
You can customize this recipe with any seasonal berries, making it a versatile addition to your morning routine.
Fresh, wholesome, and incredibly easy, this chia seed jam will become your new breakfast favorite.
Spread the deliciousness and savor every spoonful of this nutrient-rich treat.
Quick Recipe Overview
What You’ll Need to Make Chia Seed Jam
For Fruit Base:For Thickening Agent:For Flavor Enhancement:Tools for Prepping and Storing Chia Seed Jam
How to Make Chia Seed Jam in Minutes
Choose ripe, vibrant berries bursting with flavor, such as strawberries, raspberries, or blueberries.
Place berries in a nonstick saucepan with a splash of water and a drizzle of maple syrup. Heat gently, allowing the fruits to break down and release their natural sweetness.
Cook the berries on low heat, stirring occasionally and lightly crushing them to create a rich, textured base.
Remove the pan from heat and sprinkle chia seeds throughout the mixture, stirring until evenly distributed.
Let the jam sit quietly, allowing the chia seeds to work their magic and transform the consistency into a luscious spread.
Add a squeeze of fresh lemon juice to enhance the jam’s vibrant flavor profile.
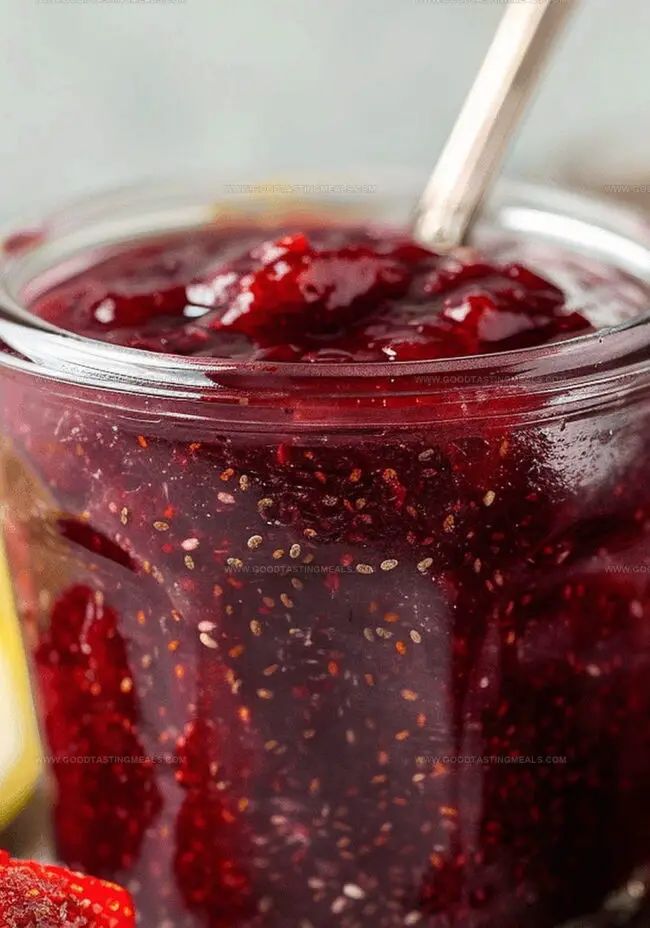
Transfer the jam to a clean glass container and refrigerate. Savor within a week for the most delightful taste experience.
Tips for Flavor Variations in Chia Seed Jam
Serving Ideas for Chia Seed Jam at Breakfast or Snacks
Storing Chia Seed Jam to Keep It Fresh and Thick
Print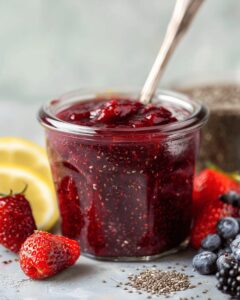
Smooth Chia Seed Jam Recipe
- Total Time: 17 minutes
- Yield: 5 1x
Description
Homemade chia seed jam showcases simple, fresh ingredients blended into a delightful spread. Seasonal berries combine with natural sweeteners for a quick, nutritious topping perfect for breakfast or dessert.
Ingredients
- 3 cups (720 ml) fresh berries of choice
- 2–3 tbsps (30–45 ml) chia seeds
- ¼ cup (60 ml) filtered water
- 1 tbsp (15 ml) maple syrup (adjust for sweetness)
- Juice of ½ lemon (22.5 ml)
Instructions
- Prep Berries: Wash and select ripe, vibrant berries, ensuring peak flavor and optimal texture for the jam.
- Combine Ingredients: In a nonstick saucepan, merge berries, filtered water, and maple syrup, creating a luscious fruity foundation.
- Cooking Process: Ignite medium heat, bringing the mixture to a gentle boil while intermittently stirring to prevent scorching, then reduce to medium-low, allowing berries to simmer and naturally disintegrate.
- Texture Development: Tenderly deconstruct softening berries using a wooden spoon or potato masher, extracting maximum liquid and generating a velvety consistency.
- Chia Integration: Remove from heat and swiftly fold in chia seeds, ensuring uniform distribution throughout the mixture, then permit the jam to rest and transform into a gel-like state.
- Flavor Enhancement: Introduce fresh lemon juice, providing a zesty counterpoint that elevates the jam’s overall taste profile and balances inherent sweetness.
- Preservation: Meticulously transfer the jam into a pristine glass container, then allow complete cooling at ambient temperature before sealing and refrigerating.
- Consumption Guidelines: Enjoy the homemade chia seed jam within one to two weeks, preserving its vibrant flavor and nutritional integrity.
Notes
- Boost Berry Freshness: Choose peak-ripeness berries with vibrant colors for maximum natural sweetness and intense flavor profile.
- Control Texture Perfectly: Gently crush berries while simmering to create a smoother, more consistent jam consistency without over-mashing.
- Optimize Chia Seed Absorption: Stir seeds thoroughly and let mixture rest to ensure even gel formation and proper thickening.
- Preserve Jam Safely: Use clean glass jars and refrigerate immediately, consuming within two weeks to maintain optimal taste and food safety.
- Prep Time: 5 minutes
- Cook Time: 12 minutes
- Category: Snacks, Breakfast, Desserts
- Method: Simmering
- Cuisine: American
Nutrition
- Serving Size: 5
- Calories: 50
- Sugar: 5 g
- Sodium: 1 mg
- Fat: 2 g
- Saturated Fat: 0 g
- Unsaturated Fat: 2 g
- Trans Fat: 0 g
- Carbohydrates: 12 g
- Fiber: 4 g
- Protein: 1 g
- Cholesterol: 0 mg
Sophie Martin
Co-Founder & Content Creator
Expertise
Education
Stellenbosch University, South Africa
South African Chefs Academy, Cape Town
Sophie Martin is the nutrition brain and feel-good foodie at Good Tasting Meals. With a degree in Human Nutrition from Stellenbosch University and chef training from the South African Chefs Academy, Sophie brings balance to the table, literally. She loves creating meals that are easy to make, great to eat, and good for your body too.
Her recipes are made for everyday living, with a little flair and a lot of heart. Sophie’s not here to count calories, she’s here to show you how fresh, simple food can fit into your life, taste amazing, and still be nourishing.