
The Sweetest Cake Pops Recipe for Bite-Sized Joy
Sweet, bite-sized cake pops burst with creamy goodness and playful charm.
These delightful treats combine the rich, moist texture of cake with a perfectly smooth coating.
You’ll fall in love with how simple these little desserts are to create at home.
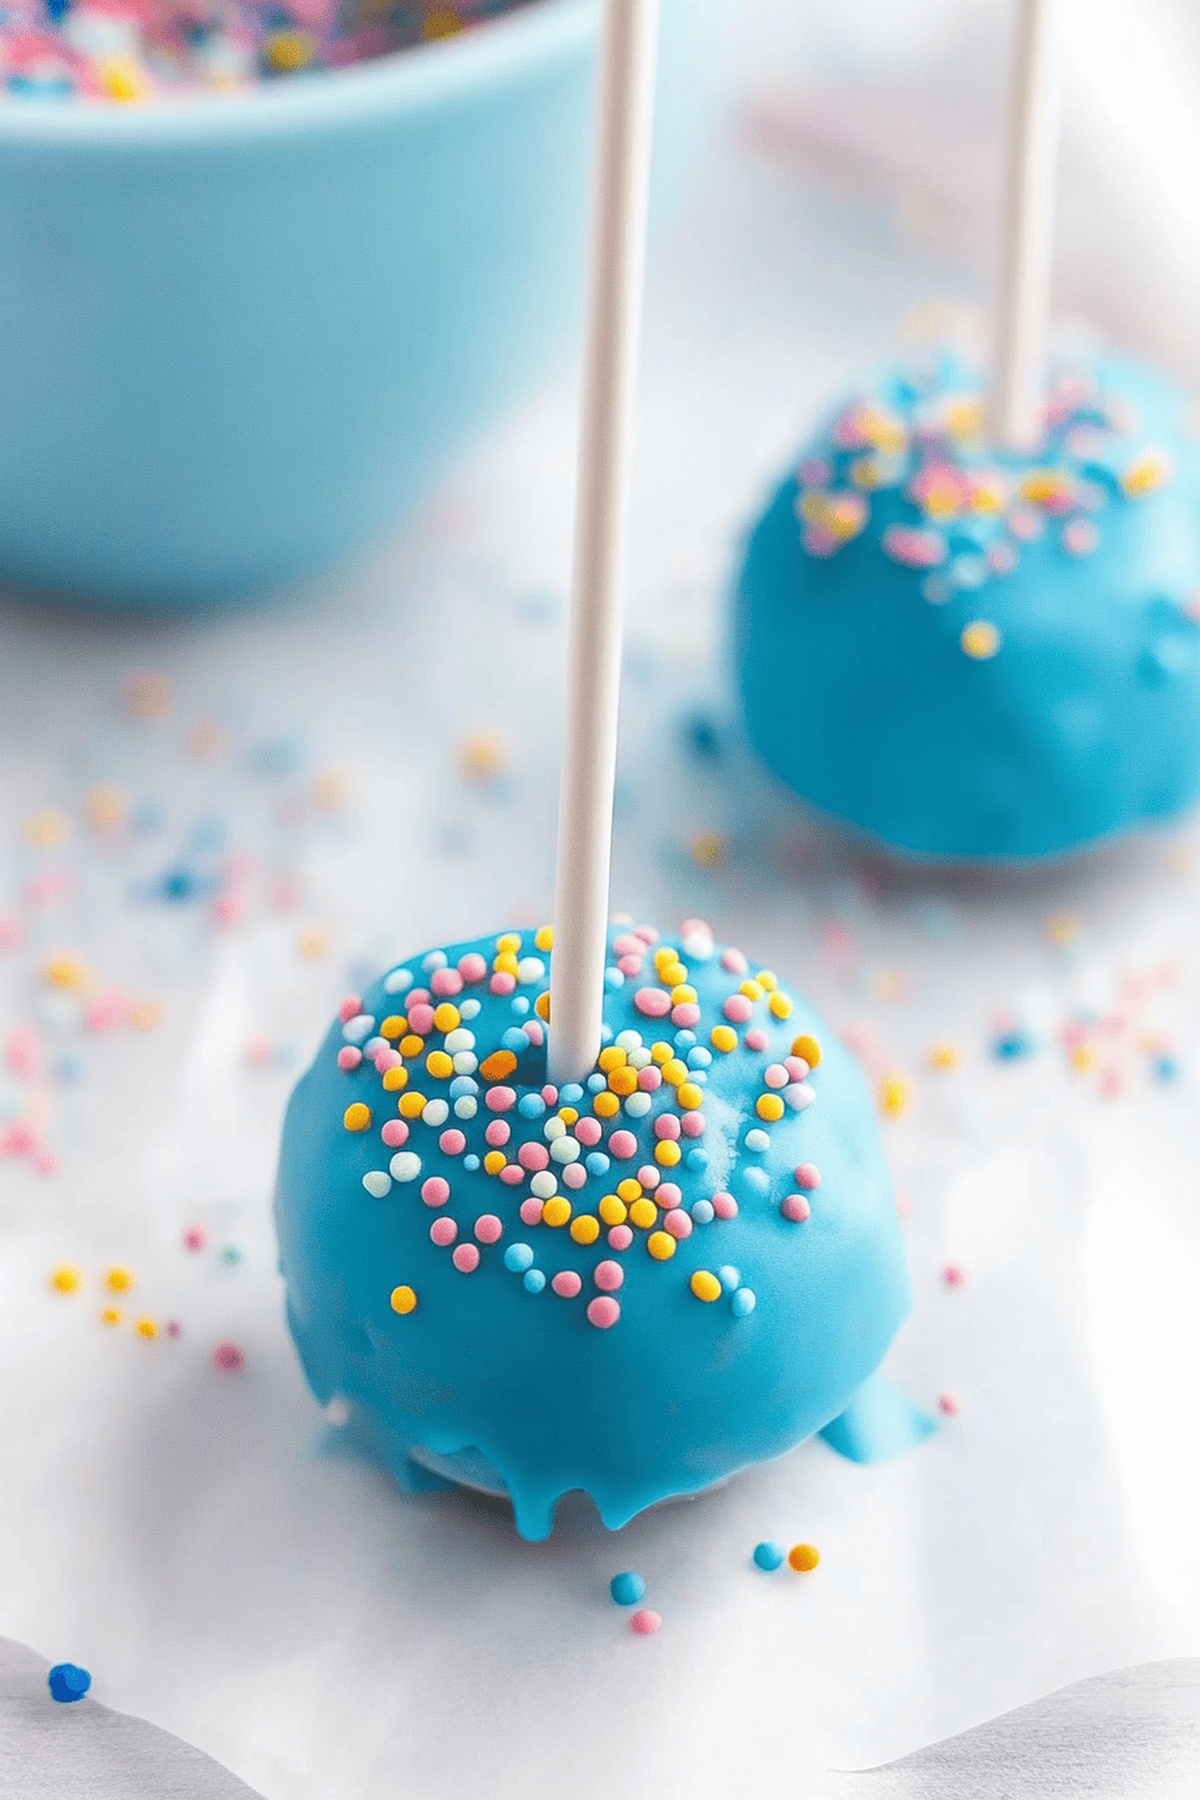
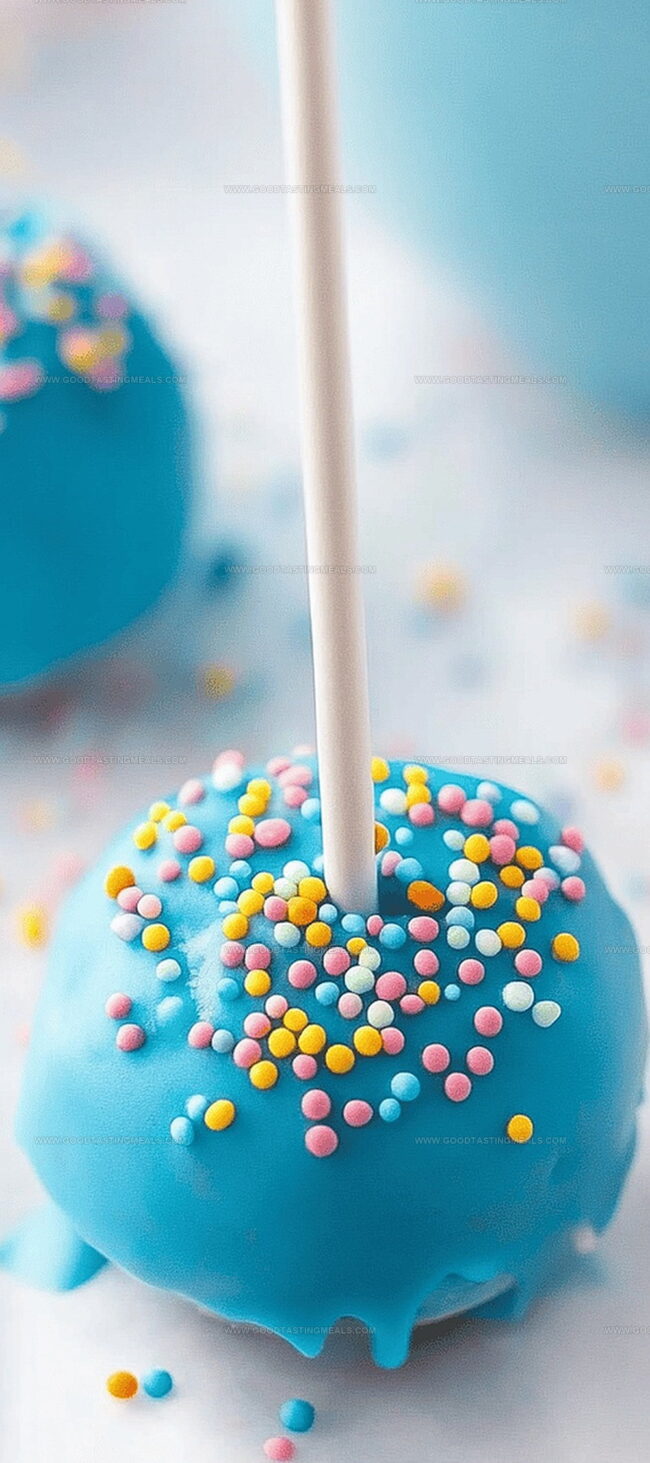
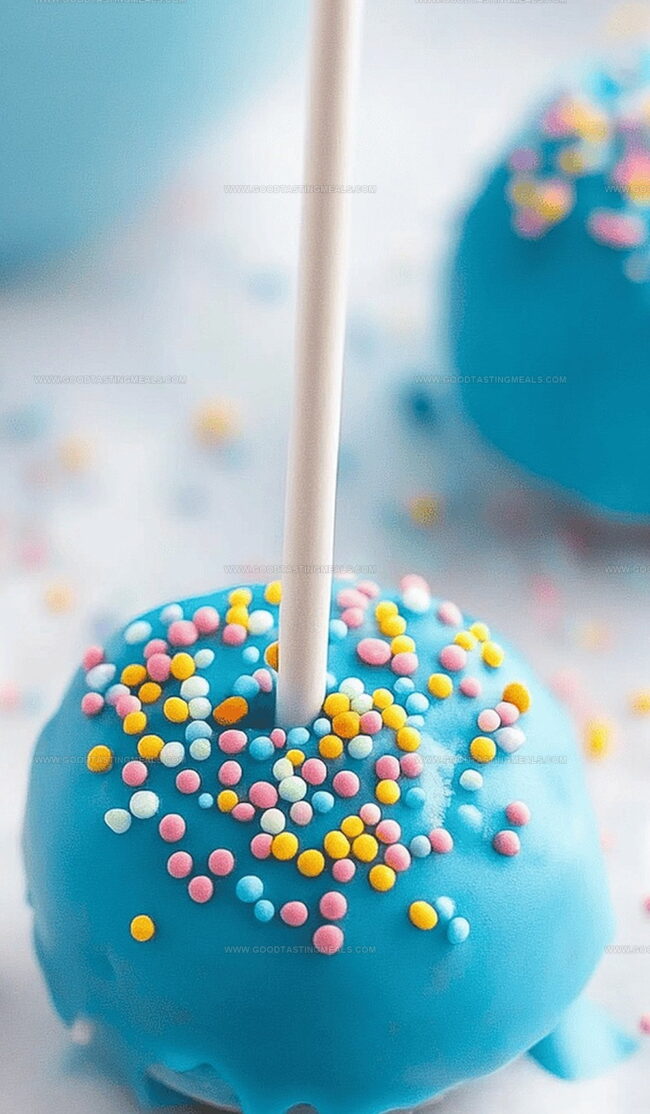
Decorated with sprinkles, chocolate drizzles, or colorful glazes, cake pops make any occasion feel special.
Each miniature confection delivers a delectable punch of flavor in one compact bite.
The technique is surprisingly straightforward, turning leftover cake into an irresistible dessert that everyone adores.
Roll up your sleeves and get ready to wow everyone with these adorable, crowd-pleasing cake pops.
Quick Recipe Overview
Ingredients to Make Fun Cake Pops
For Cake Base:For Coating and Decoration:For Optional Smoothing:Tools to Create Colorful Cake Pops
Easy Guide to Making Cake Pops at Home
Start with a freshly baked or leftover cake. Crumble the cake into fine, even crumbs using a food processor or your hands.
Carefully blend cake crumbs with frosting, creating a soft dough-like consistency. Adjust mixture by adding more crumbs or frosting as needed for perfect texture.
Shape crumb mixture into uniform round balls. Gently place on a clean surface lined with parchment paper.
Refrigerate cake balls for several hours to firm up their structure and make them easier to handle.
Slowly melt candy coating using low microwave settings. Stir frequently to prevent burning and ensure smooth consistency.
Dip candy sticks into melted coating, then carefully insert into chilled cake balls. Allow coating to set completely.
Submerge each cake ball into melted candy coating. Gently tap to remove excess. Sprinkle with decorative toppings before coating hardens.
Place finished cake pops upright in a foam board or holder. Allow to cool and set completely before serving or packaging.
Pro Tips for Smooth Cake Pop Results
Fun Ways to Display Cake Pops
Storing Cake Pops
Print
Sweet Cake Pops Recipe
- Total Time: 45 minutes
- Yield: 13 1x
Description
Sweet homemade cake pops deliver delightful bite-sized confections perfect for parties. Chocolate-dipped and sprinkle-covered treats guarantee smiles when you serve these compact dessert delights.
Ingredients
- 1 can of icing
- 1 package of candy melts
- 1 leftover dry cake or 1 cake mix box
- 1 package of candy sticks
- sprinkles
- 1 foam board (for placing finished cake pops in to dry)
Instructions
- Cake Pulverization: Transform cake into fine, uniform crumbs using food processor or manual crumbling technique.
- Dough Formation: Blend frosting with cake crumbs until mixture achieves a cohesive, moldable consistency that holds shape without crumbling.
- Spherical Shaping: Craft uniform, compact cake balls with smooth surfaces, maintaining consistent size and structural integrity.
- Thermal Conditioning: Chill cake spheres in refrigerator to stabilize structure and prepare for coating process.
- Coating Preparation: Gently melt candy coating using microwave, stirring periodically to ensure smooth, lump-free texture.
- Stick Integration: Dip cake pop sticks into melted coating, then carefully insert into chilled cake spheres, allowing initial layer to set.
- Chocolate Immersion: Completely submerge each cake sphere in melted coating, allowing excess to cascade smoothly for even, glossy coverage.
- Decorative Embellishment: While coating remains soft, artfully sprinkle decorative elements to enhance visual and textural appeal.
- Drying Arrangement: Position cake pops vertically in specialized foam stand, facilitating perfect spherical shape and uniform drying.
- Final Setting: Allow decorated cake pops to solidify at room temperature, ensuring firm, lustrous exterior and stable presentation.
Notes
- Precise Crumbling Technique: Break cake into uniform, fine crumbs using food processor for consistent texture and easier binding.
- Perfect Moisture Balance: Mix frosting gradually to achieve dough-like consistency that holds shape without being too wet or dry.
- Chill for Stability: Refrigerate formed cake balls for at least 2 hours to prevent crumbling during coating and ensure clean, smooth finish.
- Coating Pro Tip: Maintain low, steady microwave heat when melting chocolate and gently tap excess coating off to create professional, even layer.
- Prep Time: 15 minutes
- Cook Time: 30 minutes (includes chilling time)
- Category: Desserts, Snacks
- Method: Baking
- Cuisine: American
Nutrition
- Serving Size: 13
- Calories: 150
- Sugar: 15g
- Sodium: 50mg
- Fat: 7g
- Saturated Fat: 3g
- Unsaturated Fat: 4g
- Trans Fat: 0g
- Carbohydrates: 20g
- Fiber: 0g
- Protein: 1g
- Cholesterol: 10mg
Sophie Martin
Co-Founder & Content Creator
Expertise
Education
Stellenbosch University, South Africa
South African Chefs Academy, Cape Town
Sophie Martin is the nutrition brain and feel-good foodie at Good Tasting Meals. With a degree in Human Nutrition from Stellenbosch University and chef training from the South African Chefs Academy, Sophie brings balance to the table, literally. She loves creating meals that are easy to make, great to eat, and good for your body too.
Her recipes are made for everyday living, with a little flair and a lot of heart. Sophie’s not here to count calories, she’s here to show you how fresh, simple food can fit into your life, taste amazing, and still be nourishing.