
Fluffy Pink Dream: Cotton Candy Cookies Recipe
Sweet and whimsical cotton candy cookies bring childhood memories dancing across your taste buds.
These delightful treats capture the magical essence of carnival fun in every soft, colorful bite.
The cotton candy cookies carry a playful twist that turns ordinary baking into an extraordinary experience.
Bursts of pastel colors and fluffy sugar notes make these cookies feel like a celebration on a plate.
Soft, pillowy textures blend with a sugary sweetness that melts in your mouth.
Light and airy, these cookies promise a delightful journey back to carefree summer days.
Bake a batch and watch smiles bloom with each delectable morsel.
Quick Recipe Overview
What Makes Cotton Candy Cookies So Fun
For Base Ingredients:For Wet Ingredients:For Decorative and Finishing Ingredients:Tools That Help You Bake Cotton Candy Cookies
Cotton Candy Cookies Made Simple

Cotton Candy Swirl Delights
Grab two portions of cookie dough and transform them into vibrant pink and blue masterpieces. Softly knead food coloring into each section until the colors blend smoothly and evenly.
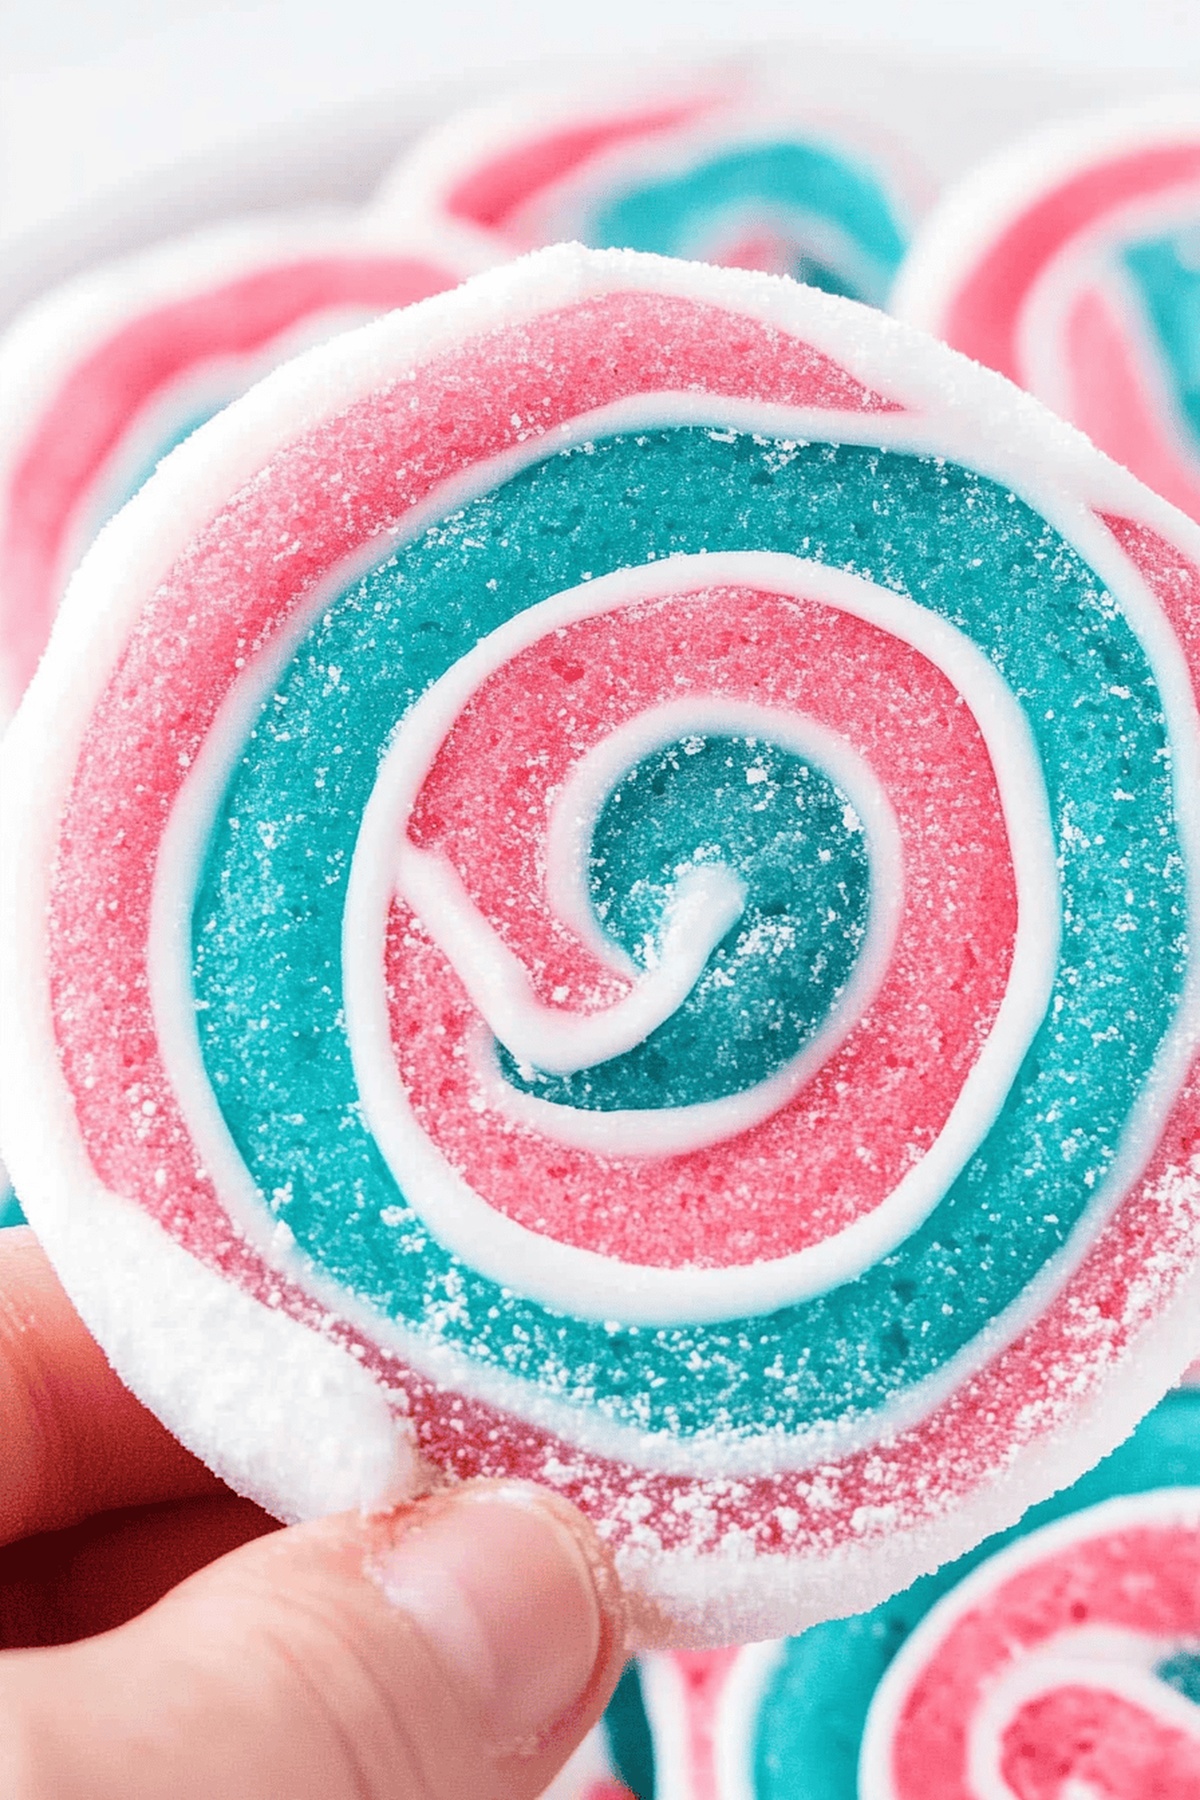
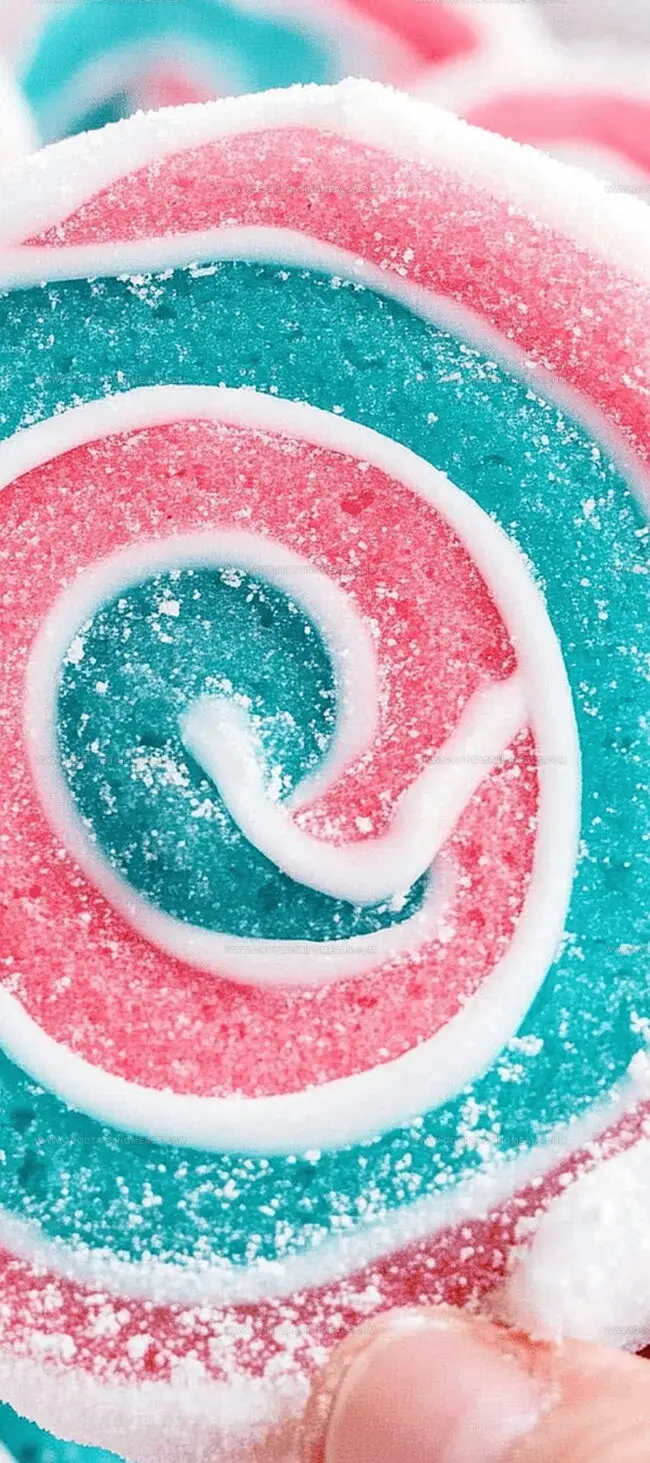
Gently roll out your colorful dough sheets, then carefully stack them on top of each other. Tenderly roll the layers into a tight spiral, creating a beautiful color-swirled log that promises delightful visual surprises.
Slice your dough log into delicate rounds, each revealing a mesmerizing cotton candy-inspired pattern. Arrange these artistic cookies onto a parchment-lined baking sheet, ready for their golden transformation.
Slide the baking sheet into a preheated oven. Let the cookies bake until their edges turn just slightly golden, creating a delicate and tender texture that melts in your mouth.
Once cooled, unleash your creativity with a dreamy icing drizzle. Sprinkle playful decorations while the icing remains glossy, adding a whimsical touch to your cotton candy cookie masterpiece.
Allow your cookies to rest and set completely. Store them in a charming container, separating layers with parchment to preserve their magical swirl design and delicate texture.
Sweet Tweaks for Cotton Candy Cookie Lovers
Serving Cotton Candy Cookies with Flair
Storing Cotton Candy Cookies the Way
Print
Sweet Cotton Candy Cookies
- Total Time: 59 minutes
- Yield: 22 1x
Description
Sweet cotton candy cookies bring childhood nostalgia to classic dessert lovers. Pastel-colored treats combine whimsical flavors with traditional cookie textures, promising pure delight with each playful bite.
Ingredients
- 1 cup (240 ml) butter, softened
- 1 cup (200 g) sugar
- 1 egg
- 3 cups (375 g) all-purpose flour
- 2 tsps baking powder
- 0.5 tsp salt
- 1.5 tsps cotton candy flavoring
- Pink food coloring
- Blue food coloring
- 16 oz (454 g) white icing
- Sprinkles (optional)
- 1 tsp cotton candy extract (optional)
- Powdered sugar or flour (for rolling)
Instructions
- Preparation: Preheat oven to 350°F and line baking sheet with parchment paper.
- Dry Ingredients: Sift flour, baking powder, and salt together in a mixing bowl to create a uniform dry mixture.
- Wet Base: Cream butter and sugar until light and fluffy, then blend in egg and cotton candy flavoring thoroughly.
- Dough Formation: Gently fold dry ingredients into wet mixture, creating a slightly crumbly dough.
- Color Development: Divide dough into two portions, kneading pink and blue food coloring into separate sections for vibrant marbling.
- Dough Rolling: Roll out colored dough sheets to ¼ inch thickness, layer pink and blue sections, and press gently to eliminate air pockets.
- Dough Shaping: Tightly roll layered dough from edge to edge, forming a swirled cylindrical shape, then slice into ¼ inch thick rounds.
- Baking Process: Arrange cookie slices on prepared baking sheet, spacing evenly, and bake for 7-9 minutes until edges are lightly golden.
- Cooling Stage: Allow cookies to cool completely on baking sheet for at least 20 minutes to set their structure.
- Finishing Touches: Warm icing, optionally mix in cotton candy extract, then drizzle over cookies and immediately sprinkle decorative toppings.
- Storage: Once icing sets completely, store cookies with parchment paper between layers to prevent sticking.
Notes
- Prevent Overworking Dough: Mix ingredients just until combined to keep cookies tender and prevent tough texture.
- Manage Color Intensity: Add food coloring gradually to control color depth and achieve desired marbled effect.
- Temperature Precision: Use room temperature butter for smoother creaming and even cookie consistency.
- Cooling Technique: Allow cookies to cool completely on baking sheet to maintain delicate structure and prevent breaking.
- Prep Time: 30 minutes
- Cook Time: 9 minutes
- Category: Desserts, Snacks
- Method: Baking
- Cuisine: American
Nutrition
- Serving Size: 22
- Calories: 215
- Sugar: 16 g
- Sodium: 70 mg
- Fat: 10 g
- Saturated Fat: 6 g
- Unsaturated Fat: 4 g
- Trans Fat: 0 g
- Carbohydrates: 30 g
- Fiber: 1 g
- Protein: 2 g
- Cholesterol: 31 mg
Sophie Martin
Co-Founder & Content Creator
Expertise
Education
Stellenbosch University, South Africa
South African Chefs Academy, Cape Town
Sophie Martin is the nutrition brain and feel-good foodie at Good Tasting Meals. With a degree in Human Nutrition from Stellenbosch University and chef training from the South African Chefs Academy, Sophie brings balance to the table, literally. She loves creating meals that are easy to make, great to eat, and good for your body too.
Her recipes are made for everyday living, with a little flair and a lot of heart. Sophie’s not here to count calories, she’s here to show you how fresh, simple food can fit into your life, taste amazing, and still be nourishing.