
Zingy Lemon Tart Recipe: Bright Citrus Joy in Every Bite
Dessert lovers swoon over this classic lemon tart recipe that balances tangy and sweet perfectly.
Zesty citrus notes dance across a buttery, flaky crust in a delightful melody of flavors.
The bright, silky filling melts on your tongue with a refreshing burst of sunshine.
Each slice promises a luxurious experience that transports you to a quaint French patisserie.
Rich, creamy, and elegantly simple, this tart showcases the magic of minimal ingredients.
Perfected through generations of baking passion, this dessert will become your go-to treat for any special occasion.
Get ready to impress with a dessert that looks sophisticated but comes together with surprising ease.
Quick Recipe Overview
Ingredients Needed for Lemon Tart
For Crust Components:For Lemon Filling Components:For Garnish:Tools That Help You Bake the Perfect Lemon Tart
How to Put Together a Zesty Lemon Tart
Lemony Dream Tart
Gather flour, sugar, and salt in a food processor. Blend these dry ingredients until they whisper together. Tumble in chilled butter chunks and pulse until the mixture looks like coarse sandy pebbles.
Introduce an egg and a splash of vanilla to the crumbly mixture. Pulse gently until the dough starts clustering but remains slightly rough. Shape the dough into a smooth disc, wrap in clingy plastic, and let it relax in the refrigerator for an hour.
Roll out the chilled dough into a delicate circle. Drape it carefully into a tart pan, pressing softly against the edges. Trim any excess with graceful movements. Pop the shell into the freezer for a quick chill.
Heat the oven to a warm 375°F. Line the crust with parchment, weigh it down with ceramic beads or dried beans. Bake until the edges turn golden and crisp. Remove the weights and continue baking until the entire crust looks beautifully bronzed.
Whisk eggs, sugar, bright lemon zest, tangy juice, and cream in a bowl. Create a gentle water bath, stirring constantly until the mixture transforms into a silky, luxurious custard.
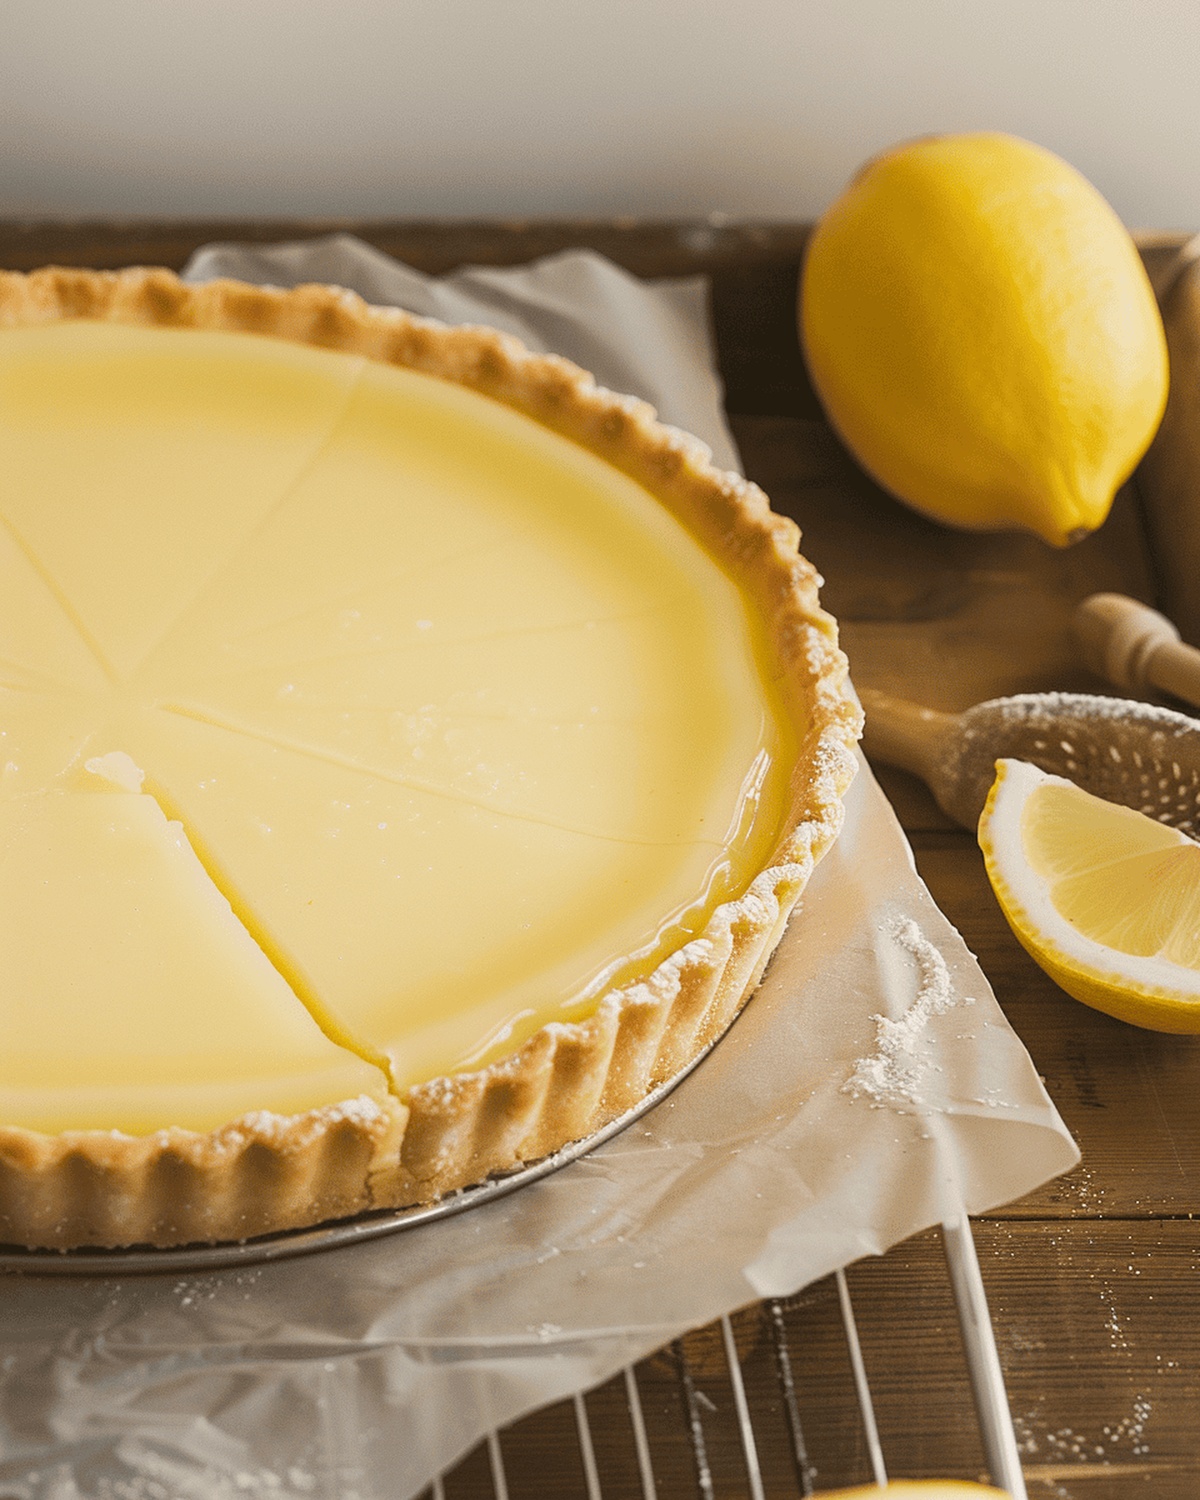
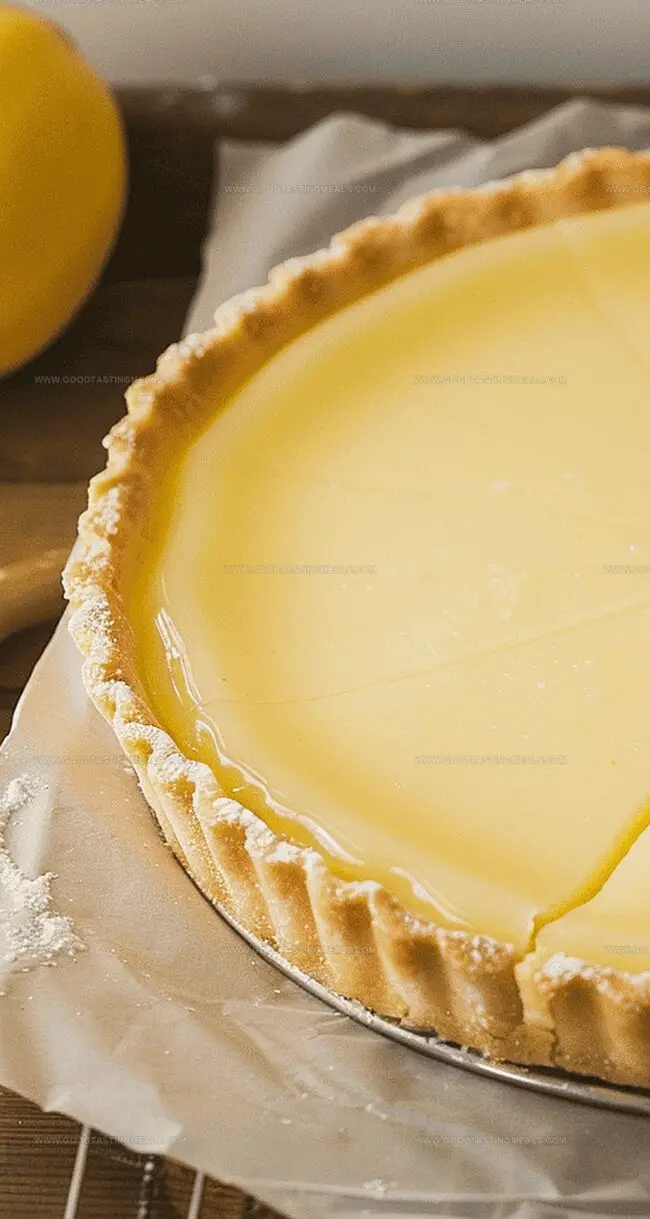
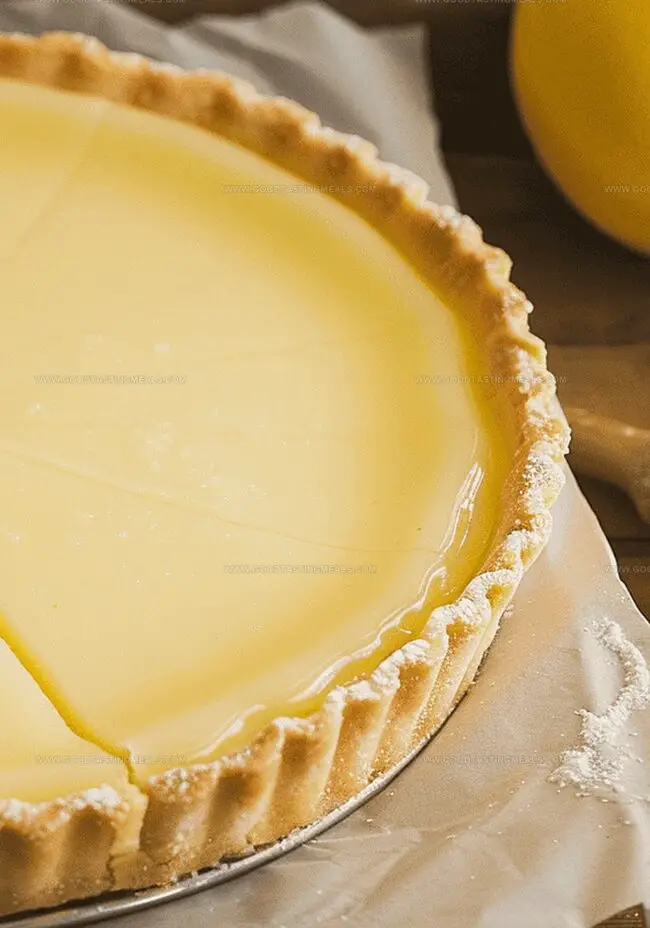
Strain the lemon mixture, whisking in soft butter until gloriously smooth. Pour the golden filling into the cooled crust. Chill in the refrigerator until the tart sets completely.
Slice and serve the tart cold, perhaps adorned with a sprinkle of fresh berries or a cloud of whipped cream.
Brighten the Flavor of Your Lemon Tart with These Ideas
Presenting and Serving Your Lemon Tart with Style
Store Your Lemon Tart So It Stays Fresh and Flavorful
Print
Tangy Lemon Tart Recipe
- Total Time: 5 hours 15 minutes
- Yield: 9 1x
Description
Zesty Lemon Tart brings Mediterranean sunshine to classic French pastry techniques. Creamy citrus filling nestles in buttery shortcrust, offering a perfect balance of tangy and sweet flavors you’ll savor with each delightful bite.
Ingredients
- 2 large eggs
- 2 egg yolks
- 1 large egg
- 1 ½ cups (180 g) all-purpose flour
- ¾ cup (150 g) granulated sugar
- ¼ cup granulated sugar
- ½ cup (120 ml) freshly squeezed lemon juice
- ½ cup (115 g) unsalted butter, cubed
- ½ cup (115 g) cold butter, cubed
- ½ cup (55 g) powdered sugar
- 1 tbsp lemon zest
- 2 tbsps heavy cream
- ½ tsp vanilla extract
- ¼ tsp salt
Instructions
- Dough Preparation: Pulse flour, sugar, and salt in a food processor. Add cold butter, creating a coarse, pebbly texture. Blend in egg and vanilla until dough forms without overmixing.
- Dough Chilling: Shape dough into a compact disc, wrap in plastic, and refrigerate for one hour to solidify its structure.
- Crust Formation: Roll chilled dough into an 11-inch circle, carefully draping into a tart pan. Trim excess, press edges meticulously, and freeze for 30 minutes.
- Crust Baking: Preheat oven to 375°F. Line crust with parchment, weight with ceramic beads, and bake for 20 minutes. Remove weights and continue baking until golden-brown. Cool completely.
- Lemon Curd Creation: Whisk eggs, sugar, lemon zest, lemon juice, and cream in a heatproof bowl over simmering water. Stir continuously until mixture thickens and coats the back of a spoon.
- Curd Refinement: Strain through a fine-mesh sieve, then incorporate butter cubes until silky and glossy. Allow to cool to room temperature.
- Tart Assembly: Pour cooled lemon curd into prepared crust, spreading evenly. Refrigerate for at least 4 hours to set completely.
- Final Presentation: Garnish with fresh berries and whipped cream before serving, creating an elegant dessert.
Notes
- Chill Dough Strategically: Refrigerating the dough for at least an hour helps prevent shrinkage and ensures a flaky, tender crust that holds its shape during baking.
- Master Water Bath Technique: Gentle, consistent whisking over simmering water prevents egg scrambling and creates a silky-smooth lemon curd with perfect texture.
- Strain for Silky Perfection: Passing the lemon curd through a fine-mesh sieve removes any potential egg bits or zest, guaranteeing a luxuriously smooth filling.
- Patience Pays Off: Allowing the tart to set in the refrigerator for a minimum of 4 hours helps the filling firm up and intensifies the lemon flavor, creating a more refined dessert experience.
- Prep Time: 30 minutes
- Cook Time: 45 minutes
- Category: Desserts
- Method: Baking
- Cuisine: French
Nutrition
- Serving Size: 9
- Calories: 345
- Sugar: 30 g
- Sodium: 100 mg
- Fat: 22 g
- Saturated Fat: 14 g
- Unsaturated Fat: 8 g
- Trans Fat: 0 g
- Carbohydrates: 34 g
- Fiber: 1 g
- Protein: 4 g
- Cholesterol: 120 mg
Sophie Martin
Co-Founder & Content Creator
Expertise
Education
Stellenbosch University, South Africa
South African Chefs Academy, Cape Town
Sophie Martin is the nutrition brain and feel-good foodie at Good Tasting Meals. With a degree in Human Nutrition from Stellenbosch University and chef training from the South African Chefs Academy, Sophie brings balance to the table, literally. She loves creating meals that are easy to make, great to eat, and good for your body too.
Her recipes are made for everyday living, with a little flair and a lot of heart. Sophie’s not here to count calories, she’s here to show you how fresh, simple food can fit into your life, taste amazing, and still be nourishing.