

Irresistible Tuxedo Cake Recipe: Layered Elegance Made Simple
Tuxedo cake reinvents ordinary dessert moments into elegant celebrations of rich, decadent flavor.
Sweet sophistication meets chocolate magic in this stunning culinary creation.
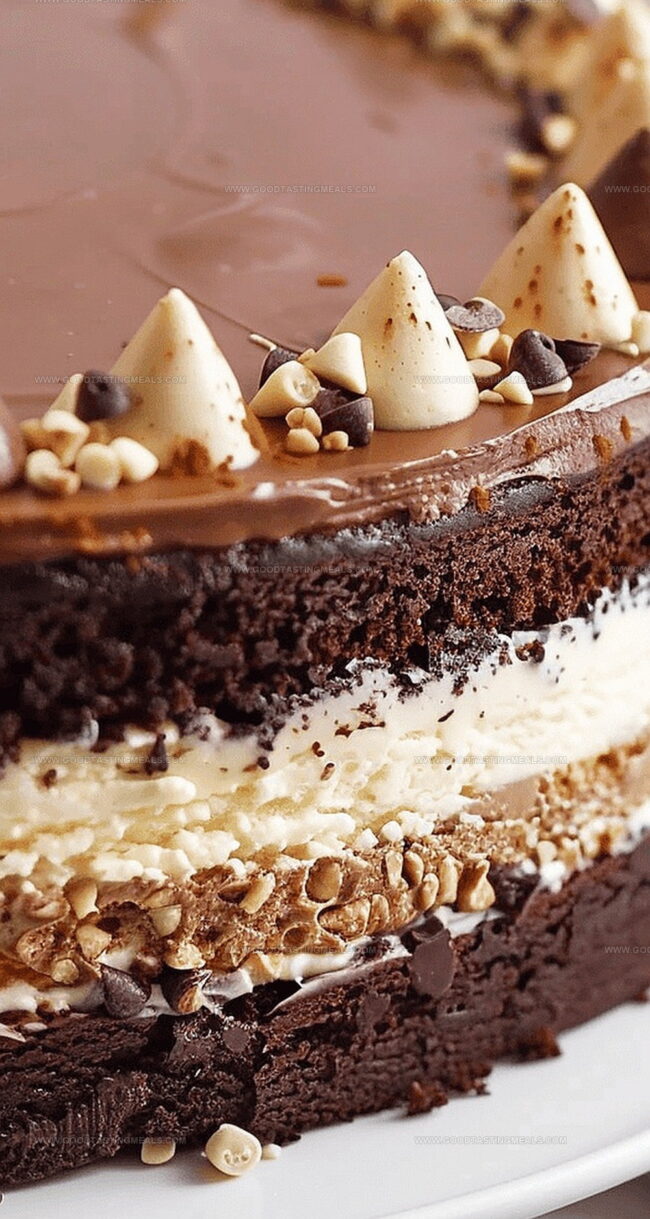
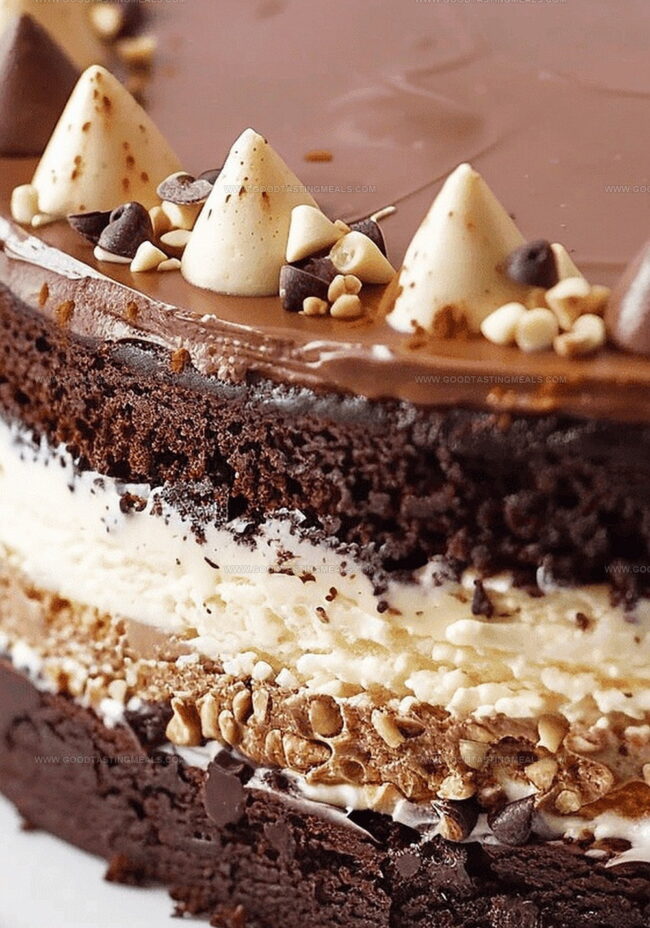
Layers of velvety dark and white cake intertwine like a perfectly pressed formal suit.
Each slice promises an indulgent experience that balances intense cocoa depths with creamy smooth textures.
Dramatic visual contrasts make this dessert a showstopper at any gathering or special occasion.
Sophisticated yet approachable, the cake captures both refined technique and pure deliciousness.
Chocolate lovers and dessert enthusiasts will adore this spectacular treat that feels like a delectable work of art.
Why Tuxedo Cake Is a Dessert Showstopper
What You’ll Need to Create a Tuxedo Cake
Cake Base Ingredients:Wet Ingredients:Chocolate and Mousse Ingredients:Building Your Tuxedo Cake Layer by Layer
Step 1: Prepare Baking Workspace
Gather all equipment and ingredients. Preheat oven to 350°F. Grease two 8-inch cake pans with butter or cooking spray. Line bottom with parchment paper.
Step 2: Create Dry Cake Mixture
Combine dry ingredients in a large mixing bowl:Sift ingredients together to remove any lumps and ensure smooth texture.
Step 3: Blend Wet Cake Ingredients
In a separate bowl, whisk together:Mix until ingredients are fully incorporated and smooth.
Step 4: Combine Cake Batter
Gradually fold dry ingredients into wet mixture. Dissolve espresso powder in hot water and add to batter. Stir until completely smooth and no streaks remain.
Step 5: Bake Cake Layers
Divide batter evenly between prepared pans. Bake for 35 minutes or until a toothpick inserted comes out clean. Allow cakes to cool completely on a wire rack.
Step 6: Prepare Chocolate Mousses
Chop dark and white chocolates into separate bowls. Whisk egg yolks until pale and creamy.
Step 7: Create Cream Base
Heat half the cream with vanilla. Gradually whisk warm cream into egg yolks. Return mixture to heat and cook until it thickens slightly.
Step 8: Finish Chocolate Mousses
Pour cream mixture over chopped chocolates. Stir until fully melted. Whip remaining cream to stiff peaks. Gently fold whipped cream into each chocolate mixture separately.
Step 9: Assemble Cake Layers
Place first cake layer in a cake ring. Pour dark chocolate mousse over cake. Add white chocolate mousse on top. Refrigerate for 30 minutes.
Step 10: Add Second Cake Layer
Place second cake layer on top of mousses. Chill entire cake for 4 hours to set completely.
Step 11: Create Chocolate Ganache
Heat cream until just scalding. Pour over milk chocolate. Stir until smooth and glossy. Allow to cool to spreadable consistency.
Step 12: Finish And Serve
Remove cake from ring. Spread ganache over top of cake. Decorate with chocolate shavings, fresh berries, or whipped cream as desired. Slice and serve chilled.
Helpful Tips for Stunning Tuxedo Cake Results
Keeping and Reheating Tuxedo Cake
Serve Tuxedo Cake with These Delicious Complements
Recipe Tweaks for Tuxedo Cake Creators
Print
Tuxedo Cake Recipe
- Total Time: 1 hour 35 minutes
- Yield: 12 1x
Description
Rich chocolate tuxedo cake delivers elegance with dramatic layers of dark chocolate sponge, creamy vanilla mousse, and glossy ganache. Sophisticated dessert promises a memorable indulgence that sparkles with delicate chocolate artistry for special celebrations.
Ingredients
Ingredients
Main Ingredients:
- 2 cups (240g / 8.5 oz) all-purpose flour
- 2 cups (400g / 14.1 oz) sugar
- 2 large eggs
- 1 cup (240ml / 8 fl oz) hot water
- 3.5 oz (100g) dark chocolate
- 3.5 oz (100g) white chocolate
- 4.3 oz (120g) milk chocolate
Liquid and Cream Ingredients:
- ½ cup (120ml / 4 fl oz) milk
- ½ cup (128g / 4.5 oz) sour cream
- ½ cup (110g / 3.9 oz) vegetable oil
- 2 cups (480ml / 16 fl oz) heavy cream
- ½ cup (120ml / 4 fl oz) heavy cream
Dry and Flavor Ingredients:
- ½ cup (50g / 1.8 oz) cocoa powder
- 1 ½ teaspoons baking powder
- 1 ½ teaspoons baking soda
- ½ teaspoon salt
- 1 teaspoon espresso powder
- 2 teaspoons vanilla extract
- 4 egg yolks
Instructions
- Meticulously prepare workspace and gather all necessary baking equipment for precise cake construction.
- Carefully calibrate oven temperature to 350°F and strategically coat cake pans with a thin protective layer of grease.
- Sift together dry ingredients in a comprehensive mixing bowl, ensuring uniform distribution of cocoa, flour, and leavening agents.
- Whisk liquid components in a separate vessel, creating a smooth, integrated mixture of eggs, dairy, and flavor enhancers.
- Gradually incorporate dry ingredients into wet mixture, maintaining a consistent stirring technique to prevent lumps.
- Introduce espresso powder dissolved in hot water, blending until the batter achieves a silky, homogeneous texture.
- Evenly distribute batter between prepared pans, using a spatula to level the surface and eliminate air pockets.
- Bake cake layers for approximately 35 minutes, periodically checking doneness with a clean testing implement.
- Allow cake layers to cool completely on a wire rack, ensuring optimal temperature reduction.
- Separate egg yolks and gently whisk until they transform into a pale, creamy consistency.
- Warm cream with vanilla, then carefully temper egg yolks by gradually introducing heated liquid while continuously whisking.
- Return mixture to heat, stirring constantly until it reaches a thickened, custard-like consistency.
- Divide heated cream mixture between dark and white chocolate, stirring until each chocolate melts smoothly.
- Whip remaining cream to stiff, peaks creating a light, airy texture.
- Delicately fold whipped cream into each chocolate mixture, maintaining maximum volume.
- Position first cake layer inside a precise cake ring as the foundational structure.
- Pour dark chocolate mousse evenly, followed by a layer of white chocolate mousse.
- Refrigerate initially for 30 minutes to partially set the mousse layers.
- Carefully place second cake layer atop the mousse, then chill for an extended 4-hour period.
- Prepare ganache by heating cream until it reaches a near-scalding temperature.
- Pour heated cream over milk chocolate, stirring until achieving a glossy, smooth consistency.
- Allow ganache to cool, reaching a spreadable texture.
- Remove cake from ring and generously coat top with prepared ganache.
- Optionally embellish with decorative elements to enhance visual appeal before serving.
Notes
- Precision matters when measuring ingredients to ensure the perfect texture and taste of this elegant dessert.
- Chilling time is crucial for setting the mousses and allowing flavors to meld, so plan ahead and be patient.
- Use high-quality chocolate for the most luxurious and rich flavor profile throughout the cake layers and mousses.
- Room temperature ingredients blend more smoothly, creating a more uniform and tender cake texture.
- Espresso powder intensifies the chocolate flavor without adding a coffee taste, making the cake more complex and delicious.
- Clean, dry equipment is essential when whipping cream to achieve the perfect light and airy consistency for the mousses.
- Prep Time: 1 hour
- Cook Time: 35 minutes
- Category: Desserts
- Method: Baking
- Cuisine: American
Nutrition
- Serving Size: 12
- Calories: 528
- Sugar: 42g
- Sodium: 230mg
- Fat: 30g
- Saturated Fat: 17g
- Unsaturated Fat: 8g
- Trans Fat: 0g
- Carbohydrates: 60g
- Fiber: 2g
- Protein: 6g
- Cholesterol: 70mg
Liam O’Brien
Founder & Recipe Developer
Expertise
Education
Dublin Institute of Technology (now Technological University Dublin)
Ballymaloe Cookery School, County Cork, Ireland
Liam O’Brien is the co-founder and kitchen soul behind Good Tasting Meals, a chef who believes that cooking shouldn’t feel stressful or complicated.
He earned his culinary stripes at Technological University Dublin and polished his farm-to-table skills at Ballymaloe Cookery School. With over 15 years flipping pans and stirring up stories, Liam has worked in family cafés, bustling bistros, and everything in between.
At Good Tasting Meals, Liam brings you recipes that feel like home: cozy, simple, and full of flavor.